Giter VIP home page Giter VIP logo

fame's Introduction

codebeat badge

  • 基于node java spring-boot vue nuxt 开发的博客系统
  • 支持传统手动部署和docker部署
  • 功能精简但齐全,界面简洁却美观,满足个人博客的日常使用要求
  • 适合当做'Javaer','Vuer'的练手学习项目,也适合'跨界开发'做新技术涉猎的参考
  • 项目会持续更新,如果有不完善的地方,欢迎指出

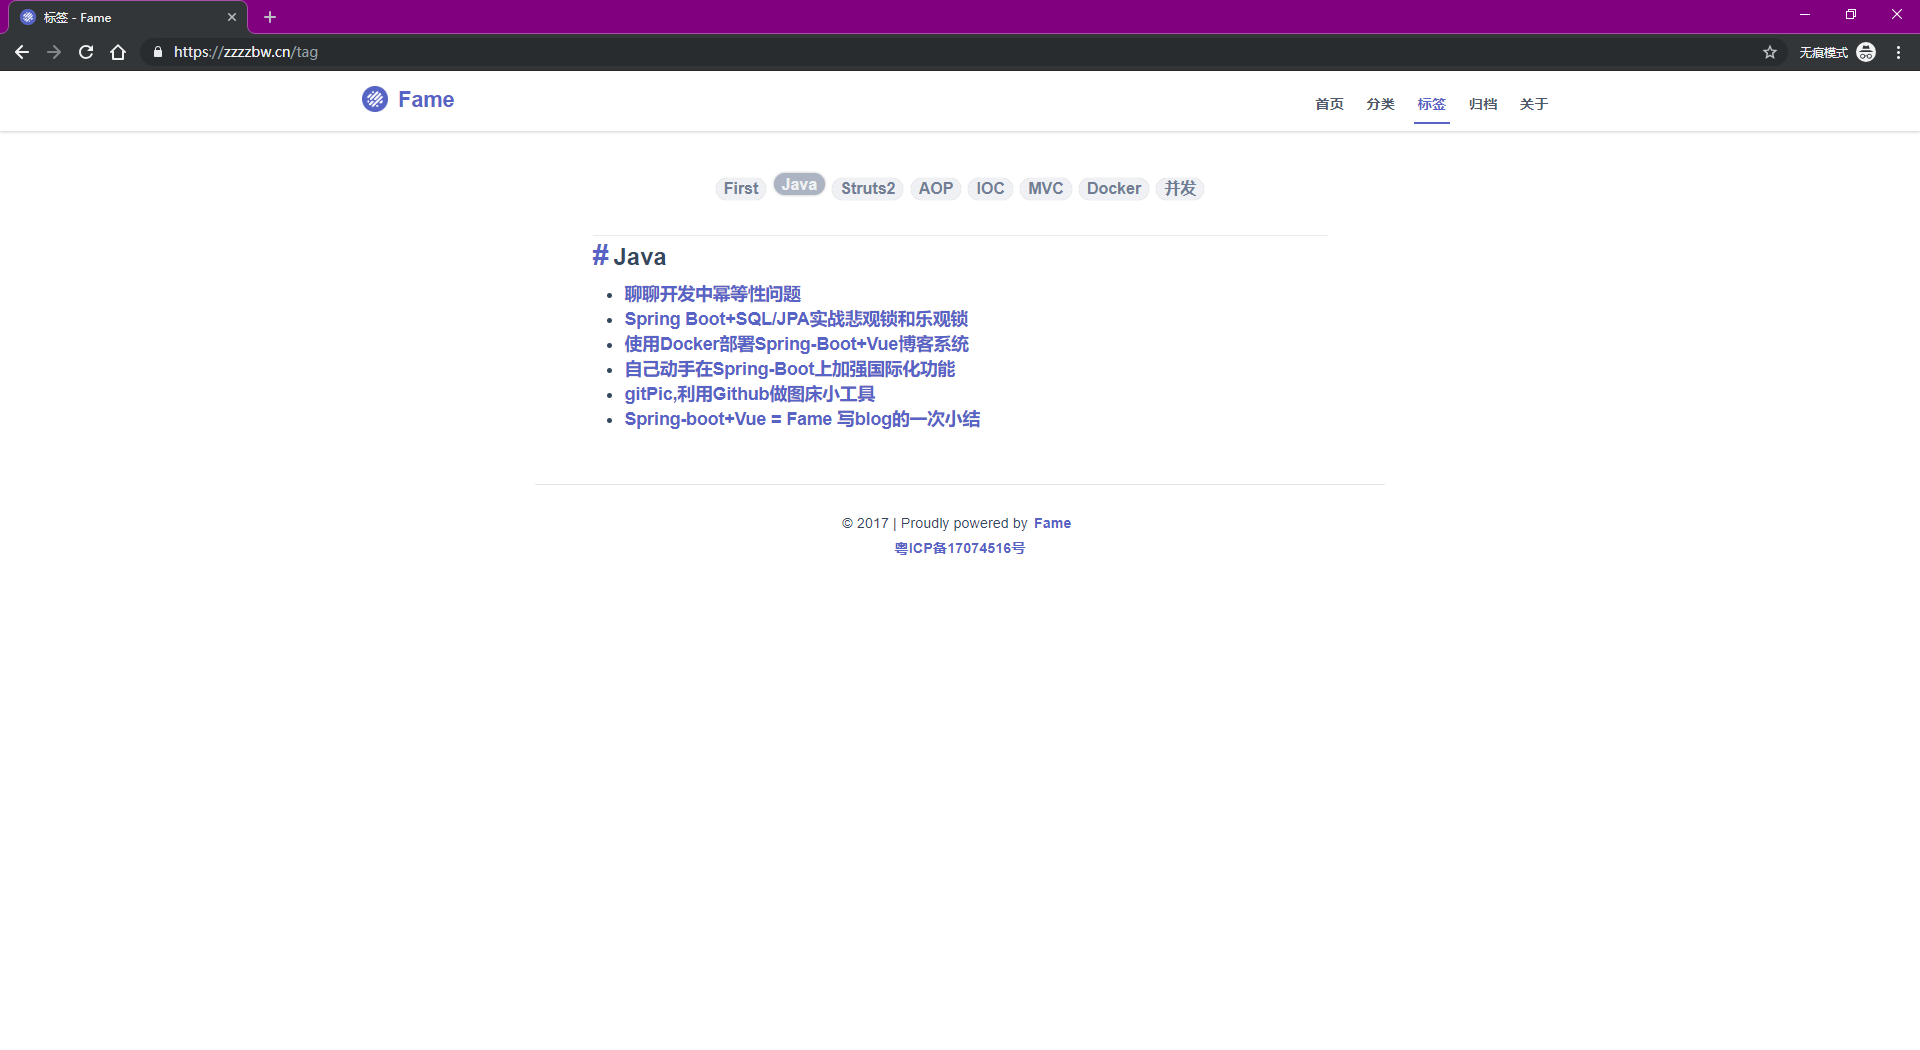
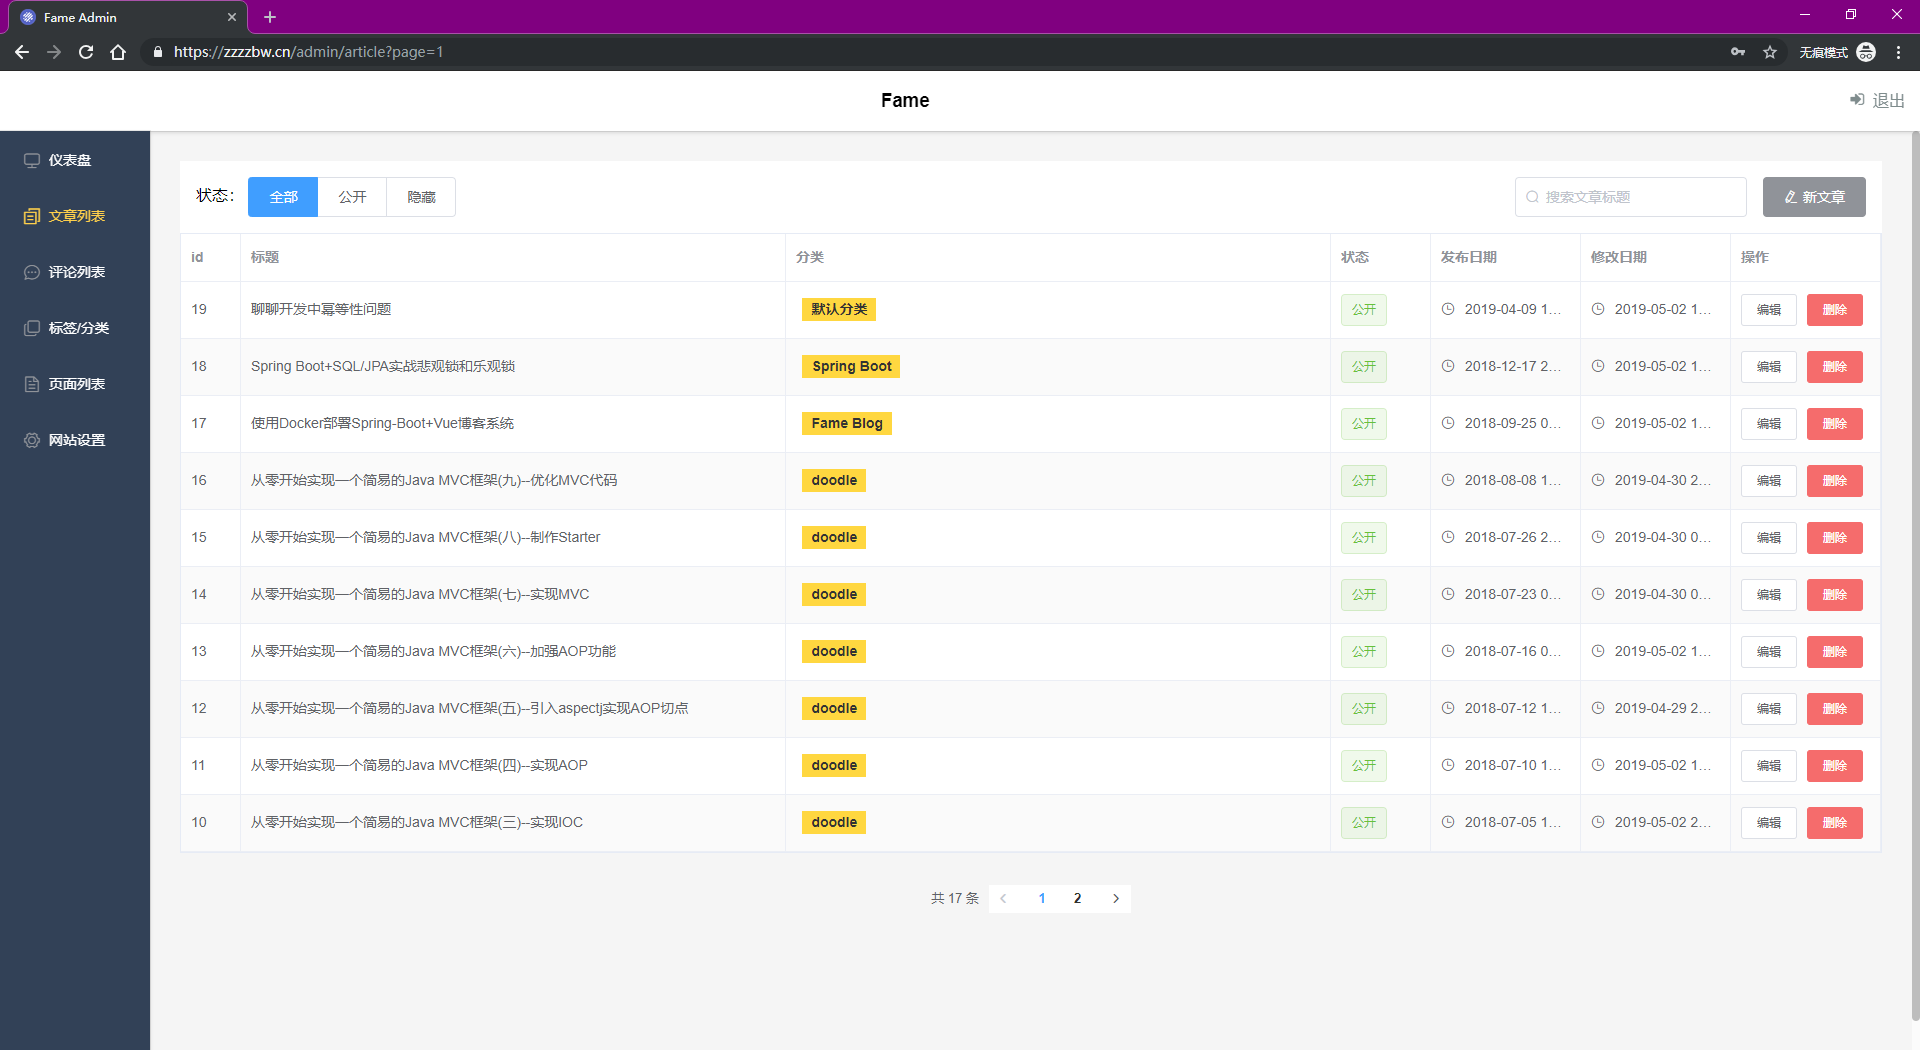
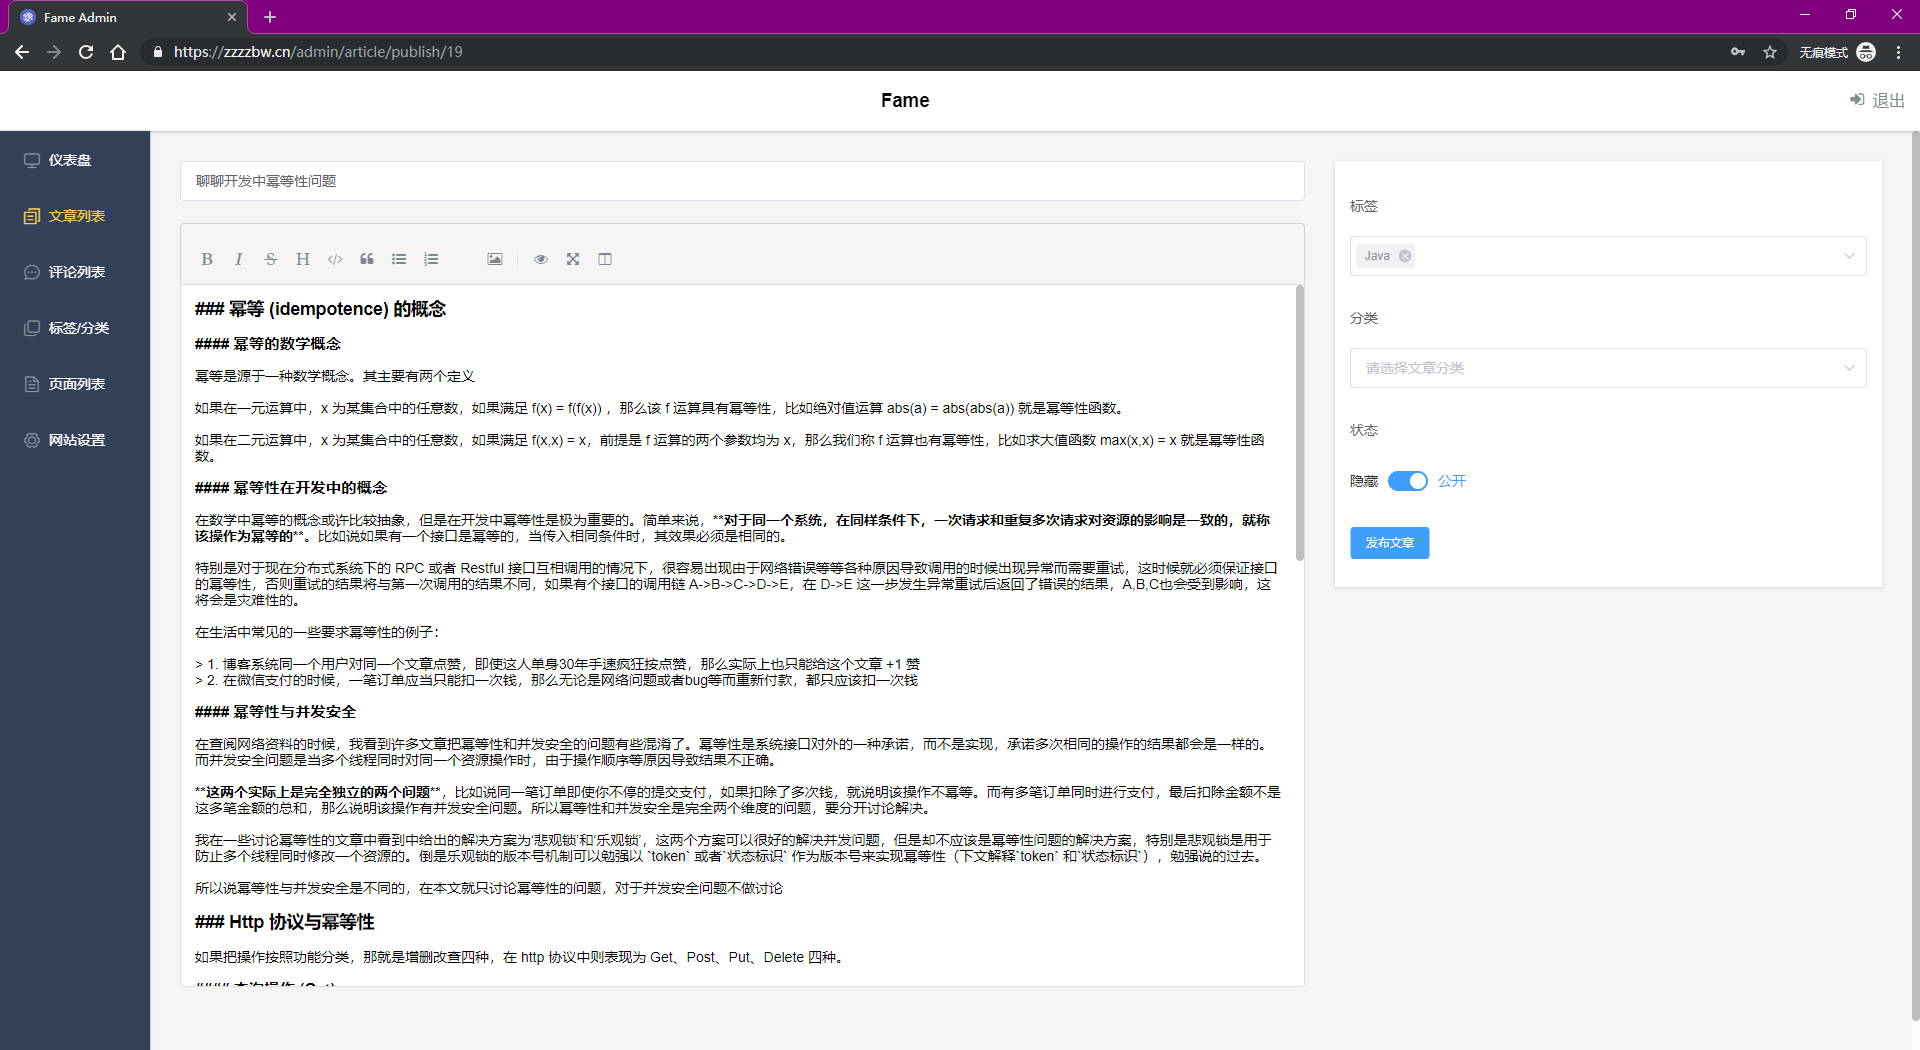
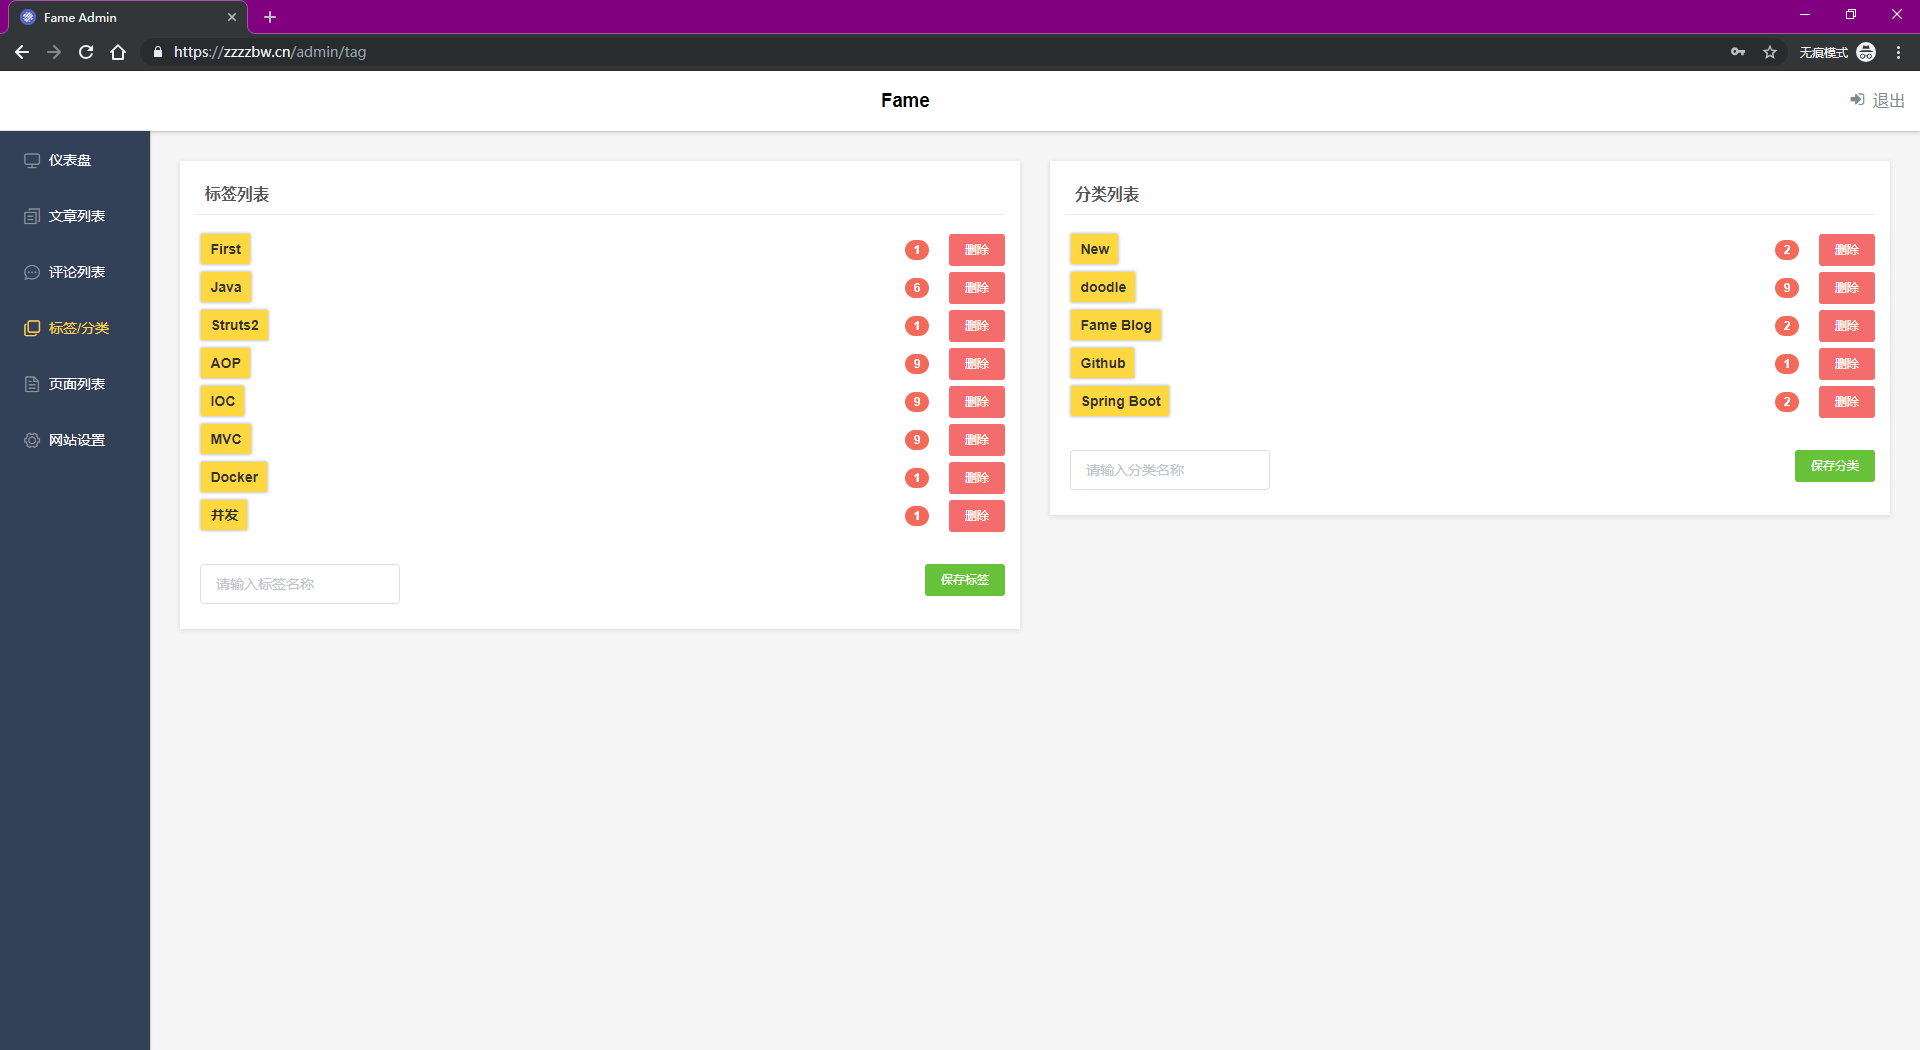
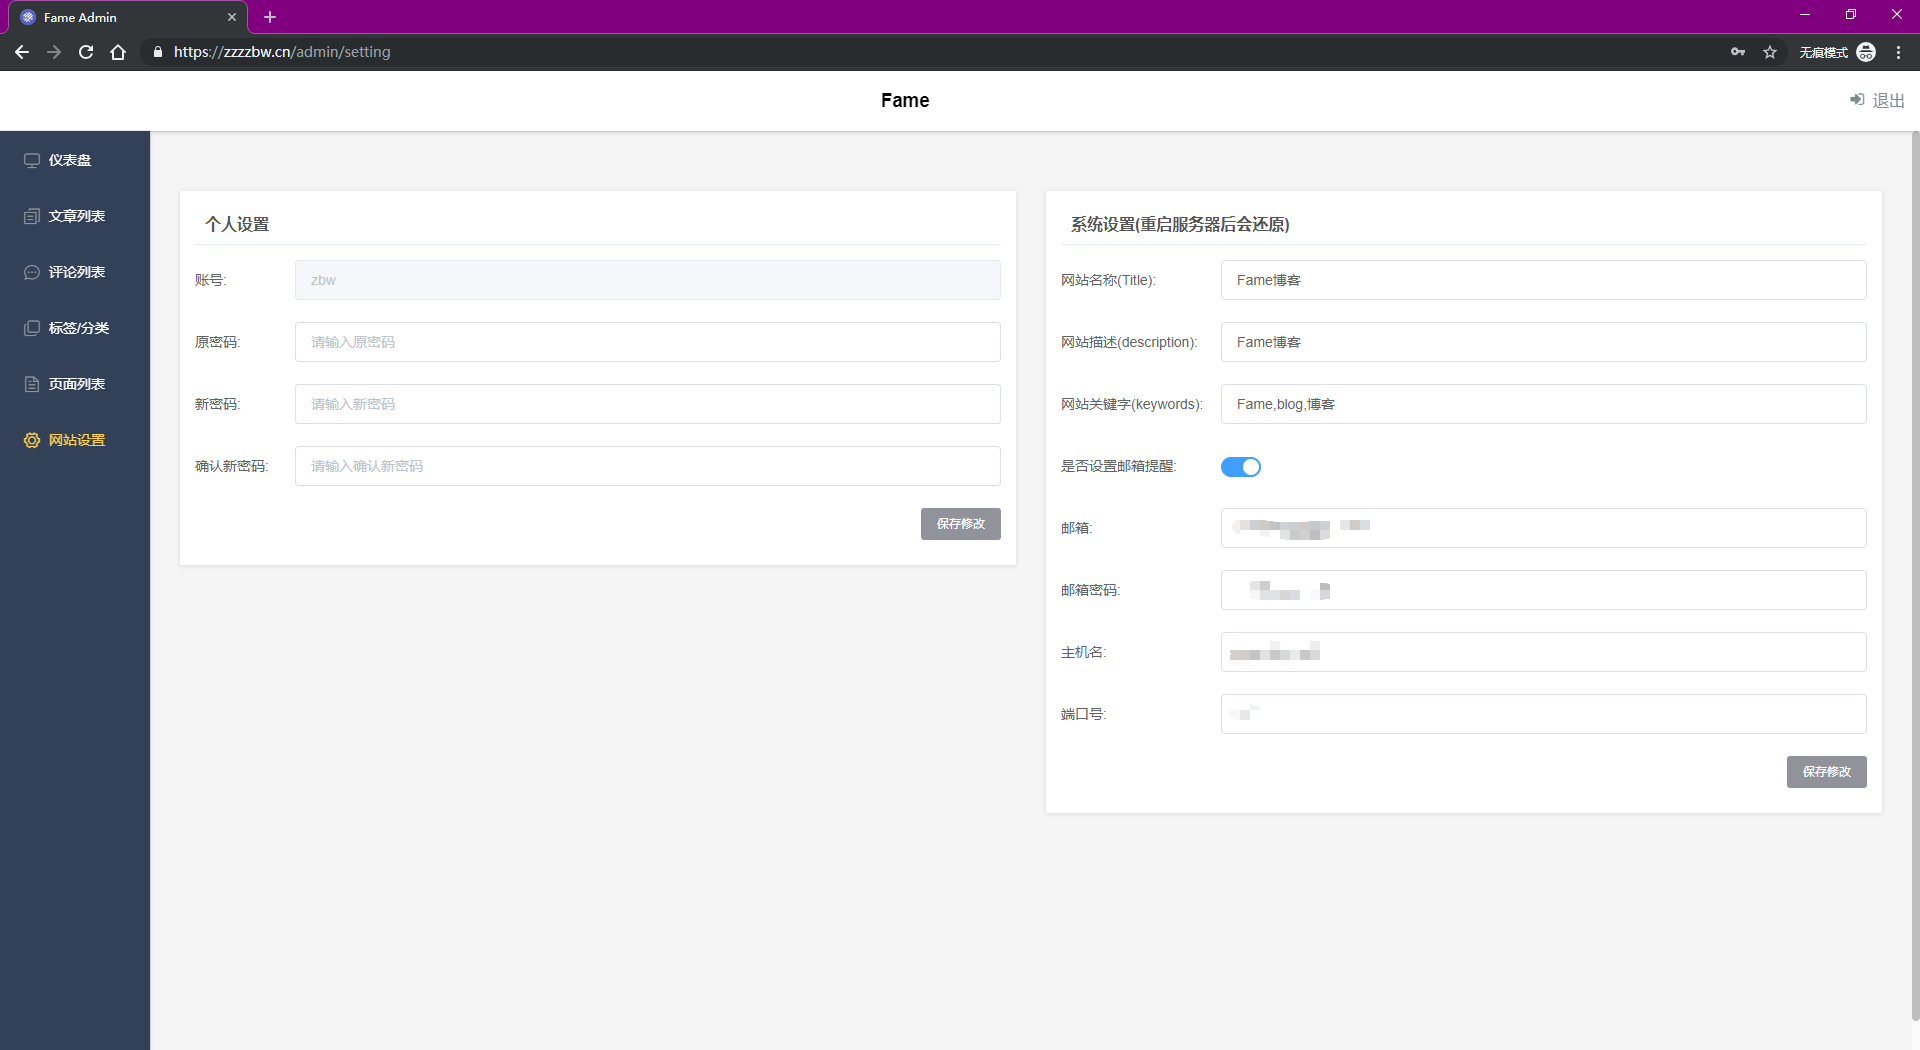
演示站点: https://zzzzbw.cn
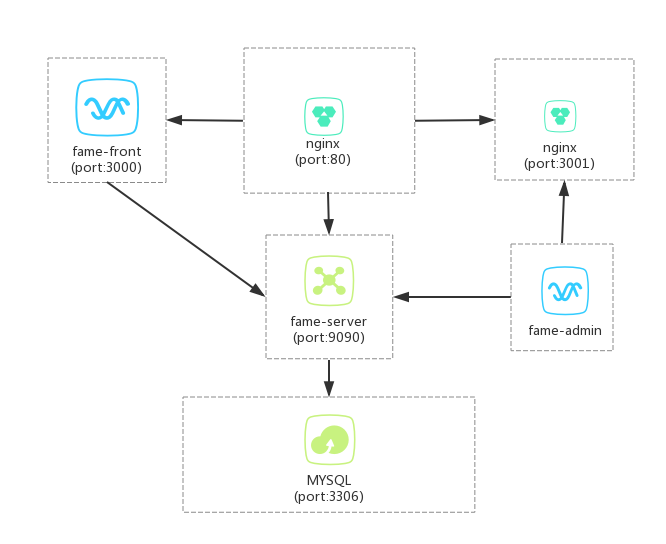
项目结构

文件结构

└─Fame
    ├─fame-admin          // 博客管理后台,基于Vue+elementui
    ├─fame-docker         // docker部署文件
    ├─fame-front          // 博客前端,基于Nuxt
    ├─fame-server         // 博客服务端,基于spring-boot
    ├─.env                // docker-compose环境参数配置文件
    ├─docker-compose.yml  // docker-compose文件

部署结构(docker)

fame-structure

部署方式

注:博客管理后台默认的账号:fame,密码:123456

Docker方式部署(推荐)

首先保证有Docker和Docker compose的环境,如果没有可参考这里

  1. 克隆项目到本地

    git clone https://github.com/zzzzbw/Fame.git
    
  2. 修改 .env 配置文件

    BASE_URL=http://xx.xxx.xx.xx/
    xx.xxx.xx.xx为服务器的ip,如果是本地开发环境则默认127.0.0.1不用修改
    
  3. 启动项目

    docker-compose up 或 docker-compose up -d
    

    第一次启动推荐docker-compose up,可以看到启动日志,由于要下载镜像和maven依赖,时间可能较久,视网络环境和性能而定

    [root@localhost Fame]# docker-compose up -d
    Starting fame-front ... 
    Starting fame-admin ... 
    Starting fame-front ... done
    Starting fame-admin ... done
    Starting fame-nginx ... done
    
  4. 访问地址

    启动完成后,在浏览器访问

    http://xx.xxx.xx.xx/ 为博客前端首页

    http://xx.xxx.xx.xx/admin 为博客管理后台首页

    // xx.xxx.xx.xx为刚才配置的ip,如果本地开发环境则127.0.0.1

开发环境手动部署

首先保证有 java8 mysql5.7.x maven3.3.x node10.x npm6.x的环境(版本不一定要完全一样,但避免奇怪的问题出现,最好相同)

  1. 克隆项目到本地

    git clone https://github.com/zzzzbw/Fame.git
    
  2. 部署服务端 (项目使用lombok插件,如果要在ide中调试要有lombok插件)

    2.1 在mysql中执行 fame-server/src/main/resources/init.sql sql文件

    2.2 进入服务端文件夹

     `cd fame-server`
    

    2.3 修改spring-boot配置文件

    vi src/main/resources/application-dev.properties

    spring:
      datasource:
        driverClassName: com.mysql.cj.jdbc.Driver
        url: jdbc:mysql://localhost:3306/fame?useUnicode=true&characterEncoding=utf-8&useSSL=false&serverTimezone=Asia/Shanghai
        username: root
        password: root
    

    将数据库的用户名和密码修改成对应你数据库的用户名密码

    2.4 启动fame-server

    mvn clean spring-boot:run -Dmaven.test.skip=true

  3. 部署博客前端

    3.1 进入前端文件夹

    cd fame-front

    3.2 安装依赖和启动服务

    npm install
    npm run dev
    

    3.3 访问地址

    启动完成后,浏览器访问 http://localhost:3000

  4. 部署博客后端

    4.1 进入后端文件夹

    cd fame-admin

    4.2 安装依赖和启动服务

    npm install
    npm run serve
    

    4.3 访问地址

    启动完成后,浏览器访问 http://localhost:8010/admin

部分界面

fame's People

Contributors

zzzzbw avatar

Watchers

 avatar  avatar

Recommend Projects

  • React photo React

    A declarative, efficient, and flexible JavaScript library for building user interfaces.

  • Vue.js photo Vue.js

    🖖 Vue.js is a progressive, incrementally-adoptable JavaScript framework for building UI on the web.

  • Typescript photo Typescript

    TypeScript is a superset of JavaScript that compiles to clean JavaScript output.

  • TensorFlow photo TensorFlow

    An Open Source Machine Learning Framework for Everyone

  • Django photo Django

    The Web framework for perfectionists with deadlines.

  • D3 photo D3

    Bring data to life with SVG, Canvas and HTML. 📊📈🎉

Recommend Topics

  • javascript

    JavaScript (JS) is a lightweight interpreted programming language with first-class functions.

  • web

    Some thing interesting about web. New door for the world.

  • server

    A server is a program made to process requests and deliver data to clients.

  • Machine learning

    Machine learning is a way of modeling and interpreting data that allows a piece of software to respond intelligently.

  • Game

    Some thing interesting about game, make everyone happy.

Recommend Org

  • Facebook photo Facebook

    We are working to build community through open source technology. NB: members must have two-factor auth.

  • Microsoft photo Microsoft

    Open source projects and samples from Microsoft.

  • Google photo Google

    Google ❤️ Open Source for everyone.

  • D3 photo D3

    Data-Driven Documents codes.