USB MIDI Pedal built with Arduino.
Disclaimer:
Please note, I'm not a C developer, so if the code looks ugly/poorly optimized you know why.
Everything I made was possible thanks to many info on the web, documentation and trial and error.
I'm not planning to actively support this project, I just thought it could be useful to have a small guide on how I made this, since I didn't find anything really straightforward at that point of time.
Hope this could come in handy for someone.
Update November 2019:
I've refactored the code to add a new "settings layer", read the Usage section for more info.
Update December 2021:
Changed pin numbers, also added a panel mount USB. Apparently, the Pro Micro USB is quite fragile and mine came off, so I bought another but this time I added a USB panel connector to relieve the stress off the Pro Micro plug. I highly suggest to do so.
-
SparkFun Pro Micro 16MHz (or another similar Arduino)

-

-

-
Something to use as a Case, I used an Aluminium Box

-
LEDs - optional
-
10 KΩ 1/2W resistors - optional, depending on which LEDs you use (mine were blue)

-
USB Panel Mount - optional but highly suggested, since the Pro Micro USB can break pretty easily.

Going straight to the point, this footswitch will have:
- 5 push buttons
- 5 leds (one for each button), each one with a 10 KΩ 1/2W resistor
- 1 Switch on the back, to select 3 different button "Layers" (like what the "Shift" key on your PC keyboard does, more or less)
Here is how I wired everything up on my SparkFun Pro Micro (click to open the larger image), if you use something different just remember to adjust pin numbers in the code later. (Black is GND, all the other colors are Data pins)

First I soldered everything in place, I used a small breadboard and some male plugs just to make everything cleaner and detachable, but you can solder directly on the SparkFun if you want to.

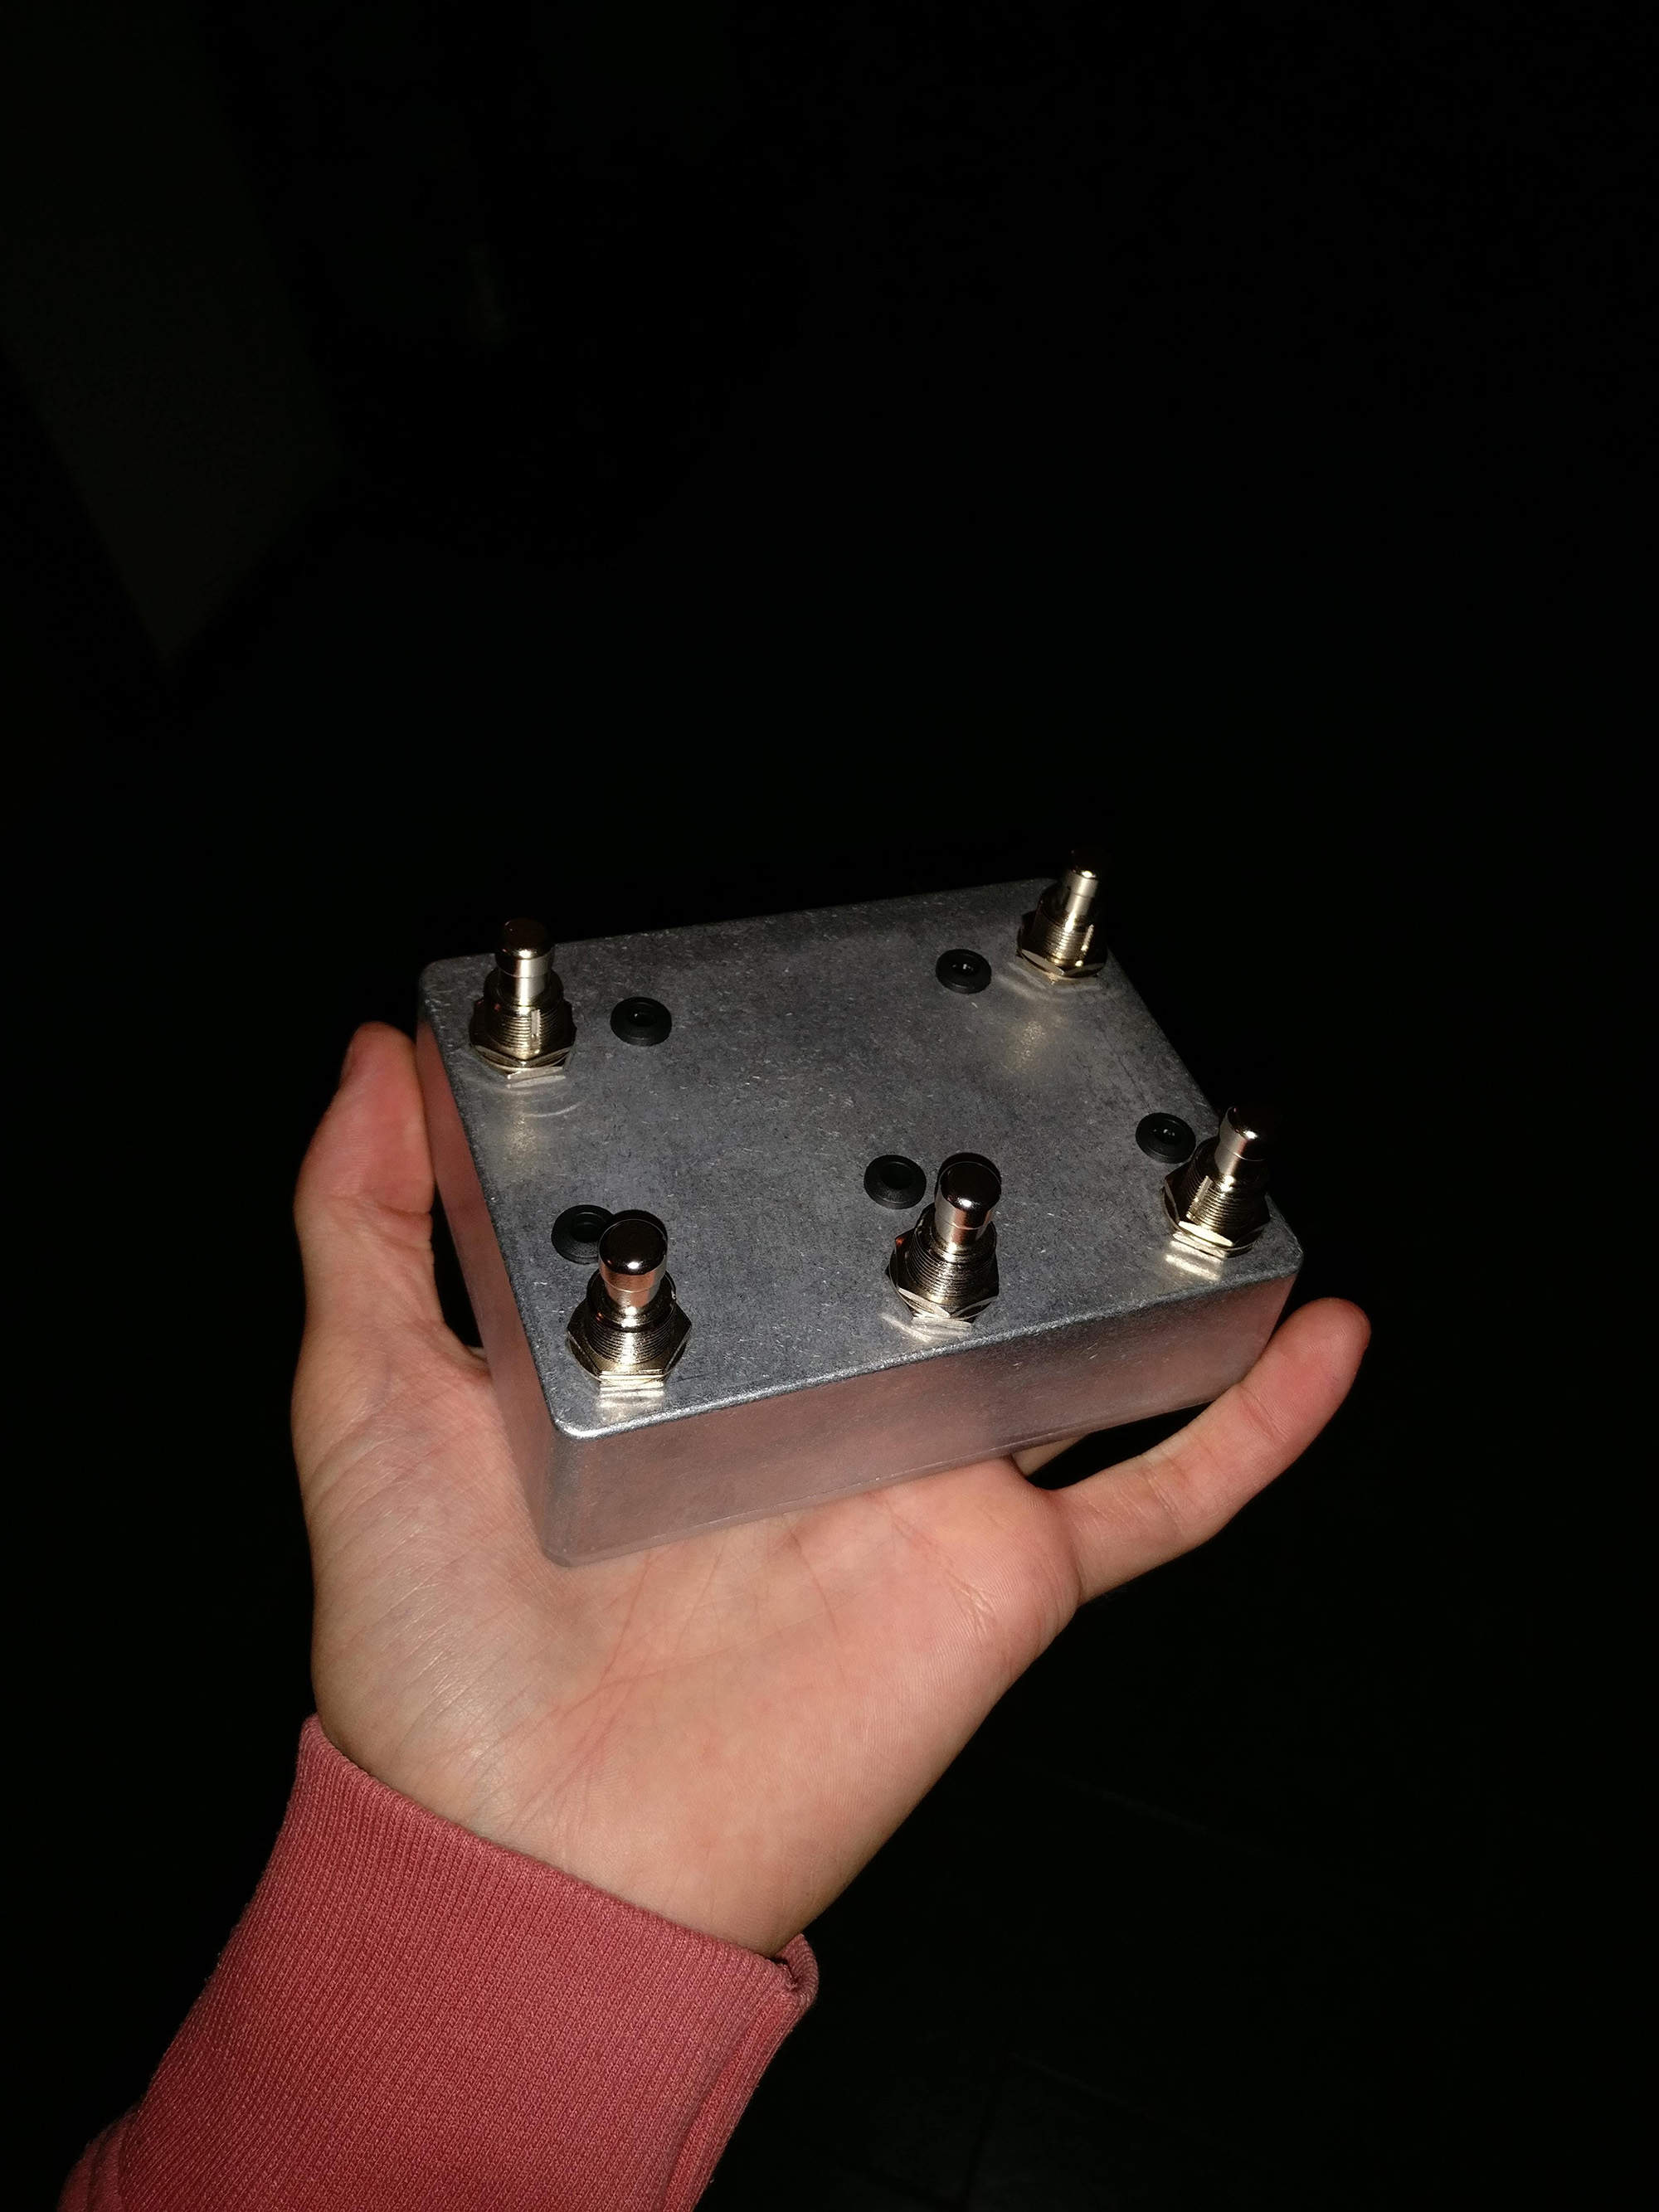
Then I put everything in an Aluminium Box with some holes for Buttons, LEDs, the switch, and the USB port.

Be sure to mask the bottom of the box (if made with metal) to avoid potential shorts, I used some electrical tape.

Connect some wires, put the SparkFun into the enclosure, and you are done with the hardware part!


For the software part I'm assuming you already have Arduino IDE installed (mine is version 1.8.19).
In the Arduino IDE go to Sketch > Include Library > Manage Libraries.
Here search for the MIDIUSB library from Arduino, and install the latest version.
Only if you are using a SparkFun Pro Micro as I do
you will have to install the board in your Arduino IDE, to do so, follow this link and follow the instructions under "Installing the Arduino Addon"
https://learn.sparkfun.com/tutorials/pro-micro--fio-v3-hookup-guide/installing-windows#windows_boardaddon
Ok, now we are ready to upload your code, finally.
Open the variables.h file, and if you made changes on pin wiring, be sure to edit the button_pins, led_pins or switch_pins variables according to your wiring.
Plug the USB cable from your Arduino/SparkFun to your PC, under Tools select the proper board and, if needed, select the proper CPU (SparkFun Pro Micro comes in 2 versions, 8MHz and 16Mhz, flashing the wrong one will cause the board to "soft brick", and you will need to reset it manually, learned this the hard way).
Now select the proper port and we can upload the code!
If everything is correct, it should be working. When you push a button the relative led should light up. To test the MIDI messages I used a lightweight free software called MIDI Tools, or you can directly use your DAW.

This is an optional step. Normally, when you plug your footswitch, it will appear as "SparkFun Pro Micro" (or the name of the board you are using), so I decided to rename it. It's a very simple and fast step.
Follow the instructions created by nebhead at this link: https://gist.github.com/nebhead/c92da8f1a8b476f7c36c032a0ac2592a
I'll leave my own board file inside the other/ folder in this repo as an example.
In my case I named my folder footswitch and the device name is MIDI Footswitch.
After doing everything, restart your Arduino IDE and under Tools > Boards you should find a new "subcategory" with your newly created board inside.
The MIDI footswitch changes his operational mode based on which position the rear switch is on.
So you have 2 "layers" of MIDI commands you can send, 5 on one layer and 5 on the other.
The first layer (switch up) have 5 static commands that all act as push buttons.
The second layer have 5 commands which behaviour can be customized using the third layer.
The third layer, is only a "settings" layer, pressing a button on this layer will turn on or off it's LED, changing the button behaviour.
LED OFF = the button acts as push button
LED ON = the button acts as Switch button
- SparkFun Pro Micro setup for Arduino IDE: https://learn.sparkfun.com/tutorials/pro-micro--fio-v3-hookup-guide/installing-windows#windows_boardaddon
- MIDIUSB Arduino library: https://www.arduino.cc/en/Reference/MIDIUSB
- MIDI CC table: https://www.midi.org/specifications-old/item/table-3-control-change-messages-data-bytes-2