
Vroom was designed, built and deployed by Romulo Albuquerque as his final project for the Code Institute Full Stack Web Development diploma. The purpose of Vroom is to allow more people to experience a wide variety of high end cars owned by other users. This website is designed to allow users to navigate effortlessly and intuitively. Vroom is aimed towards users that have a stronger connection to cars than the average but also offering relevant information for more utilitarian users.

The central target audience for Vroom are:
- People who want to rent a car including but not limited to:
- Tourists.
- People looking for a car to match special occasions such as weddings, bachelors/hens party, communions and other.
- Drivers looking for exotic/sports car experiences.
- Business people looking for luxurious transportation while abroad or as a way to offer an exceptional experience to business partners.
- People who want to rent their car including but not limited to:
- People who subutilise their cars.
- people with luxurious/exotic/sports cars that are looking to share the experience attached to their vehicles.
- people with multiple cars and are looking for an alternative income.
User goals are:
- Safely rent their own cars.
- Find a simple way to rent a car when on holidays.
- Rent a car as a solution to a momentary need such as a road trip.
- To live or give as a gift to someone a unique experience renting a luxurious/exotic/sports car.
- Be able to have insurance coverage.
- Be able to navigate the website easily, find what I need and make a safe and secure purchase.
- To feel that I'm using a trustworthy online shop.
Vroom is a great way to meet these needs because:
- The website contains an wide variety of cars and prices, making easier for everyone to find what they are specifically looking for.
- During the booking process, users will be allowed to change insurance packages and add extra products before the checkout.
- The navigation fits with conventions of well laid out online shops, images are used as often as possible and easy to look through using carousels. All the information that the buyer needs is available and easy to find.
- Vroom cars can be searched by category, brand, model, year and location using a combination of menu links and text search, making it easy for customers to find specific things or enjoy browsing categories that interest them.
The Goals of Vroom as a business are:
- Provide a professional online shop that helps users to feel that they are in a safe, respectful and trustworthy environment.
- Build brand awareness by consistently utilizing colours, fonts and logo associated with Vroom.
- Use the website as part of a promotion platform for social media channels.
- Make hiring/renting a car as simple and safe as possible for both sides.
As a visitor to Vroom website:
-
To uderstand what the site is about.
-
I want the layout of the site to make sense so I am not confused or put off using it.
-
The information I am presented with to be laid out in a way that is easy for me to navigate and digest.
-
To easily find what I am looking for.
-
To build trust in my decision of engaging the platform.
-
For all information and images to be laid out in a clear and easy to understand way, on whatever size screen I am viewing the website on.
As a user:
-
I want the layout of the site to make sense so I am not confused or put off using it.
-
I find what I need quickly and efficiently.
-
Be able to easily click to get more detailed information when I need it.
-
To be able to use the website in any device, desktop, tablet or phone.
-
To be able to read reviews of the business and other users written by previous customers.
-
Plenty of high quality images of the cars and products for sale, so I have a clear idea of what I am renting/buying.
-
To be able to easily find out all the information I need to make an informed purchase.
-
A text search function so that I can quickly narrow down my search when looking for something specific.
-
There to be a frequently asked questions page for any further questions I might have about how to deal with some situations.
-
That once I am logged in I can access my account details and update them if I need to.
-
To be able to connect to the businesses social media channels to keep up to date with new listings on the site.
-
To be able to easily get in contact with the customer service via a contact form.
-
To see feedback from the website when I interact with it, I expect to see messages to inform me when my forms have been completed and sent correctly. Or to let me know when an error has occurred and what to do next.
Vroom website has an overall modern, sporty, clean feel with emphasis on creating a sense of exclusiveness, adrenaline rush and joy. The following design choices were made with this in mind:

- The primary font 'Audiowide' was chosen for the main text of the site because of its clear readability, clean curvy style and it also matches well the brand name. This font also looks good in uppercase as it doesn't take too much space while still highly readable, and so it is also used as a sub heading as well.

- The secondary font 'Russo One' was chosen for the menu items because it is similar to the 'Audiowide' font while taking less horizontal space, offering a good readability and keeping a neutral feel.
- In order to keep the site uncluttered only a few icons were utilized.
- The search icon and shopping cart icons were used in the navigation bar as they are conventionally used in this setting and would be what the user expects to see.
- On the home page the 'what are users using Vroom for' section uses icons and simple text for quick assimilation of information.
- The social media icons are included in the footer to lead visitors to Vroom social media pages.
-
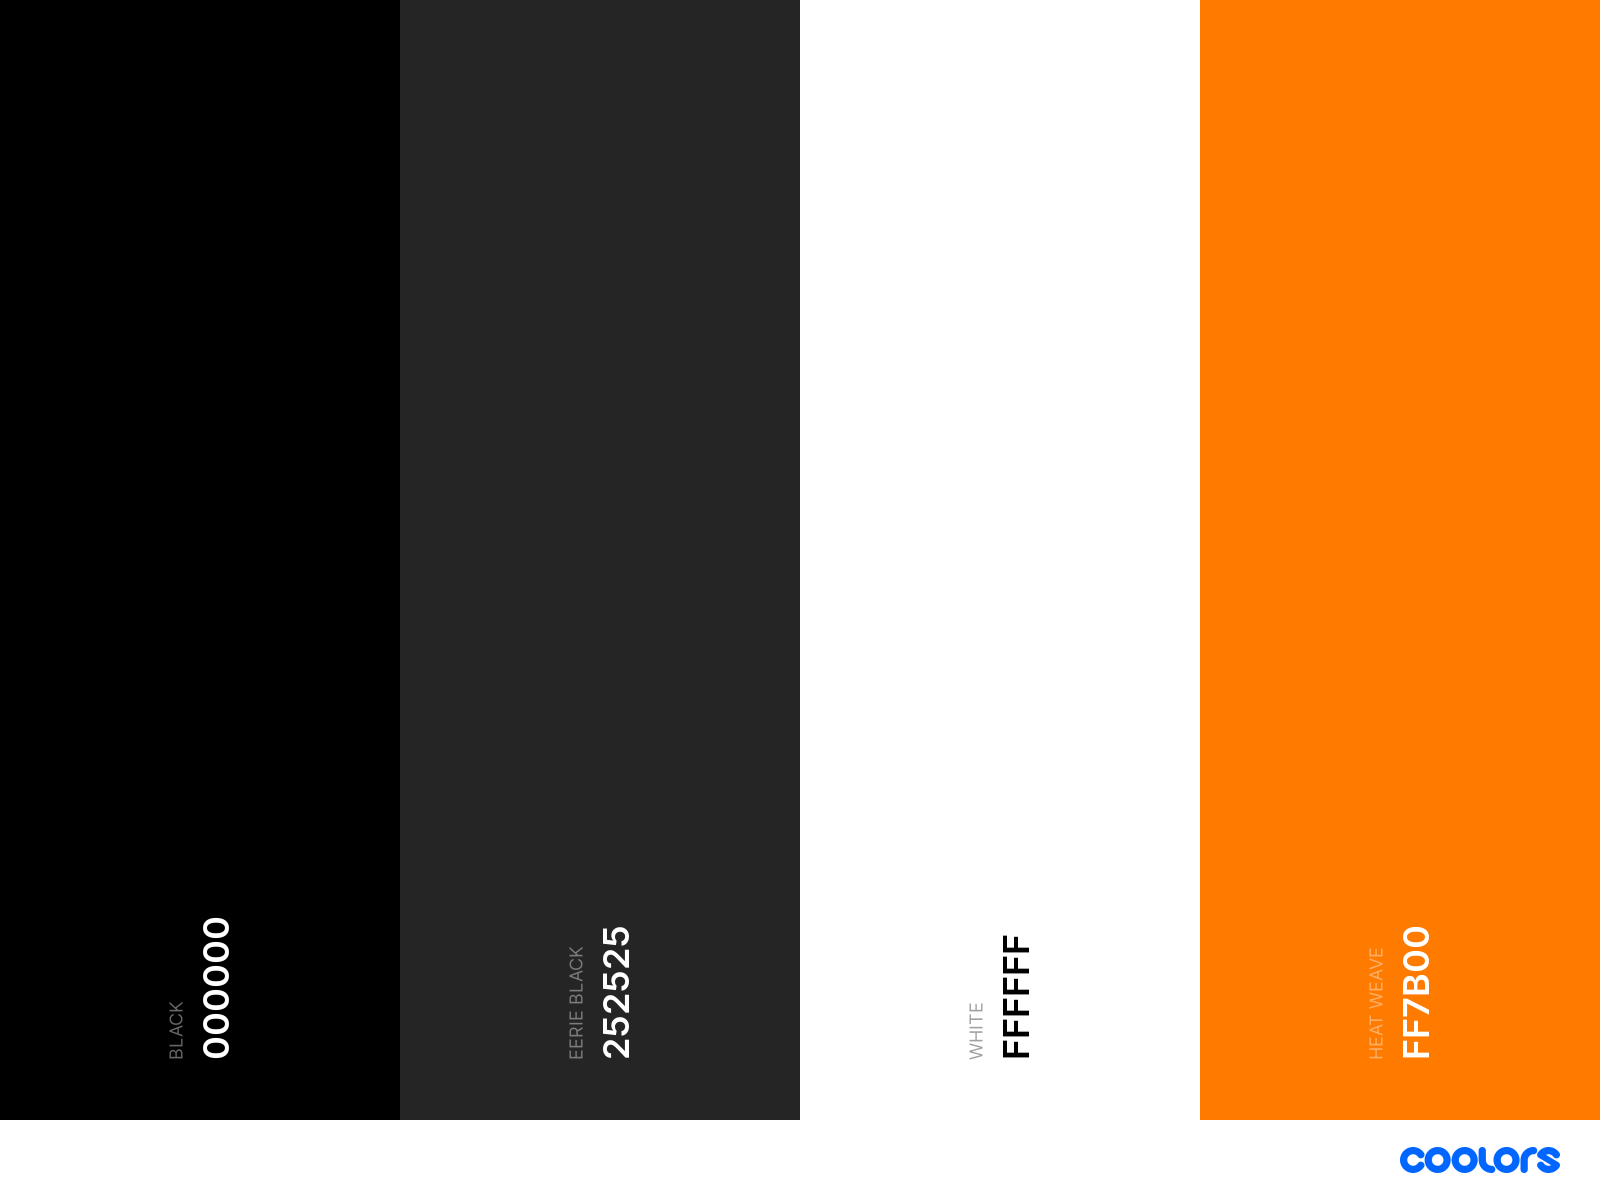
The brand colours for this project were chosen because the Black and Eerie Black offer a high contrast to white. The choice for Black, Eerie Black and white also are based on these colours neutrality helping to pull the colours of the site together with the product photographs.
-
The Heat Wave was chosen for it's natural attention-grabbing property while creating a sporty feel and highlighting links, buttons and other areas where user can take actions.
- Images play a crucial role showcasing the very subject with that in mind, images are used as often as possible to enhance the impact of images uploaded by users.
- Subtle box shadowing and curved corners were applied to elements that needed a little extra emphasis, separation from the background and style. For example on buttons, forms and cards.
- In cases where an area is clickable, for example product images or call to action buttons, the shadow size is more evident and buttons are animated to when the user hovers over that element, this was done to make the area more tempting to click.
- Curved corner styling was chosen for its easy-in-the-eye property and as it is a common stylistic choice of bootstrap it blends well with styles used from that library on this project.
These wireframes were created using Pencil during the Scope Plane part of the design and planning process for this project.
Note on wireframes: On all versions of the wireframes there were changes from the first version set on the wireframe files. Those changes were, in its vast majority, result of the natural evolution and improvement that comes with observation, testing and user feedback.

-
The navbar features on every page.
-
The navigation bar features Vroom logo at the center on mobile and smaller tablet screens and on the far left on bigger tablet screens and desktops, which links to the home page of the site.
-
In desktop view on the left side of the navbar is a list of the key website pages: Home, Find a car, Rent my car, About FAQs and Contact. The Find a car link is a dropdown menu which lists out the three classes of cars: Custom Classic, Luxury and Supersport.
-
On the right side of the navbar are the links to account links, search page and shopping cart.
-
A user who is currently logged out for account links will see links to register and login.
-
A user who is logged in will see options to view their profile page or logout.
-
The shopping cart icon is located to the far right of the navigation bar. Once a user has added at least one item to their cart a yellow square will appear with the total number of items in their cart displayed within it.
-
The indicator was chosen to mimic notification icons users are used to seeing in online shops and social media etc.
-
The yellow color was chosen because it contrasts well with the Eerie Black background of the navbar and draws the eye.
-
The shopping cart counter works even for a user who is not logged in. This is because all the information about which products the user has added to their cart is stored in their session data. This makes it possible for a new user to add things to their cart before being asked to log in or register.
-
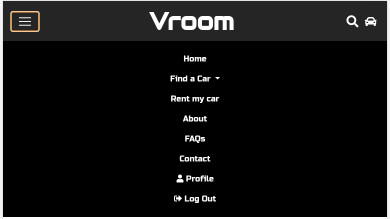
- In tablet and mobile view the logo is moved to the center of the navigation bar, making cart and menu buttons more accessible on both sides.
- The shopping cart icon is displayed in the far right of the navigation bar, and the burger icon to display the full navigation menu is on the far left, as that is where a user would expect to find it.
-
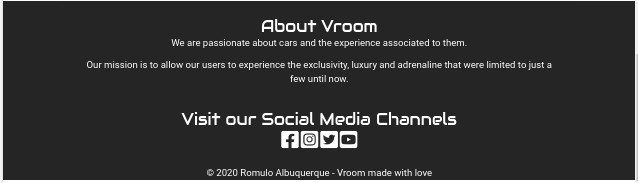
The footer features on every page.
-
The footer features Vroom tagline at the top, designed to speak to users and showcase some of the value Vroom provides.
-
Underneath the tagline is a list of the social media channels.
-
The footer background of Eerie Black was chosen to match the navbar, provide some contrast and obvious separation between the footer and the rest of the content on the page. The text is all displayed in white. When the user hovers over a link it turns Heat Wave.
-
The footer features the "copyright" information for Vroom.
- The home page carousel features 4 slides of promotional images from Vroom.
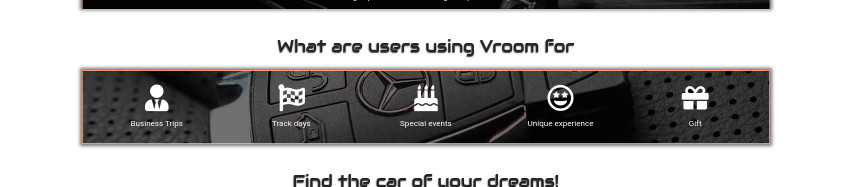
- Below the promotional carousel section, this section illustrates ways Vroom is being used by our users.
- Icons and minimal text are used in this section to reduce the amount of information while still keeping it intuitive, easy to understand and relevant to give users ideas on how to use Vroom beyond mere car-hiring.
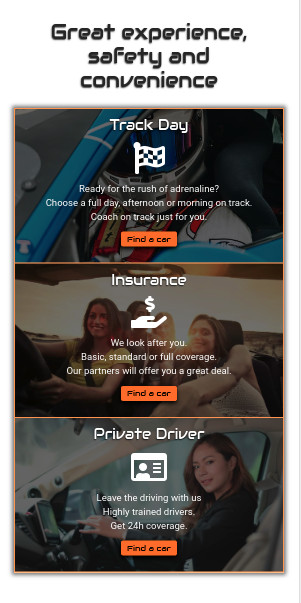
- This section is composed by 3 cards containing the categories of cars available, displayed with beautiful product photographs, clear headings, descriptive text and 'Show more' button. The user can click on the button to go for the specific section where they will find further information and more specific cars.

- For mobile, the cards in this section will organise themselves in a vertical alignment to fit the screen.

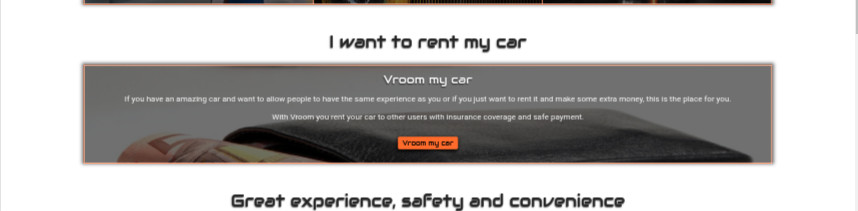
- Below the find a car section, this section is where users can access more information and forms to put their own car up for rental. The text is as short as possible while attempting to create a connection with the user and offering possible situations where the user would possibly want to put their car for rent.
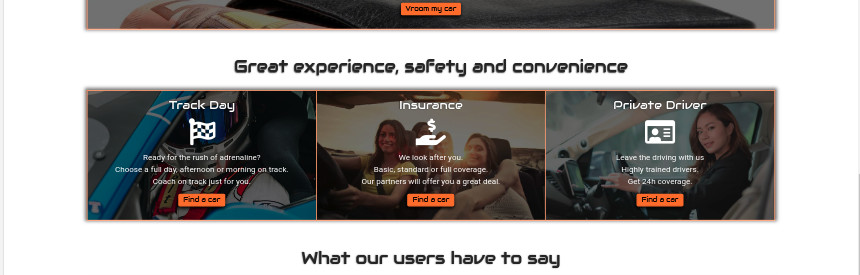
- Below the rent my car section, the add ons section offers options where, after choosing a car for rental, the user can add track day package, change insurance or add private driver service package on their way to checkout.
- When the user clicks on the 'Find a Car' button, it brings the user to the page where the cars are listed.
- For mobile, the cards in this section will organise themselves in a vertical alignment to fit the screen.
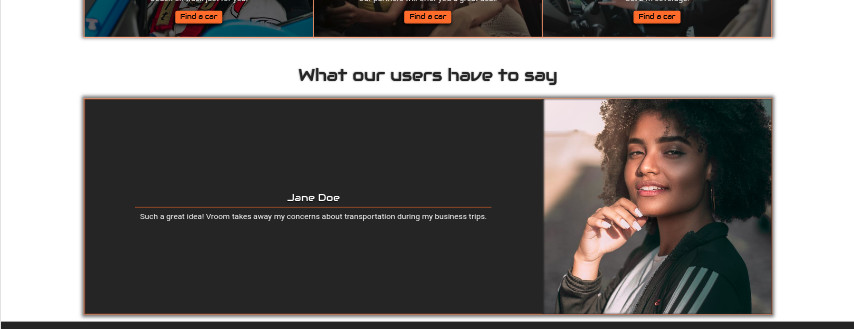
- A carousel of 3 reviews from Vroom users. Each displays a review written by the customer and their picture.
- Page where the user can search for cars, add them to cart or go to the car details page.
- Search area contains a select input field containing 4 possible parameters: Category, Location, Brand and Model, an input field and a search button .
- The search button remains deactivated until the value of the text input field changes
- The results area on load can display all cars or one of the three categories (luxury, custom classic or supersport) if loaded through the relating selection from the dropdown submenu under the 'Find a Car' item on the navbar.
- Once the user submits the desired search parameters, the results area is updated to display the relevant results
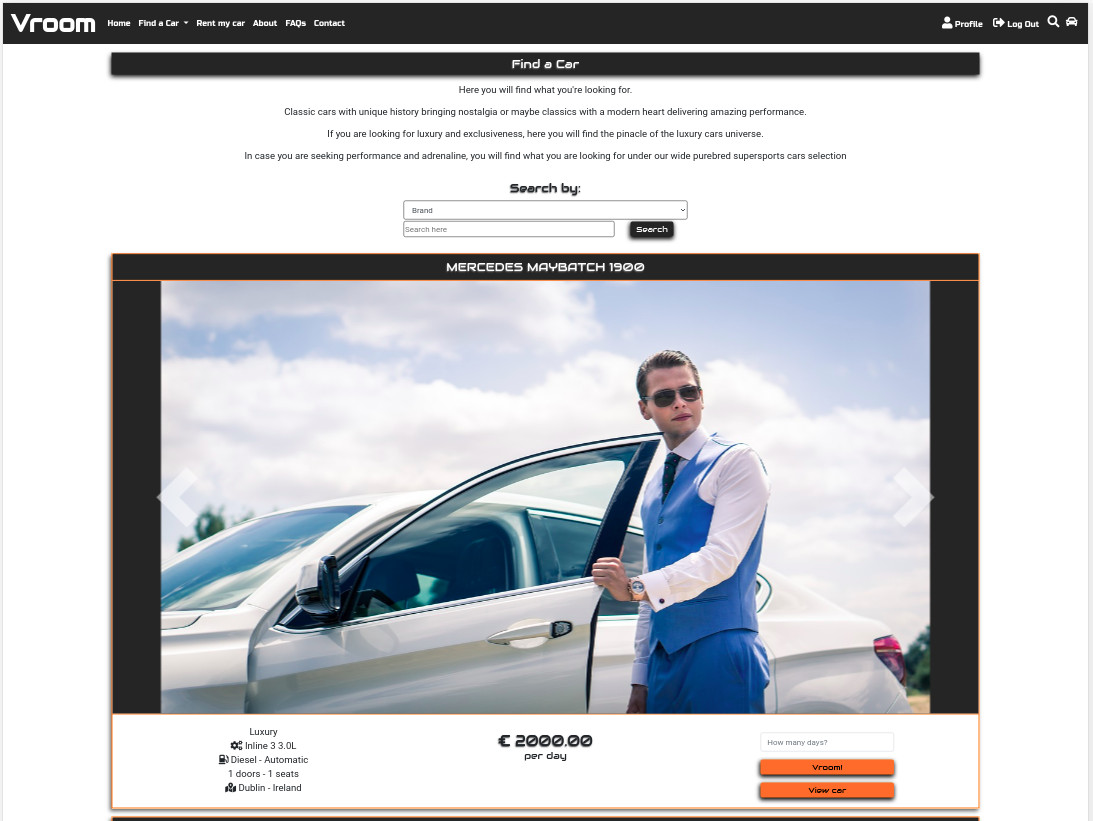
- Each result is displayed within a card divided in 6 major parts:
- Title - Displays car brand, car model and car year in capitalised text.
- Image carousel - Contains 5 images uploaded by the user, automatic sliding deactivated while arrows on the sides allow user to go back and forth through the images.
- Car details - Displays only main details about the car.
- Price - Displays the price of the car per day.
- Add to cart field and Vroom button - This area displays a field with placeholder "How many days?" and the Vroom button to add the selection to cart.
- View car details button - Brings the user the the Car Detail page, where more information about the car is available.

- A short text is displayed to clarify to the user what they will encounter on the page and offer instructions on how to accomplish actions such as add the car to cart or visit the owner's profile.
- The header displays the cars brand, model and year.
- Below the header, a carousel with automatic transition disabled contains 5 pictures of the car uploaded by the owner. The user can navigate through the images using the arrows located on the sides of the image.
- The information section is located below the images and displays expanded details, car owner and a link to visit the owner's profile.
- Price, Add to cart field and Vroom button - This area displays rental price per day, a field with placeholder "How many days?" and the Vroom button to add the selection to cart.
- For the car owner, it will be displayed an Edit button, that will redirect the user to the Edit Car page.

- On mobile the columns are narrower and contain only two elements to preserve redability and visual presentation.

- The form will ask the user for the same fields as during car registration but this time, the fields left blank won't be updated.
- The fields are pre-populated with the current car details
- At the bottom of the form, the user will have the option to Update the cars information or to delete the car.
- In case the user presses the delete button, a modal comes up to confirm that the user really wants to delete the car.
- Registration form is divided into 4 sections to reduce the load of information on the user.
- Each section goes through a validation before the user can move to the next.
- Users can go back to the previous form without triggering the validation.
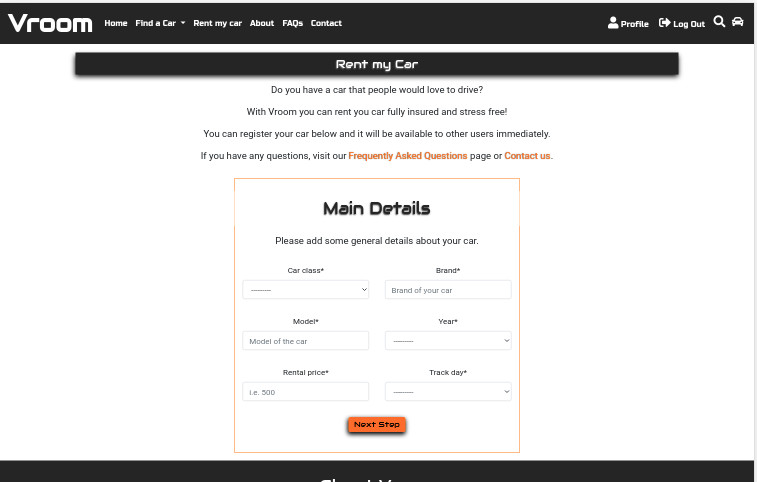
- This section of the form collects the main information for the car such as brand, model, year and such.
- The "Next Step" button brings the user to the next section of the form.
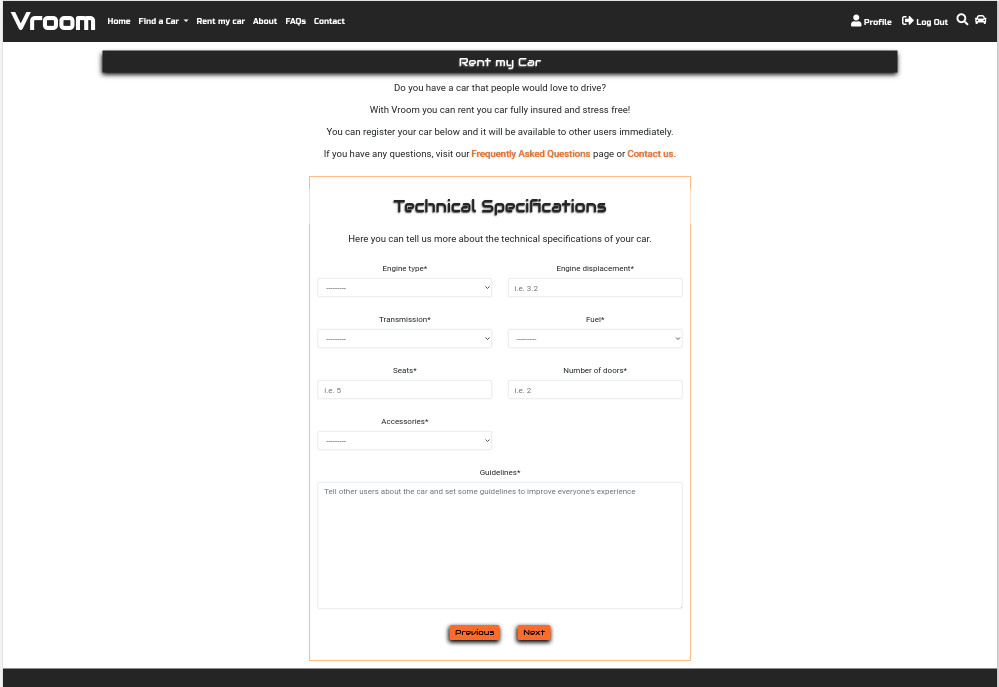
- This section of the form collects the more technical information about the car such as engine type, engine displacement, doors and such.
- The "Next Step" button brings the user to the next section of the form.

- This section of the form collects information about the cars location.
- At this point, the service is only available in 3 cities in Ireland: Cork, Dublin and Galway .
- The "Next Step" button brings the user to the next section of the form.
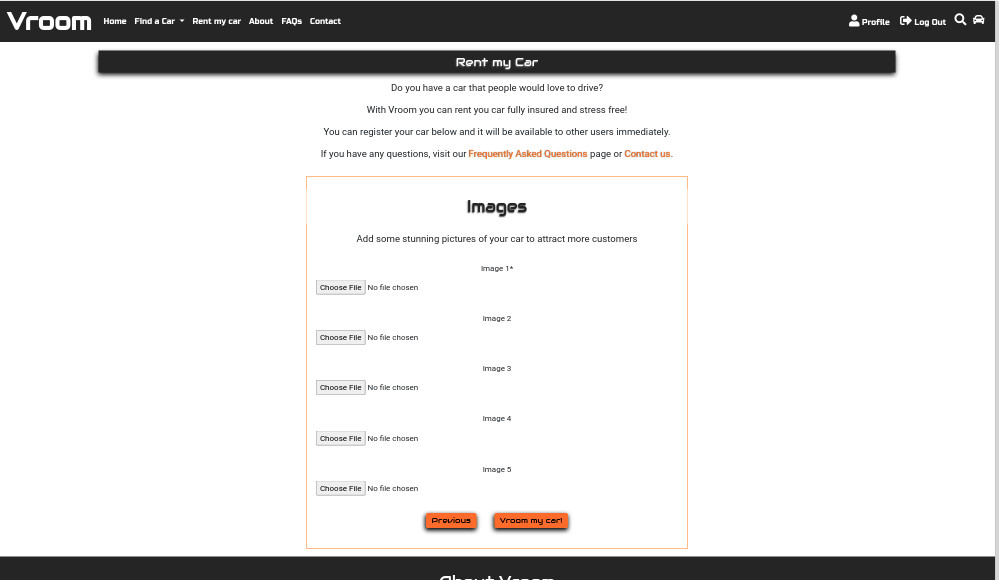
- This section of the form allows users to upload images of the car.
- Only one image is required for form submission.
- The "Vroom my Car" button adds the car to the database, redirects the user to the home page and a message is displayed confirming that the car has been added successfully.

- The about page contains two main sections:
- Our mission - Statement describing what is the goal at Vroom.
- Origins - Here the user will find a few paragraphs about Vroom's history.
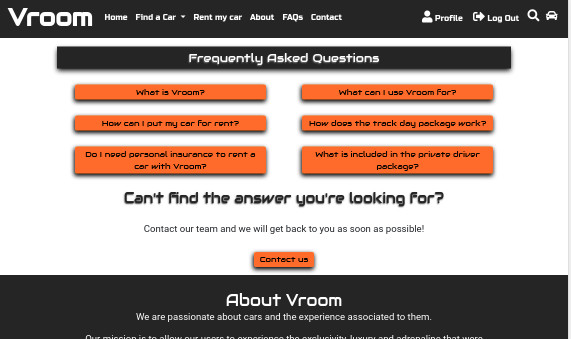
- The frequently asked questions here are displayed as buttons that display the respective answers when clicked.
- The question is displayed inside the button and the answer immediately under the button inside a delimited area.
- Considering the high possibility of different questions from those listed, the page also contains a link to the Contact page.
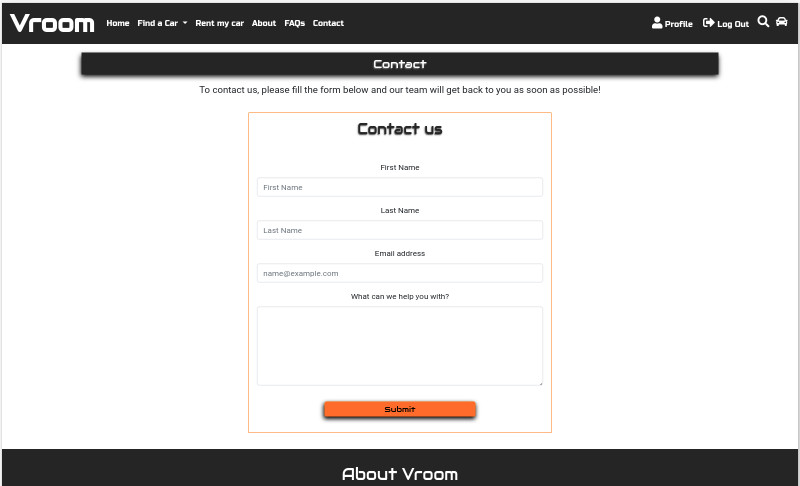
- On the contact page, the user will find a short text just below the header explaining to the user the page content and how to use the form.
- A form is displayed just below the text and it contains fields for first name, last name, email address and a text area for the actual question.
- All the fields in the contact form are required as to offer the necessary information for contacting the user.
- For this project, this form doesn't send the forms to an actual e-mail.
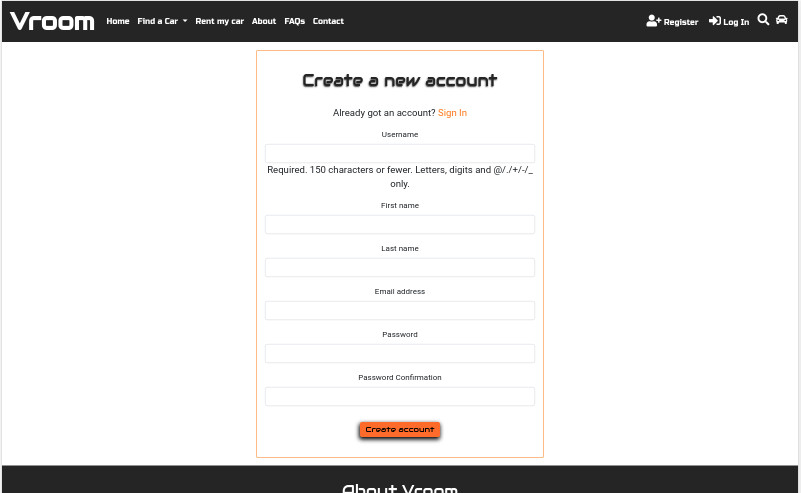
- A user who is not logged in can create a new account using the register page.
- The page on this form includes a username (which must be unique), first name, last name, email address, password and password conformation fields.
- Information about what characters are accepted by these fields is displayed with the form.
- If the user is logged in, the register link on the nav bar won't be visible.
- If a user who is already logged in tries to access this page, they are redirected to the home page and a feedback message is displayed.
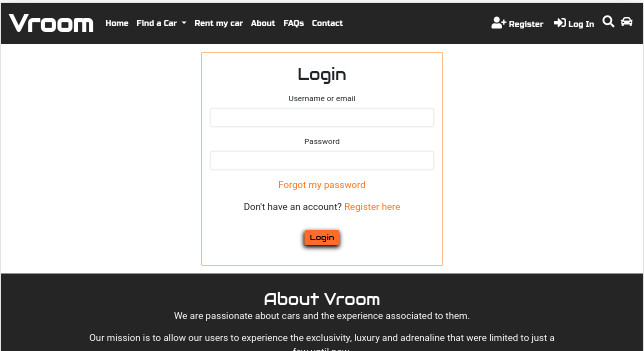
- The login page features a standard login form asking for username and password.
- Validation for this form is handled in the back end and relevant feedback is sent to the user when they sign in or if there is any problem.
- Below the password box, the user will find both a forgot password and a register here links that will bring the user to the reset password page and register page, respectively.
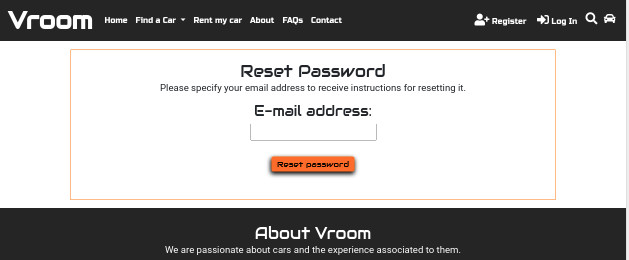
- At the top of the page, the user will find a brief text explaining the process to reset their password
- Below the text, the user will find an input field that asks for their email and the password reset email will be sent to that email address.
- The users profile page can only be accessed by a logged in user.
- Any user not logged in who tries to access their own profile page will be redirected to the login page.
- One user can access other user's profile pages as a visitor but can't edit the information.
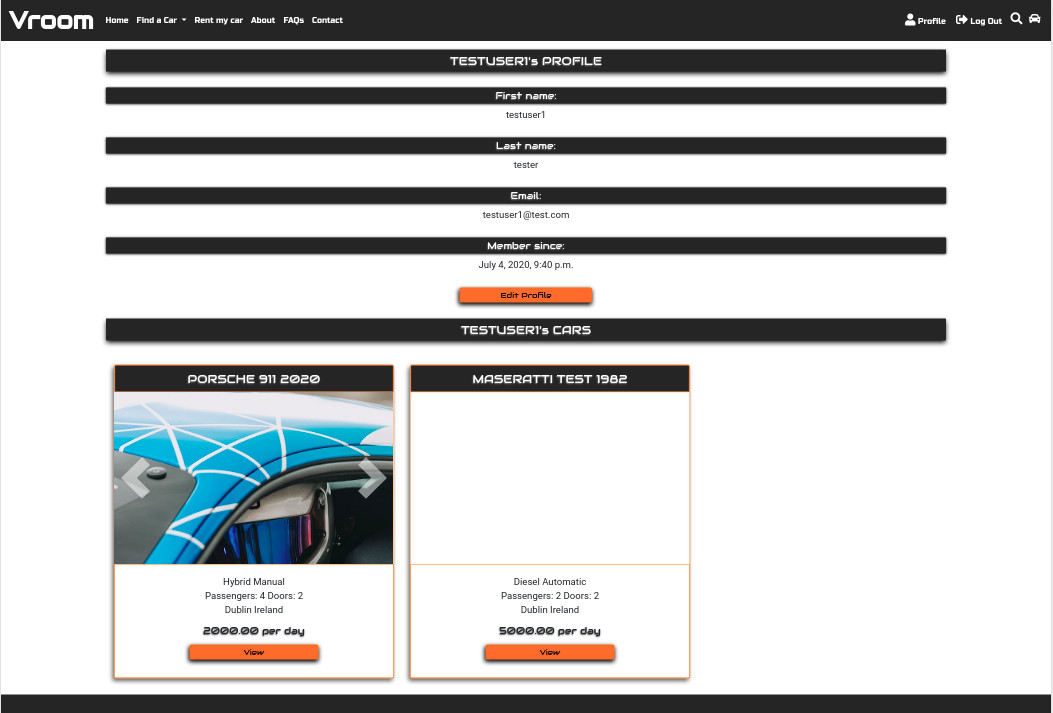
- The profile page is split into two sections:
- Profile Info
- Here is displayed user's first name, last name, email and member since.
- For the profile owner, an edit button will be visible and it will direct the user to the Edit Profile page
- Cars
- The cars owned by this user are displayed here and other users can access these cars details or add them to cart straight from the current page.
- Profile Info
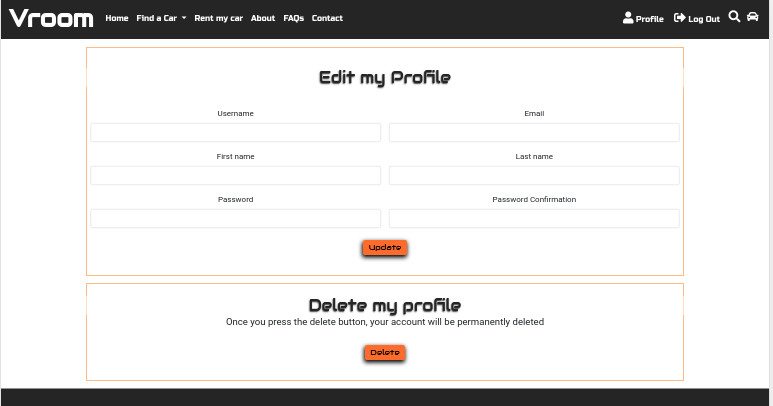
- A short text is displayed to clarify to the user what they will encounter on the page and offer instructions on how to update their profile information and its implications.
- The form will ask the user for the same fields as during their user registration but this time, the fields left blank won't be updated.
- At the bottom of the form, the user will have the option to update or delete their profile.
- In case the user presses the delete button, a modal comes up to confirm that the user really wants to delete their profile.
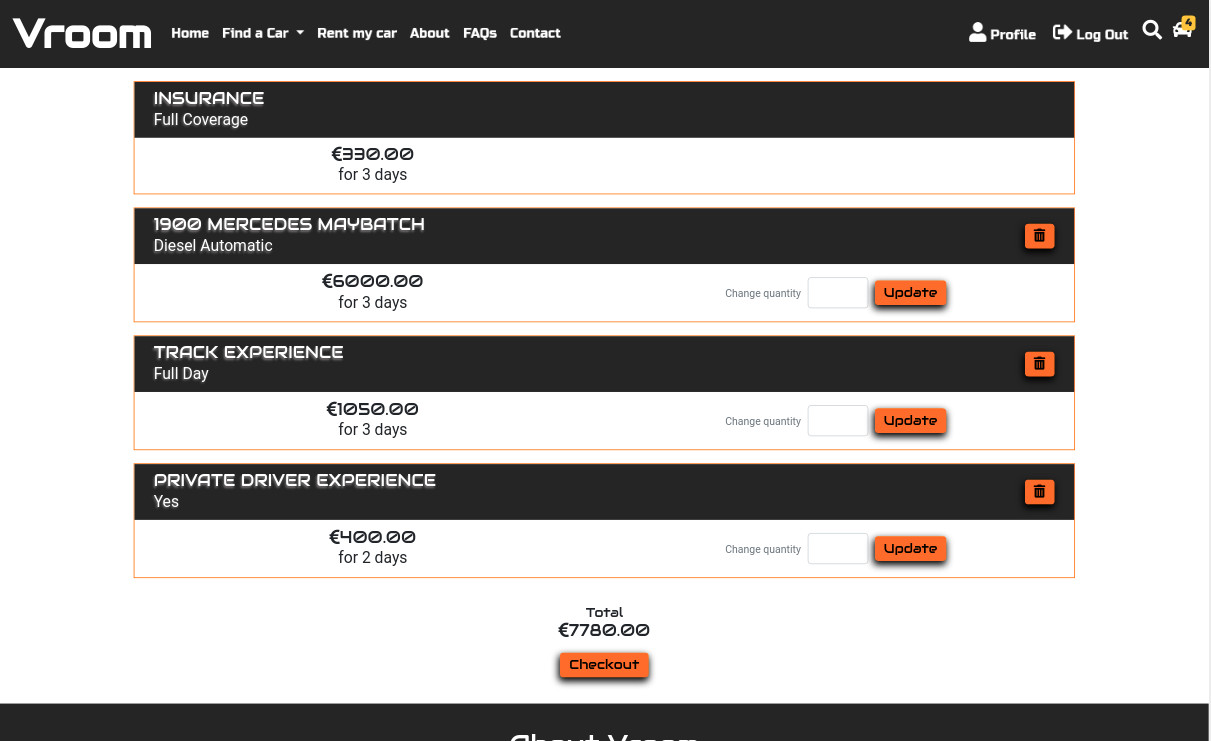
- The shopping cart page features a summary of all the items the user has added to their cart.
- Each list item includes the item title and price.
- For each item, a "number of days" field is displayed where the user can update the number of days or remove the item from the cart by setting the number of days to 0(zero) or using the delete button.
- Any time a quantity is adjusted the subtotal displayed is updated to reflect the change.
- Add ons are displayed below the car the user chose. The add ons include insurance, track day and private driver.
- The number of days for the insurance field will be automatically equal to the number of days the car is being rented.
- The private driver and track days packages can differ from the car rental days as they can be relevant whith other cars.
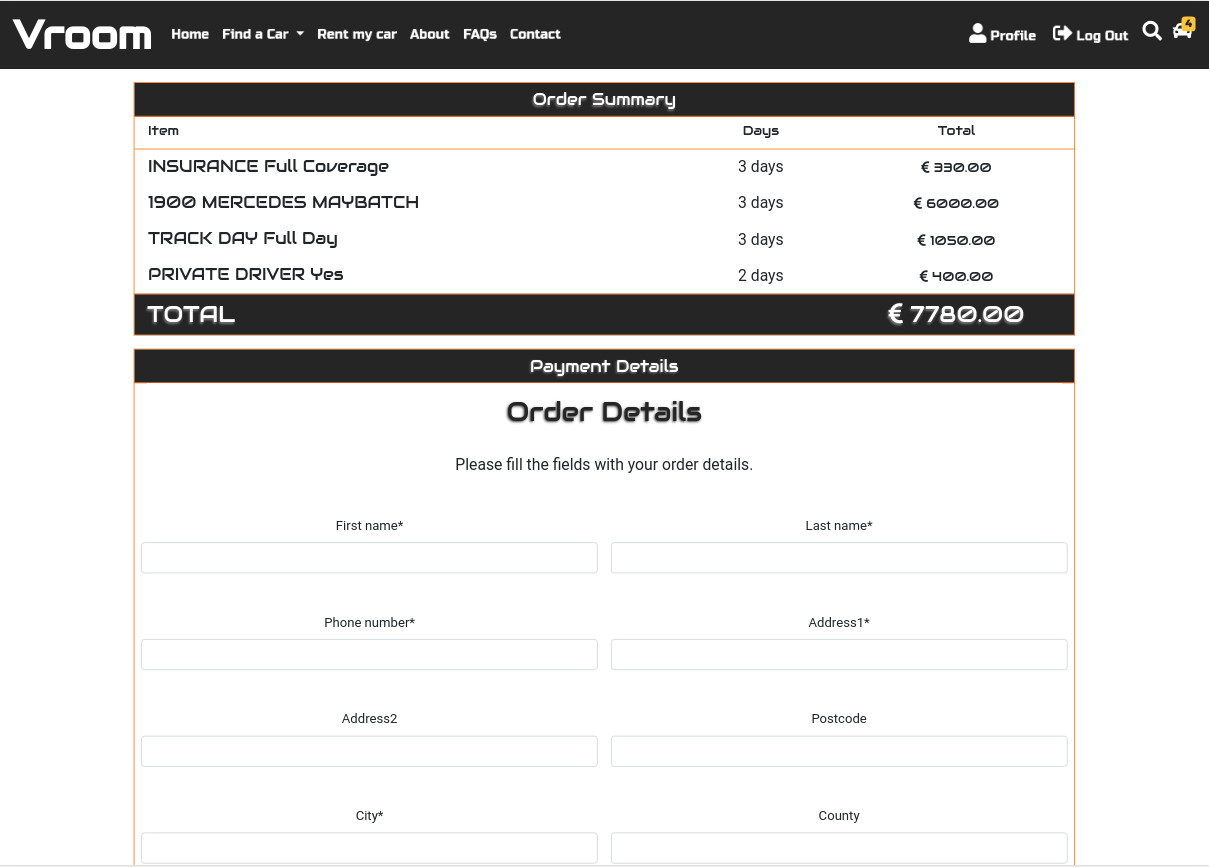
- Area where all items in the users cart are displayed accompained by number of days and price.
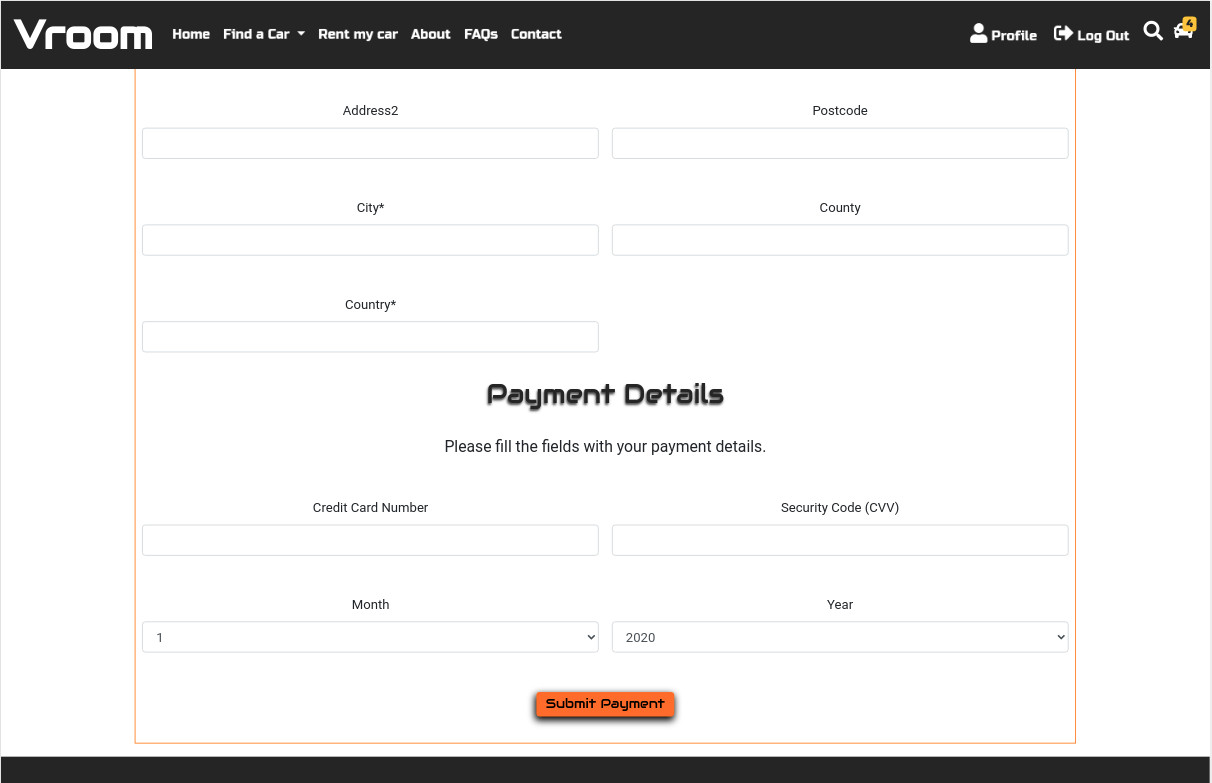
- Form where user supplies personal details such as name, city, country and such.
-
This section is validated by stripe at the backend and it is where the user supplies the payment details for a credit or debit card.
-
Messages are displayed to the user when the payment succeeds or otherwise helping the user to understand what went wrong.
- Coupons and discount codes.
- Checkout pages to include a field for customers to enter discount codes or coupons to adjust their final payment cost.
- The goal is to allow the page to deal with different codes and give the users different amounts of discount.
- This feature can be used as tool for partnerships with other companies.
- Featured Cars
- This feature can be an extra source of revenue for the website and wasn't introduced at this time due to time constraints.
- Pagination on search
- In case of many results, the pagination will help keeping the page short.
- As a framework Django works with SQL databases. During development on my local machine I worked with the standard sqlite3 database installed with Django.
- On deployment, the SQL database provided by Heroku is a PostgreSQL database.
The User model utilized for this project is the standard one provided by django.contrib.auth.models
Within the cars app, the Car model holds all the data for the cars.
| Name | Key in db | Validation | Field Type |
|---|---|---|---|
| Car Owner | car_owner | on_delete=models.CASCADE | ForeignKey to User |
| Car Class | car_class | choices=CATEGORY_CHOICES | CharField |
| Price | price | max_digits=6, decimal_places=2 | DecimalField |
| Brand | brand | max-length=30 | CharField |
| Model | model | max-length=30 | CharField |
| Year | year | max_digits=4, decimal_places=0, choices=YEAR_CHOICES | DecimalField |
| Engine Type | engine_type | choices=ENGINE_TYPE_CHOICES | CharField |
| Displacement | displacement | max_digits=4, decimal_places=1 | DecimalField |
| Transmission | transmission | max_length=20, choices=TRANSMISSION_CHOICES | CharField |
| Fuel | fuel | max_length=50, choices=FUEL_CHOICES | CharField |
| Passengers | passengers | max_digits=10, decimal_places=0, choices=PASSENGER_CHOICES | DecimalField |
| Doors | doors | max_digits=10, decimal_places=0, choices=DOORS_CHOICES | DecimalField |
| Accessories | accessories | max_length=20, choices=ACCESSORIES_CHOICES | CharField |
| City | city | max_length=30, choices=CITY_CHOICES | CharField |
| County | county | max_length=30, choices=COUNTY_CHOICES | CharField |
| Country | country | max_length=30, choices=COUNTRY_CHOICES | CharField |
| Image 1 | image1 | ImageField | |
| Image 2 | image2 | ImageField | |
| Image 3 | image3 | ImageField | |
| Image 4 | image4 | ImageField | |
| Image 5 | image5 | ImageField | |
| Guidelines | guidelines | max_length=500 | TextField |
- Category choices are defined within the Product model.
- The Product model uses Pillow to store all image files in an AWS S3 bucket.
| Name | Key in db | Validation | Field Type |
|---|---|---|---|
| First Name | first_name | max_length=40, blank=False | CharField |
| Last Name | last_name | max_length=40, blank=False | CharField |
| Phone Number | phone_number | max_length=40, blank=False | CharField |
| Address Line 1 | address1 | max_length=40, blank=False | CharField |
| Address Line 2 | address2 | max_length=40, blank=False | CharField |
| Postcode | postcode | max_length=40, blank=False | CharField |
| City | city | max_length=40, blank=False | CharField |
| County | county | max_length=150, blank=True | CharField |
| Country | country | max_length=40, blank=False | CharField |
- An instance of the Order model is created before any OrderItems, as the latter relies on the former for a ForeignKey.
| Name | Key in db | Validation | Field Type |
|---|---|---|---|
| Order | order | on_delete=models.CASCADE, null=False | ForeignKey to Order |
| Car | car | on_delete=models.PROTECT, null=False | ForeignKey to Product |
| Rental Days | rental_days | blank=False | IntegerField |
- An instance of OrderItem is created for each unique product in the users cart. It links to the already existing Order for this user, the relevant product and the quantity the user wishes to buy.
- Gitpod is the IDE used for developing this project.
- Stripe as payment platform to validate and accept credit card payments securely.
- Travis for continuous integration.
- AWS S3 Bucket to store images entered into the database.
- Git to handle version control.
- GitHub to store and share all project code remotely.
- Power Mapper to test functionality on all browsers and devices.
- Heroku to deploy the project.
- Pencil to create the wireframes for this project.
- Am I Responsive to generate responsive images of page in different devices
- Jspell to spell check readme file.
- Compress or die website used to compress image files.
- GIMP to edit, crop and save images.
- PostgreSQL for production database, provided by heroku.
- SQlite3 for development database, provided by django.
- Django as python web framework for rapid development and clean design.
- Boto3 to enable creation, configuration and management of AWS S3.
- Coverage to measure code coverage of python unittests.
- Django Heroku to improve deployment of django projects on heroku.
- Django Storages a collection of custom storage backends with django to work with boto3 and AWS S3.
- Gunicorn WSGI HTTP Server for UNIX to aid in deployment of the Django project to heroku.
- Pillow as python imaging library to aid in processing image files to store in database.
- Psycopg2 as PostgreSQL database adapter for Python.
- Whitenoise to allows the web app to serve its own static files.
- PIP for installation of tools needed in this project.
- JQuery to simplify DOM manipulation.
- Bootstrap to simplify the structure of the website and make the website responsive easily.
- FontAwesome to provide icons for Vroom.
- Google Fonts to style the website fonts.
Testing information can be found in separate TESTING.md file
To run this project on your own IDE follow the instructions below:
Ensure you have the following tools: - An IDE such as Visual Studio Code
The following must be installed on your machine: - PIP - Python 3 - Git
To allow you to access all functionality on the site locally, ensure you have created free accounts with the following services: - Stripe - AWS and set up an S3 bucket - emailjs
Please click the links above for documentation on how to set these up and retrieve the necessary environment variables.
-
Save a copy of the github repository located at Vroom repo by clicking the "download zip" button at the top of the page and extracting the zip file to your chosen folder. If you have Git installed on your system, you can clone the repository with the following command
git clone https://github.com/romqrq/Vroom -
Open your preferred IDE, open a terminal session in the unzip folder or cd to the correct location.
-
A virtual environment is recommended for the Python interpreter, I recommend using Pythons built in virtual environment. Enter the command:
python -m .venv venvNOTE: The
pythonpart of this command and the ones in other steps below assumes you are working with a windows operating system. Your Python command may differ, such aspython3orpy -
Activate the .venv with the command:
.venv\Scripts\activateAgain this command may differ depending on your operating system, please check the Python Documentation on virtual environments for further instructions.
-
If needed, Upgrade pip locally with
pip install --upgrade pip. -
Install all required modules with the command
pip -r requirements.txt. -
Set up the following environment variables within your IDE.
- If using VSCode, locate the
settings.jsonfile within the .vscode directory and add your environment variables as below. Do not forget to restart your machine to activate your environment variables or your code will not be able to see them:
"terminal.integrated.env.windows": {
    "HOSTNAME": "<enter hostname here>",
    "DEV": "1",
    "SECRET_KEY": "<enter key here>",
    "STRIPE_PUBLISHABLE": "<enter key here>",
    "STRIPE_SECRET": "<enter key here>",
    "EMAILJS_USER_ID": "<enter key here>",
    "STRIPE_SUCCESS_URL": "<enter url here>",
    "STRIPE_CANCEL_URL": "<enter url here>",
    "AWS_ACCESS_KEY_ID": "<enter key here>",
    "AWS_SECRET_ACCESS_KEY": "<enter key here>",
    "AWS_STORAGE_BUCKET_NAME": "<enter bucket name here>",

    "EMAIL_ADDRESS": "<enter email address here>",
    "EMAIL_PASSWORD": "<enter password here>",
}
- If using an IDE that includes a
bashrcfile, open this file and enter all the environment variables listed above using the following format:
HOSTNAME="<enter key here>"HOSTNAMEshould be the local address for the site when running within your own IDE.DEVenvironment variable is set only within the development environment, it does not exist in the deployed version, making it possible to have different settings for the two environments. For example setting DEBUG to True only when working in development and not on the deployed site.
- If using VSCode, locate the
-
If you have restarted your machine to activate your environment variables, do not forget to reactivate your virtual environment with the command used at step 4.
-
Migrate the admin panel models to create your database template with the terminal command
python manage.py migrate -
Create your superuser to access the django admin panel and database with the following command, and then follow the steps to add your admin username and password:
python manage.py createsuperuser -
You can now run the program locally with the following command:
python manage.py runserver -
Once the program is running, go to the local link provided and add
/adminto the end of the url. -
Once instances of these items exist in your database your local site will run as expected.
To deploy Vroom to heroku, take the following steps:
-
Create a
requirements.txtfile using the terminal commandpip freeze > requirements.txt. -
Create a
Procfilewith the terminal commandecho web: python app.py > Procfile. -
git addandgit committhe new requirements and Procfile and thengit pushthe project to GitHub. -
Create a new app on the Heroku website by clicking the "New" button in your dashboard. Give it a name and set the region to whichever is applicable for your location.
-
From the heroku dashboard of your newly created application, click on "Deploy" > "Deployment method" and select GitHub.
-
Confirm the linking of the heroku app to the correct GitHub repository.
-
In the heroku dashboard for the application, click on "Settings" > "Reveal Config Vars".
-
Set the following config vars:
| Key | Value |
|---|---|
| AWS_ACCESS_KEY_ID | <your secret key> |
| AWS_SECRET_ACCESS_KEY | <your secret key> |
| AWS_STORAGE_BUCKET_NAME | <your AWS S3 bucket name> |
| DATABASE_URL | <your postgres database url> |
| EMAILJS_USER_ID | <your secret key> |
| HOSTNAME | <your heroku app hostname> |
| SECRET_KEY | <your secret key> |
| STRIPE_CANCEL_URL | <link to all-products page in your app> |
| STRIPE_PUBLISHABLE | <your secret key> |
| STRIPE_SECRET | <your secret key> |
| STRIPE_SUCCESS_URL | <link to checkout/confirm page in your app> |
| EMAIL_ADDRESS | <enter email address here> |
| EMAIL_PASSWORD | <enter password here> |
-
From the command line of your local IDE:
- Enter the heroku postres shell
- Migrate the database models
- Create your superuser account in your new database
Instructions on how to do these steps can be found in the heroku devcenter documentation.
-
In your heroku dashboard, click "Deploy". Scroll down to "Manual Deploy", select the master branch then click "Deploy Branch".
-
Once the build is complete, click the "View app" button provided.
-
From the link provided add
/adminto the end of the url, log in with your superuser account and create an instance of Car within the new database. -
Once the Car instance exists in your database your heroku site will run as expected.
- Many parts of the code came from the course lessons. I changed all that was necessary and because some parts of the code were the standard procedure, they remained unchanged.
- More times than I can count I used resources from Django Documentation.
- Other source of ideas was Stock Overflow, where I could find answers where users faced similar problems.
Special thanks to my mentor Simen Daehlin who have literally changed my path through the course rescuing me from the "averageness", helping me getting out of my comfort zone and showing me I had (most of) the tools all along.
Thanks to Anna Greaves for the support as a Code Institute tutor and also for allowing me to use her amazing readme file as a reference to build mine.
Thanks to all my friends and friends of friends that took a minute of their busy days to test the website and go through the trouble of sending me a feedback. Thanks, people!
And last but definitely not least, I'd like to thank my family and my fiancé Rebecca that has been so supportive, encouraging and so so so patient! Thanks babe.
To contact me feel free to email
rjaalbuquerque (at) gmail (dot) com

