This is a small home-made alarmsystem based on a raspberry pi. The alarmsystem is able to detect motion through a PIR-sensor. If a motion is detected, the raspberry starts taking images from the suspicious movements. Those images are then immediately backed-up to AWS S3, so that in case the raspberry gets destroyed, some images have made it to the backup. In addition to this, the raspberry sends a notification to an AWS SNS topic, so that the owner can get notified in multiple ways (email, SMS, Push etc.).
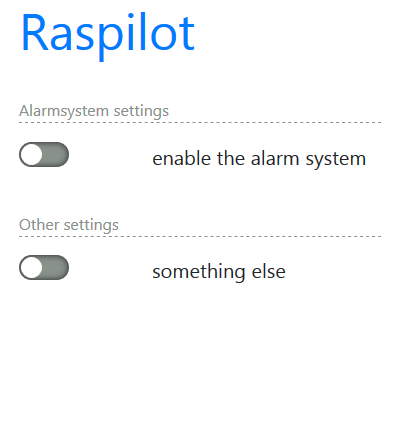
If you have the possibility to run a web application, here are some good news: I have included a simple webapp which can run on a webserver and viewed on a smartphone. With this webapp, it is possible to start or stop the alarmsystem without the need to SSH into your raspberry. Of course it is possible to run this webapp on the raspberry itself. The installation section covers how to do that.
Using AWS services implies costs. They are really low, but they will occur. See here for pricing of the used services:
0.0.1
Tested on
- Model B Rev.2
- Used Tech
- Setting up the raspberry camera
- Setting up the raspberry
- Setting up the raspberry 433Mhz module
- Setting up AWS
- Setting up the app
- Setting up Netbeans for development
The project in written in Java and makes use of the following technologies:
First of all, you have to connect the camera to the raspberry pi. The following pages give instructions on how to do that:
- Wifi connection
- wiring pi
$ sudo apt-get install git-core
$ git clone git://git.drogon.net/wiringPi
$ cd wiringPi
$ ./build- pilight
To switch on lights in an event of suspicious movement, we need radio-controllable plugs and radio sender for raspberry pi. This page explains how to set it up on the raspberry (Step 4).
Before coming to the required AWS services, you need to have an AWS account. See here for more information on what AWS is and how to create an account.
Once you have an account, log in and do the following.
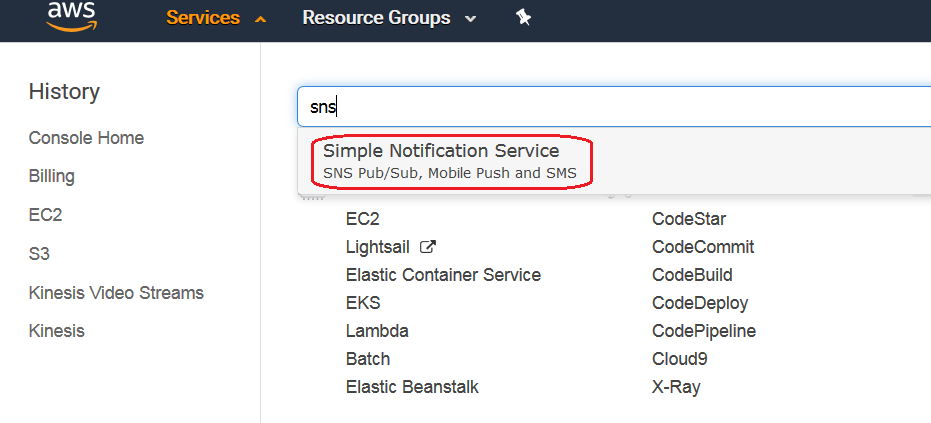
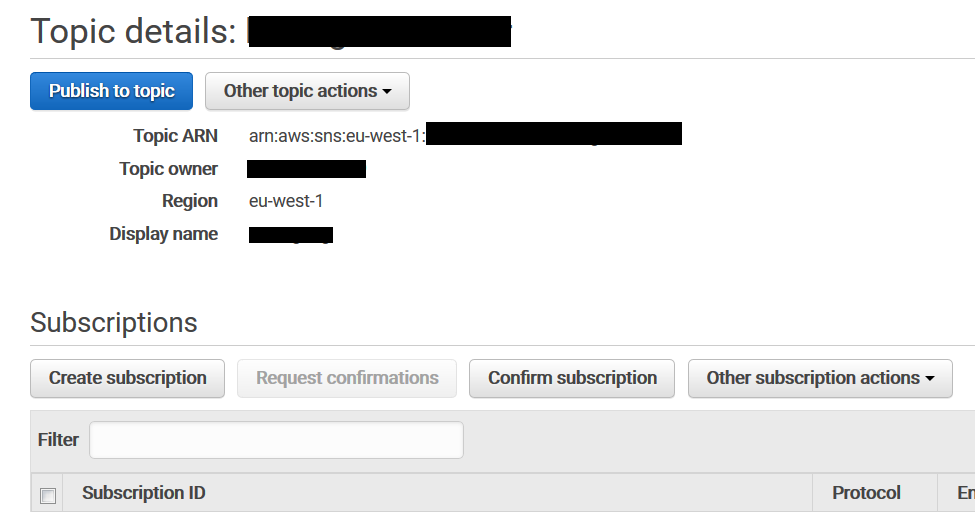
- Move to the SNS service section
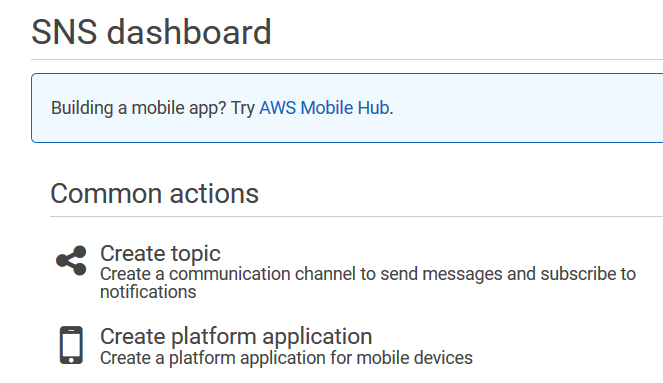
- Click on "Create topic"
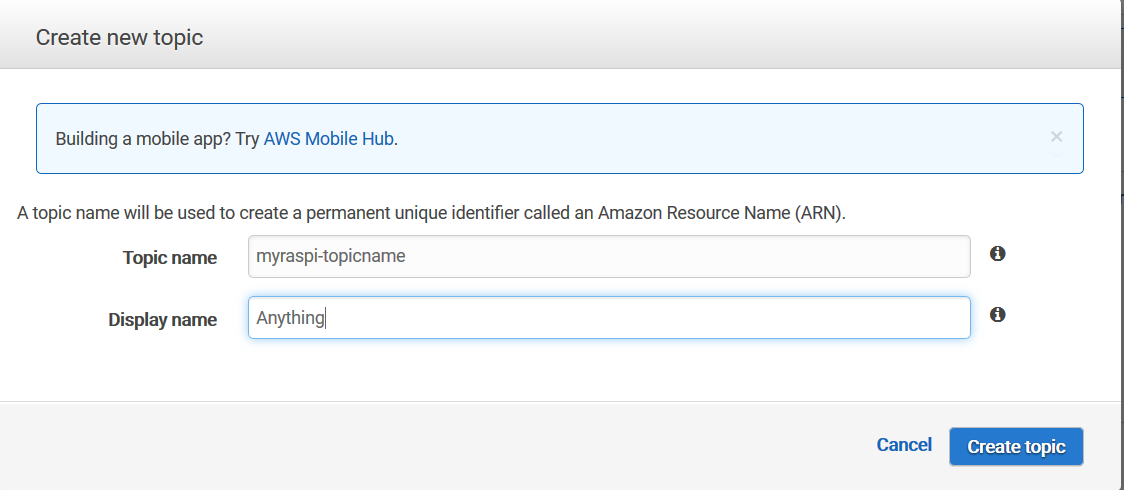
- Specify a Topic name and a Display name and click on "Create topic"
- Now, click on "Create subscription"
- Specify the way you want to get informed. In this case, I wanted to get informed by SMS, but email is also possible.
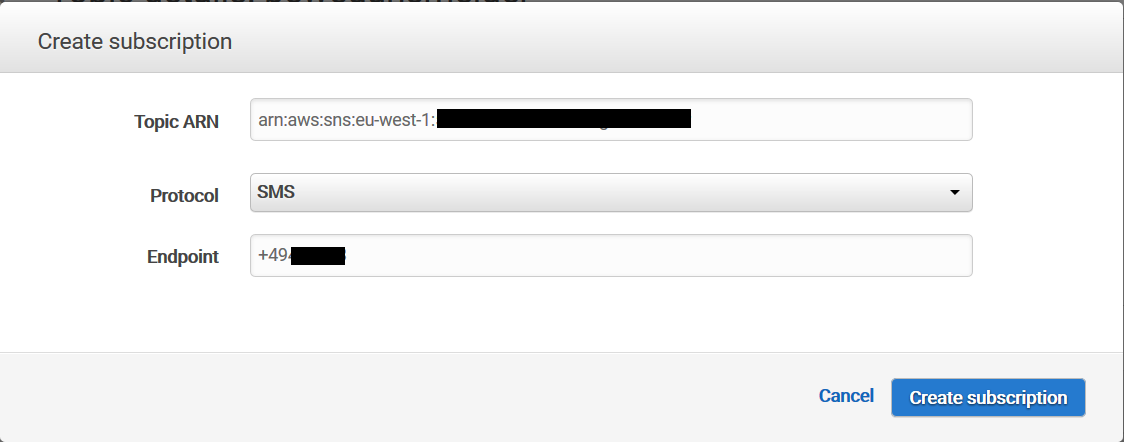
Once done, you will receive a message to confirm the subscription. After you have confirmed it, you´re good to go.
- Move to the S3 service and click on "Create bucket" to create a bucket. Give it a name and save it.
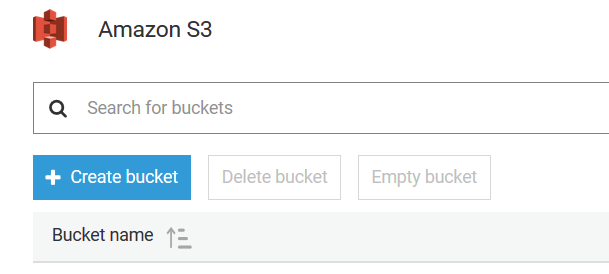
- Make sure you note down the region and the bucketname as they will be required later
Now that we have our services in place, we need to create a user with access permissions to the created recssources.
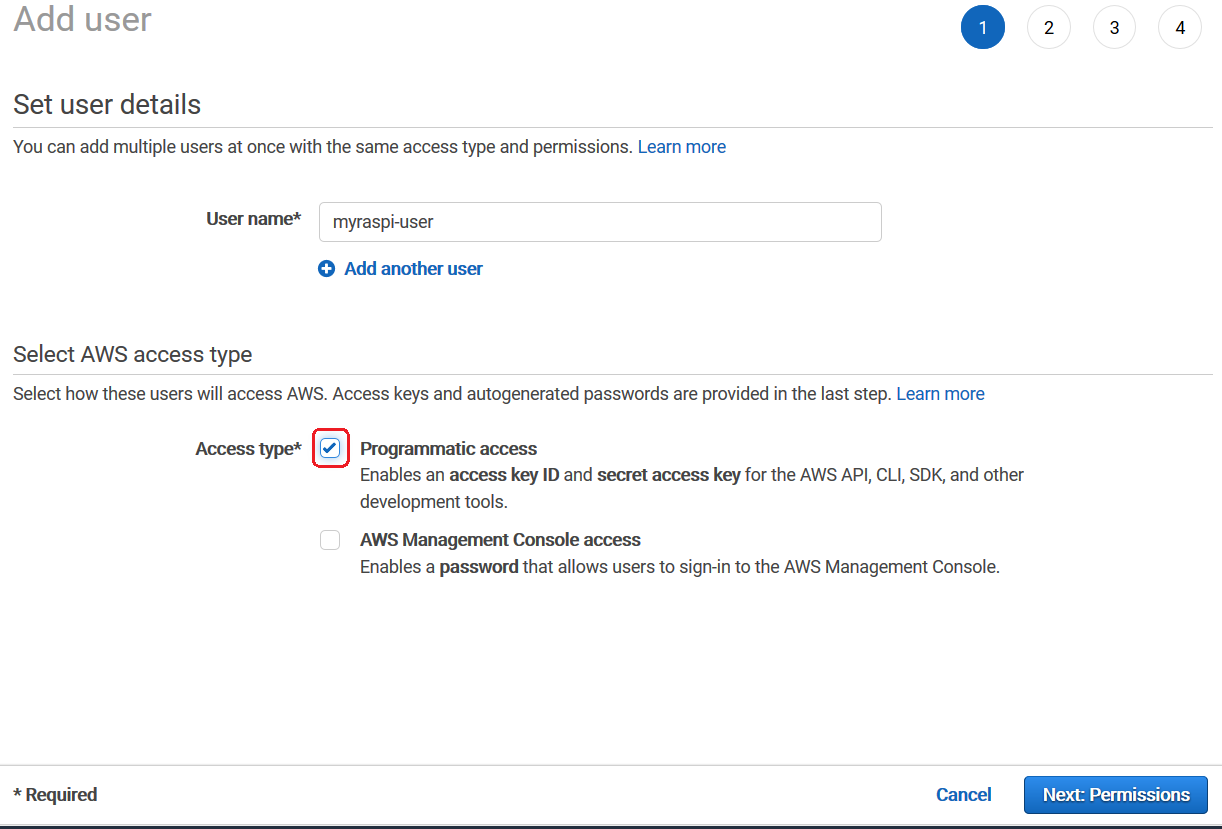
- Switch to the IAM service, click on "Users" and click "Add user".
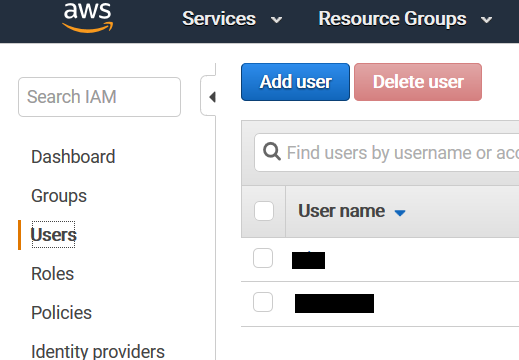
- Specify a username, check the "Programmatic access" checkbox and click "Next: Permissions".
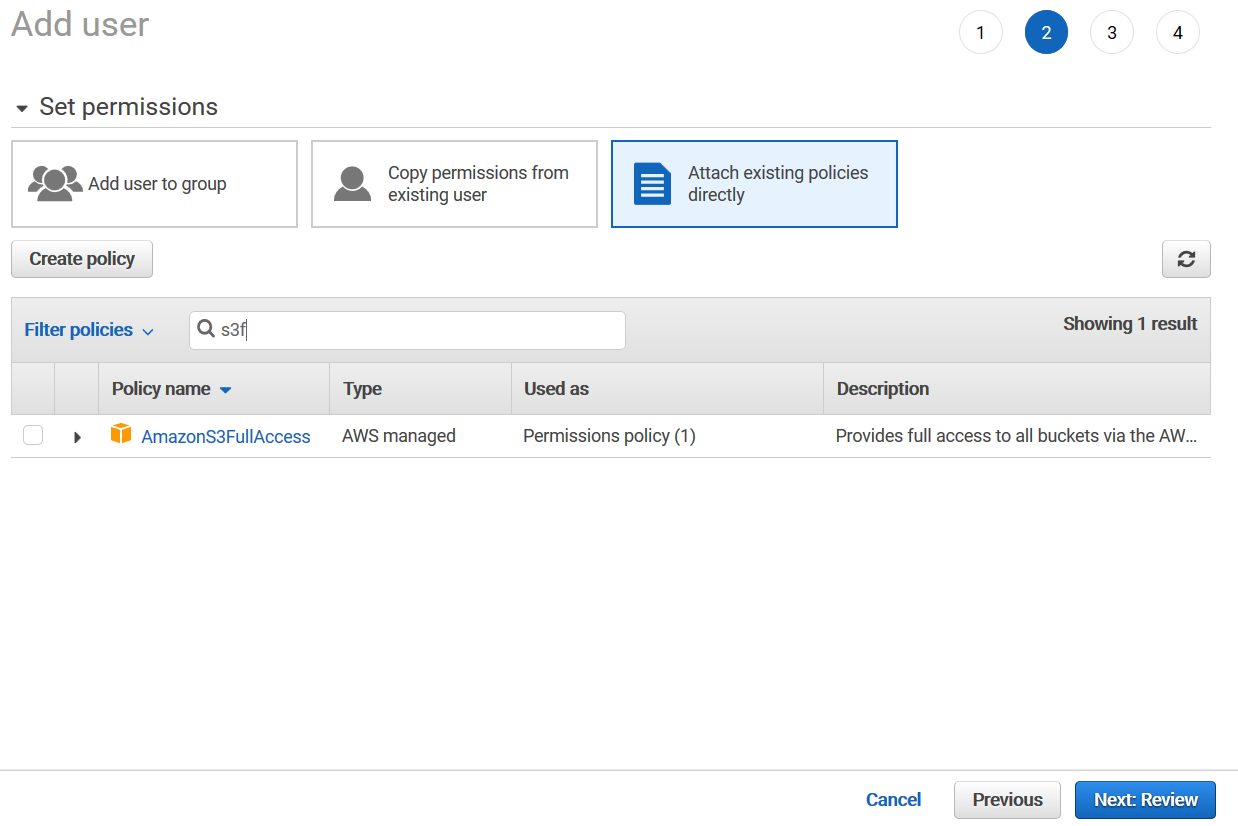
- Click on "Attach existing policies directly", search for "Amazons3FullAccess" and check it.
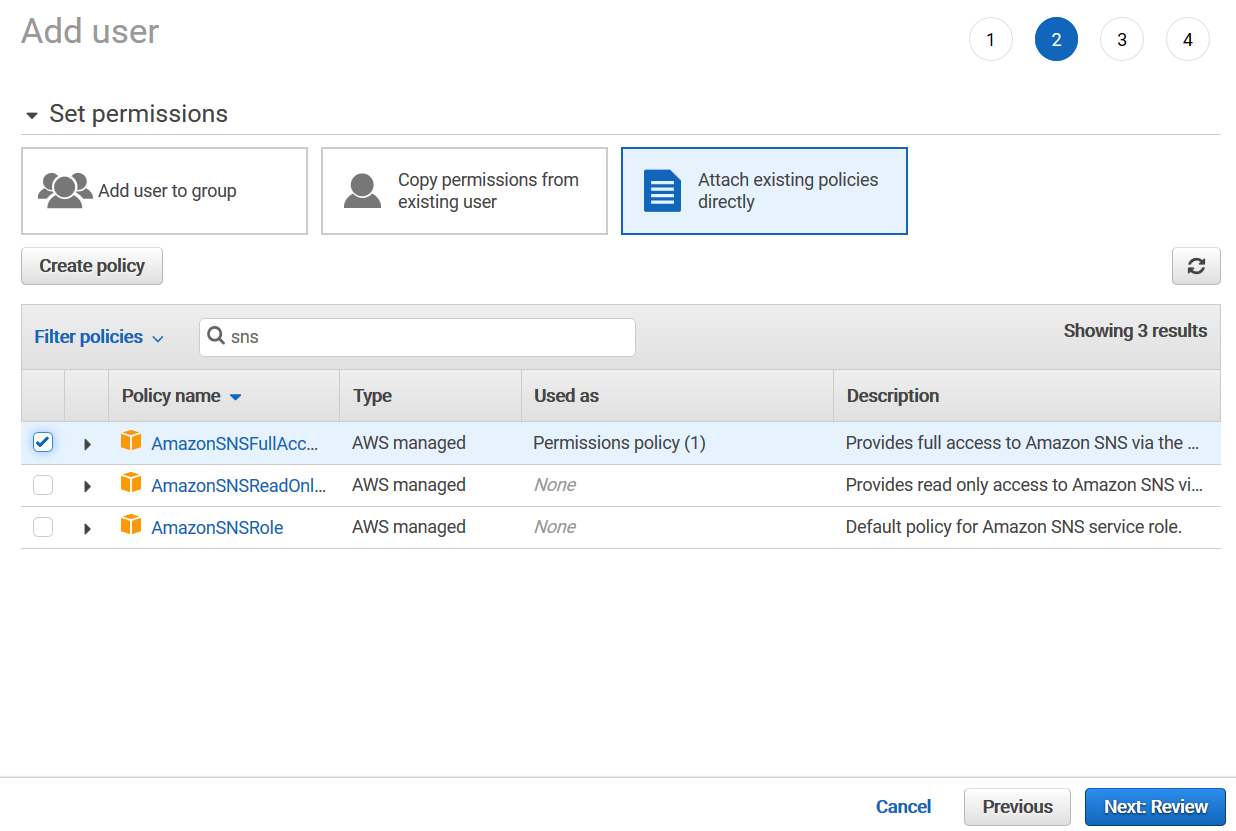
- Now search for "SNSFullAccess" and check it. Click "Next: Preview"
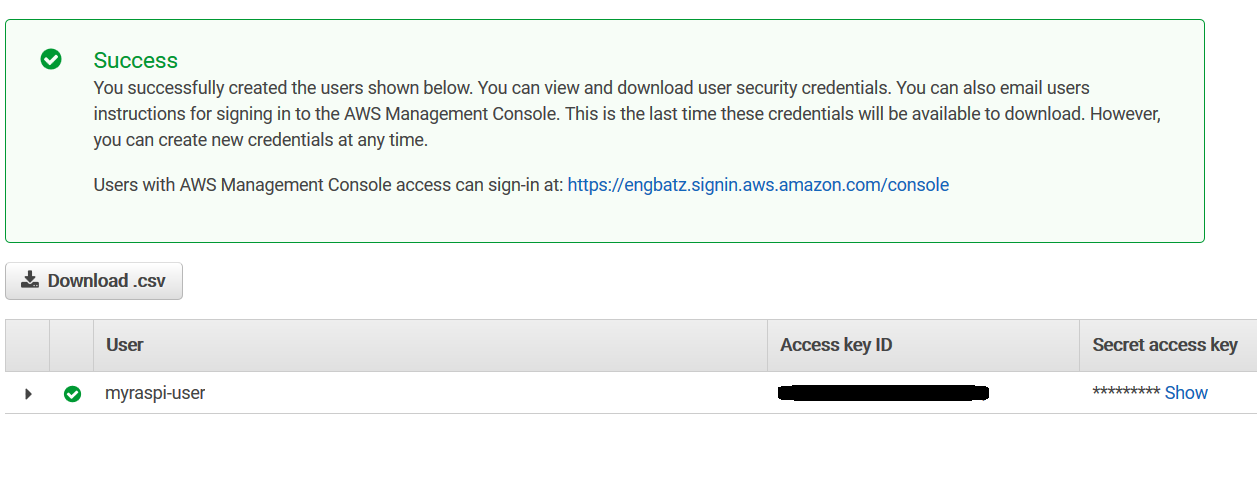
- Click on "Create user".
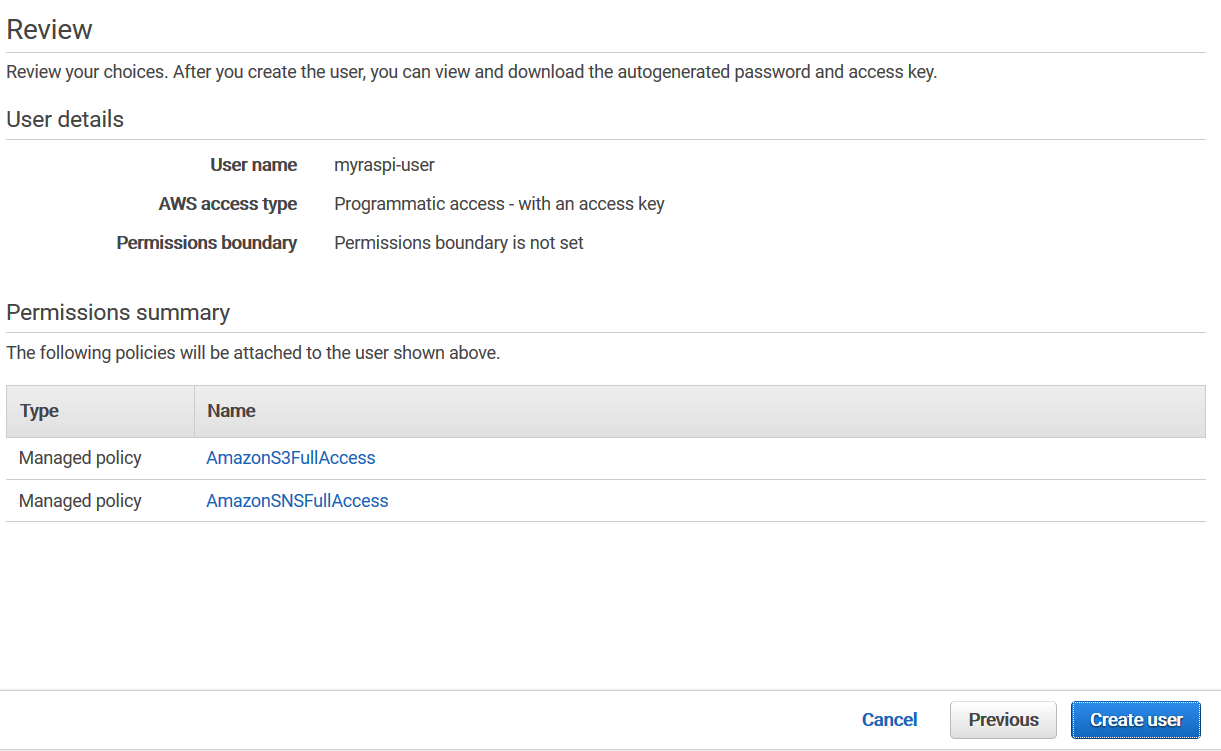
- Note down your Access key ID and your Secret access key
Now that you have the access key id and the secret access key, you have to place your credentials on the raspberry. Create a credentials file in the pi users home dir:
$ mkdir /home/pi/.aws
$ nano /home/pi/.aws/credentials
The files conten should looks as follows:
[default]
aws_access_key_id=<your-key-here>
aws_secret_access_key=<your secret here>
Install the alarmsystem
Some time ago, Oracle announced a JDK which runs on ARM processors,which enables the raspberry to run java programs. Together with the Pi4J library, it is possible to directly access GPIO connected devices. To install java, simply execute the following steps:
$ sudo apt-get install oracle-java8-jdkBefore you will be able to execute the alarmsystem project, you have to compile it. Execute the following steps to do so:
$ sudo apt-get update
$ apt-get install git
$ git clone https://github.com/EllisTheEllice/raspi-alarm
$ cd raspi-alarm
$ wget http://ftp-stud.hs-esslingen.de/pub/Mirrors/ftp.apache.org/dist/maven/maven-3/3.5.4/binaries/apache-maven-3.5.4-bin.tar.gz
$ tar -xzf apache-maven-3.5.4-bin.tar.gz
$ export PATH=$PATH:/home/pi/raspi-alarm/apache-maven-3.5.4/bin
$ export JAVA_HOME=/usr/lib/jvm/jdk-8-oracle-arm32-vfp-hflt
$ cd alarmsystem
Before you compile, you should have a look at the src/main/java/github/ellisthealice/alarmsystem/util/Props.java file so that it fits to your environment. After that, you can compile:
$ mvn clean installNow, let´s create a service. This will be needed to autostart the alarmsystem after errors as well as for the webapp.
$ cd ../
$ sudo cp linux/alarmsystem.service /etc/systemd/system/
$ sudo systemctl deamon-reload
$ sudo systemctl enable alarmsystem.service
#Now you should be able to start the service
$ sudo systemctl start alarmsystem.service
# You can check the status
$ sudo systemctl status alarmsystem.service
# You can also check the logs
$ ls /var/log/alarmsystem
Install the webapp
SSH into your raspberry pi and execute the following commands to install apache along with PHP:
$ sudo apt-get update
$ sudo groupadd www-data
$ sudo usermod -a -G www-data www-data
$ sudo nano /etc/apt/sources.list
#Now, add the folowing line to it at save the file:
deb http://mirrordirector.raspbian.org/raspbian/ stretch main contrib non-free rpi
#Edit your preferences to control how apt-get updates its packages
$ sudo nano /etc/apt/preferences
    Package: *
    Pin: release n=jessie
    Pin-Priority: 600
$ sudo apt-get update
#Now install apache and PHP
$ sudo apt-get install -t stretch apache2 -y
$ sudo apt-get install -t stretch php7.0 php7.0-curl php7.0-fpm php7.0-cli php7.0-opcache php7.0-json -y
$ sudo apt-get install -t stretch libapache2-mod-php7.0 -y

#Make the pi user part of the www-data group
$ sudo usermod -a -G www-data pi

#To allow the www-data user to start/stop the service created above, do the following
$ sudo visudo
Add these lines:
www-data ALL=(ALL:ALL) NOPASSWD: /bin/systemctl start alarmsystem
www-data ALL=(ALL:ALL) NOPASSWD: /bin/systemctl stop alarmsystem
Caution: Editing the sudoers file can harm the system. Please make sure you are aware of possible problems!
Now that apache and PHP are installed, you can bring the webapp to it. Copy the contents of the raspilot folder to your /var/www/html folder.
$ sudo cp raspilot /var/www/html/
$ sudo chown -R www-data:www-data /var/www/html/rapilot
You should now be able to visit the webapp using http://{raspi-ip}/raspilot