FlexLayout 연습 레포
- 루트 컨테이너 1개
- rootFlexContainer
- 레이블 3개
- firstLabel, secondLabel, thirdLabel
- 뷰 7개
- redView, orangeView, yellowView, greenView, blueView, purpleView, grayView
// ViewController.swift
import UIKit
import PinLayout
import FlexLayout

class ViewController: UIViewController {
    // MARK: - UI
    let customView = CustomView()

    // MARK: - View Life-Cycle

    override func loadView() {
        view = customView
    }

    override func viewDidLoad() {
        super.viewDidLoad()

    }

    // PinLayout을 통해 container의 layout을 먼저 잡아준 후, flex를 통해 하위뷰들의 layout을 잡아준다.
    override func viewDidLayoutSubviews() {
        super.viewDidLayoutSubviews()

        let safeArea = customView.rootFlexContainer.pin.safeArea // safeArea를 지정해주지 않고 실행하면, 화면 상단의 status bar를 침범하게 된다! (그렇게 뷰를 그리는게 의도라면 safeArea를 아래의 all() 안에 작성해주지 않아도 된다.

        customView.rootFlexContainer.pin.all(safeArea) // flexbox container의 layout 설정
        customView.rootFlexContainer.flex.layout() // flex.layout()을 통해 flexbox의 하위뷰들의 layout 설정
    }

    // MARK: - ETC

}단일 뷰 추가하기
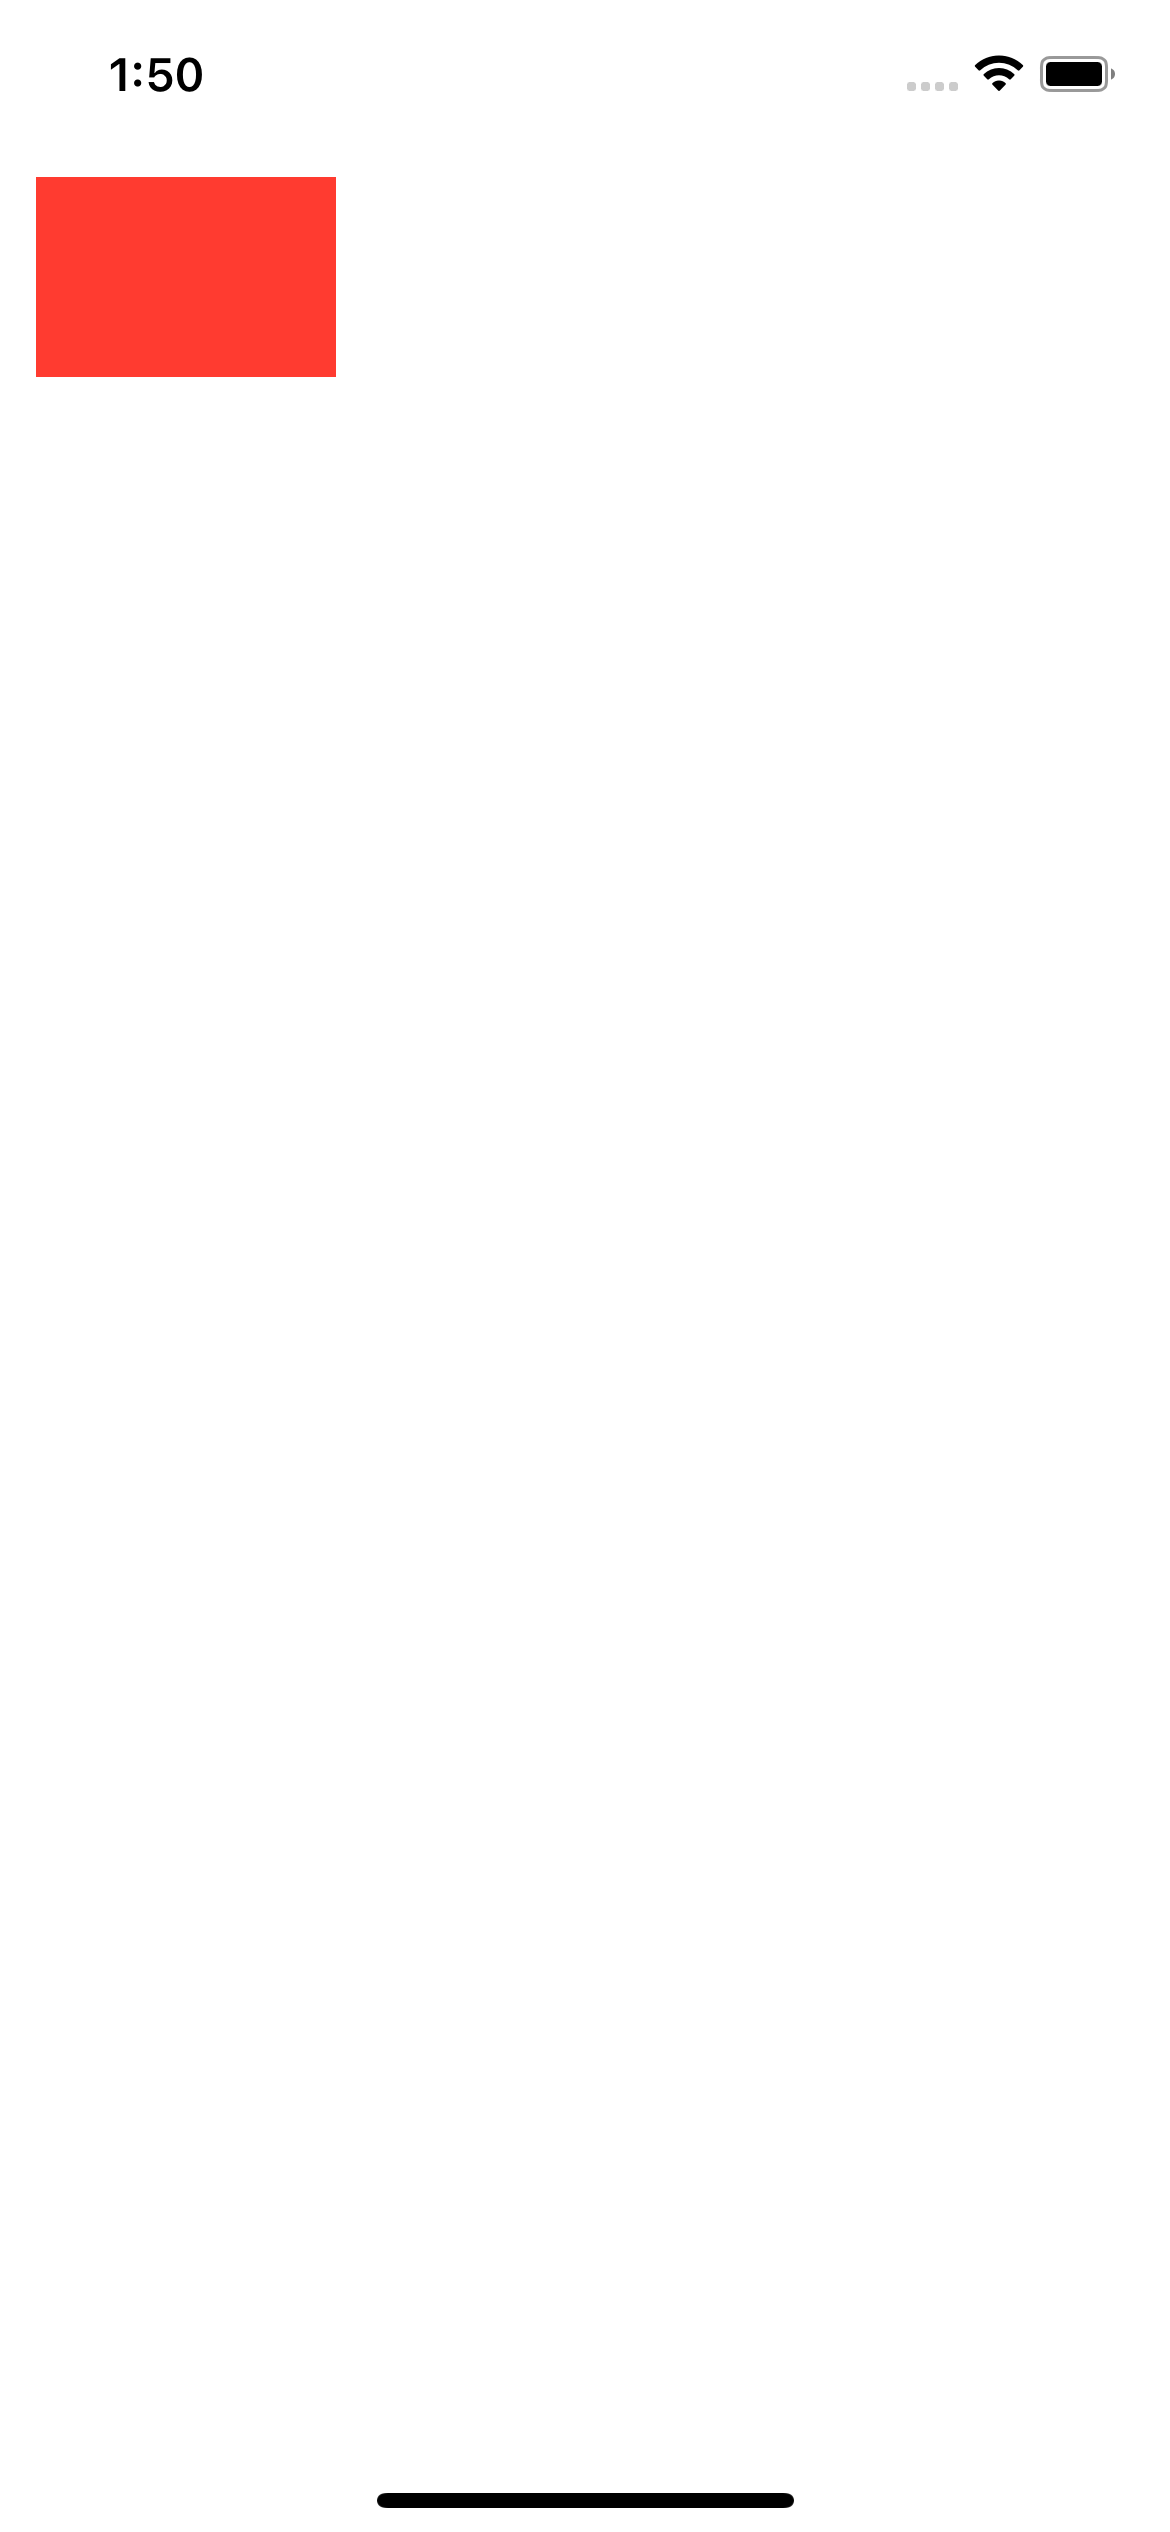
// CustomView.swift
    func setLayout() {
        rootFlexContainer.flex.direction(.column).padding(12).define { flex in
            flex.addItem().direction(.row).define { flex in
                flex.addItem(redView).width(100).aspectRatio(1.5)
            }
        }
}두개의 horizontal 스택뷰를 수직(vertically)으로 추가하기
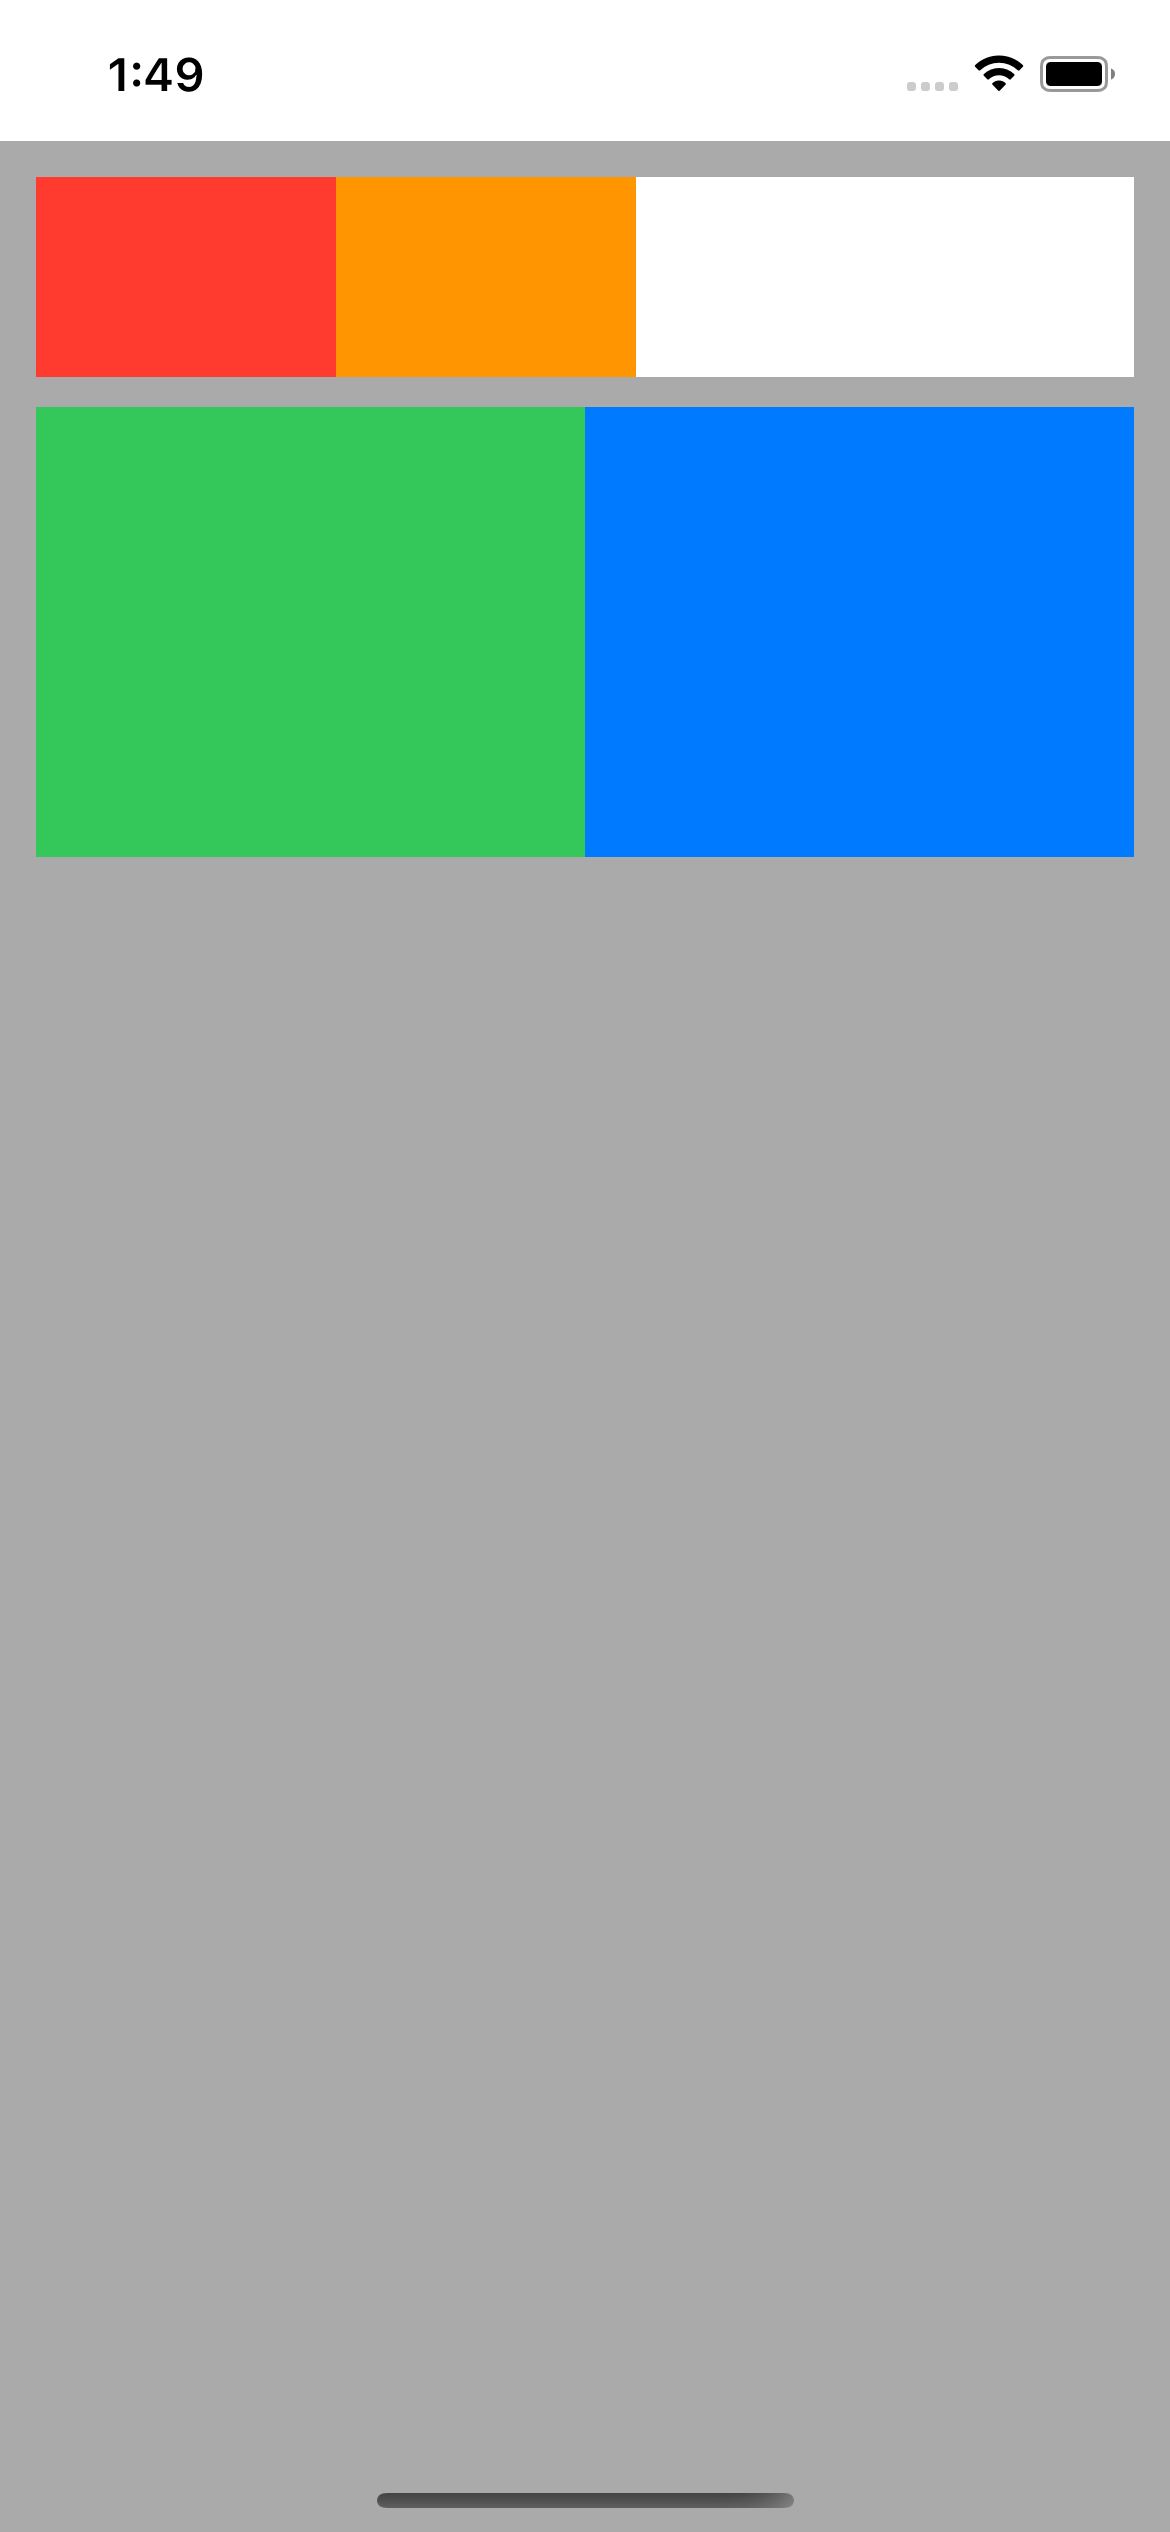
// CustomView.swift
    func setLayout() {
        rootFlexContainer.backgroundColor = .lightGray

        rootFlexContainer.flex.direction(.column).padding(12).define {
            // 스택뷰 1 : 최상단 row에 redView, orangeView 추가
            $0.addItem().direction(.row).define {
                $0.addItem(redView).width(100).aspectRatio(1.5)
                $0.addItem(orangeView).width(100).aspectRatio(1.5)

                $0.backgroundColor(.white)
            }

            // 스택뷰 2 : 그 아래 row에 greenView, blueView를 같은 너비로 추가
            $0.addItem().direction(.row).marginTop(10).define {
                $0.addItem(greenView).height(150).grow(1)
                $0.addItem(blueView).height(150).grow(1)

                $0.backgroundColor(.white)
            }
        }
}두개의 레이블 추가하고 레이블 하단과 뷰들의 margin은 10, 뷰 하단과 레이블 상단의 margin은 20 주기
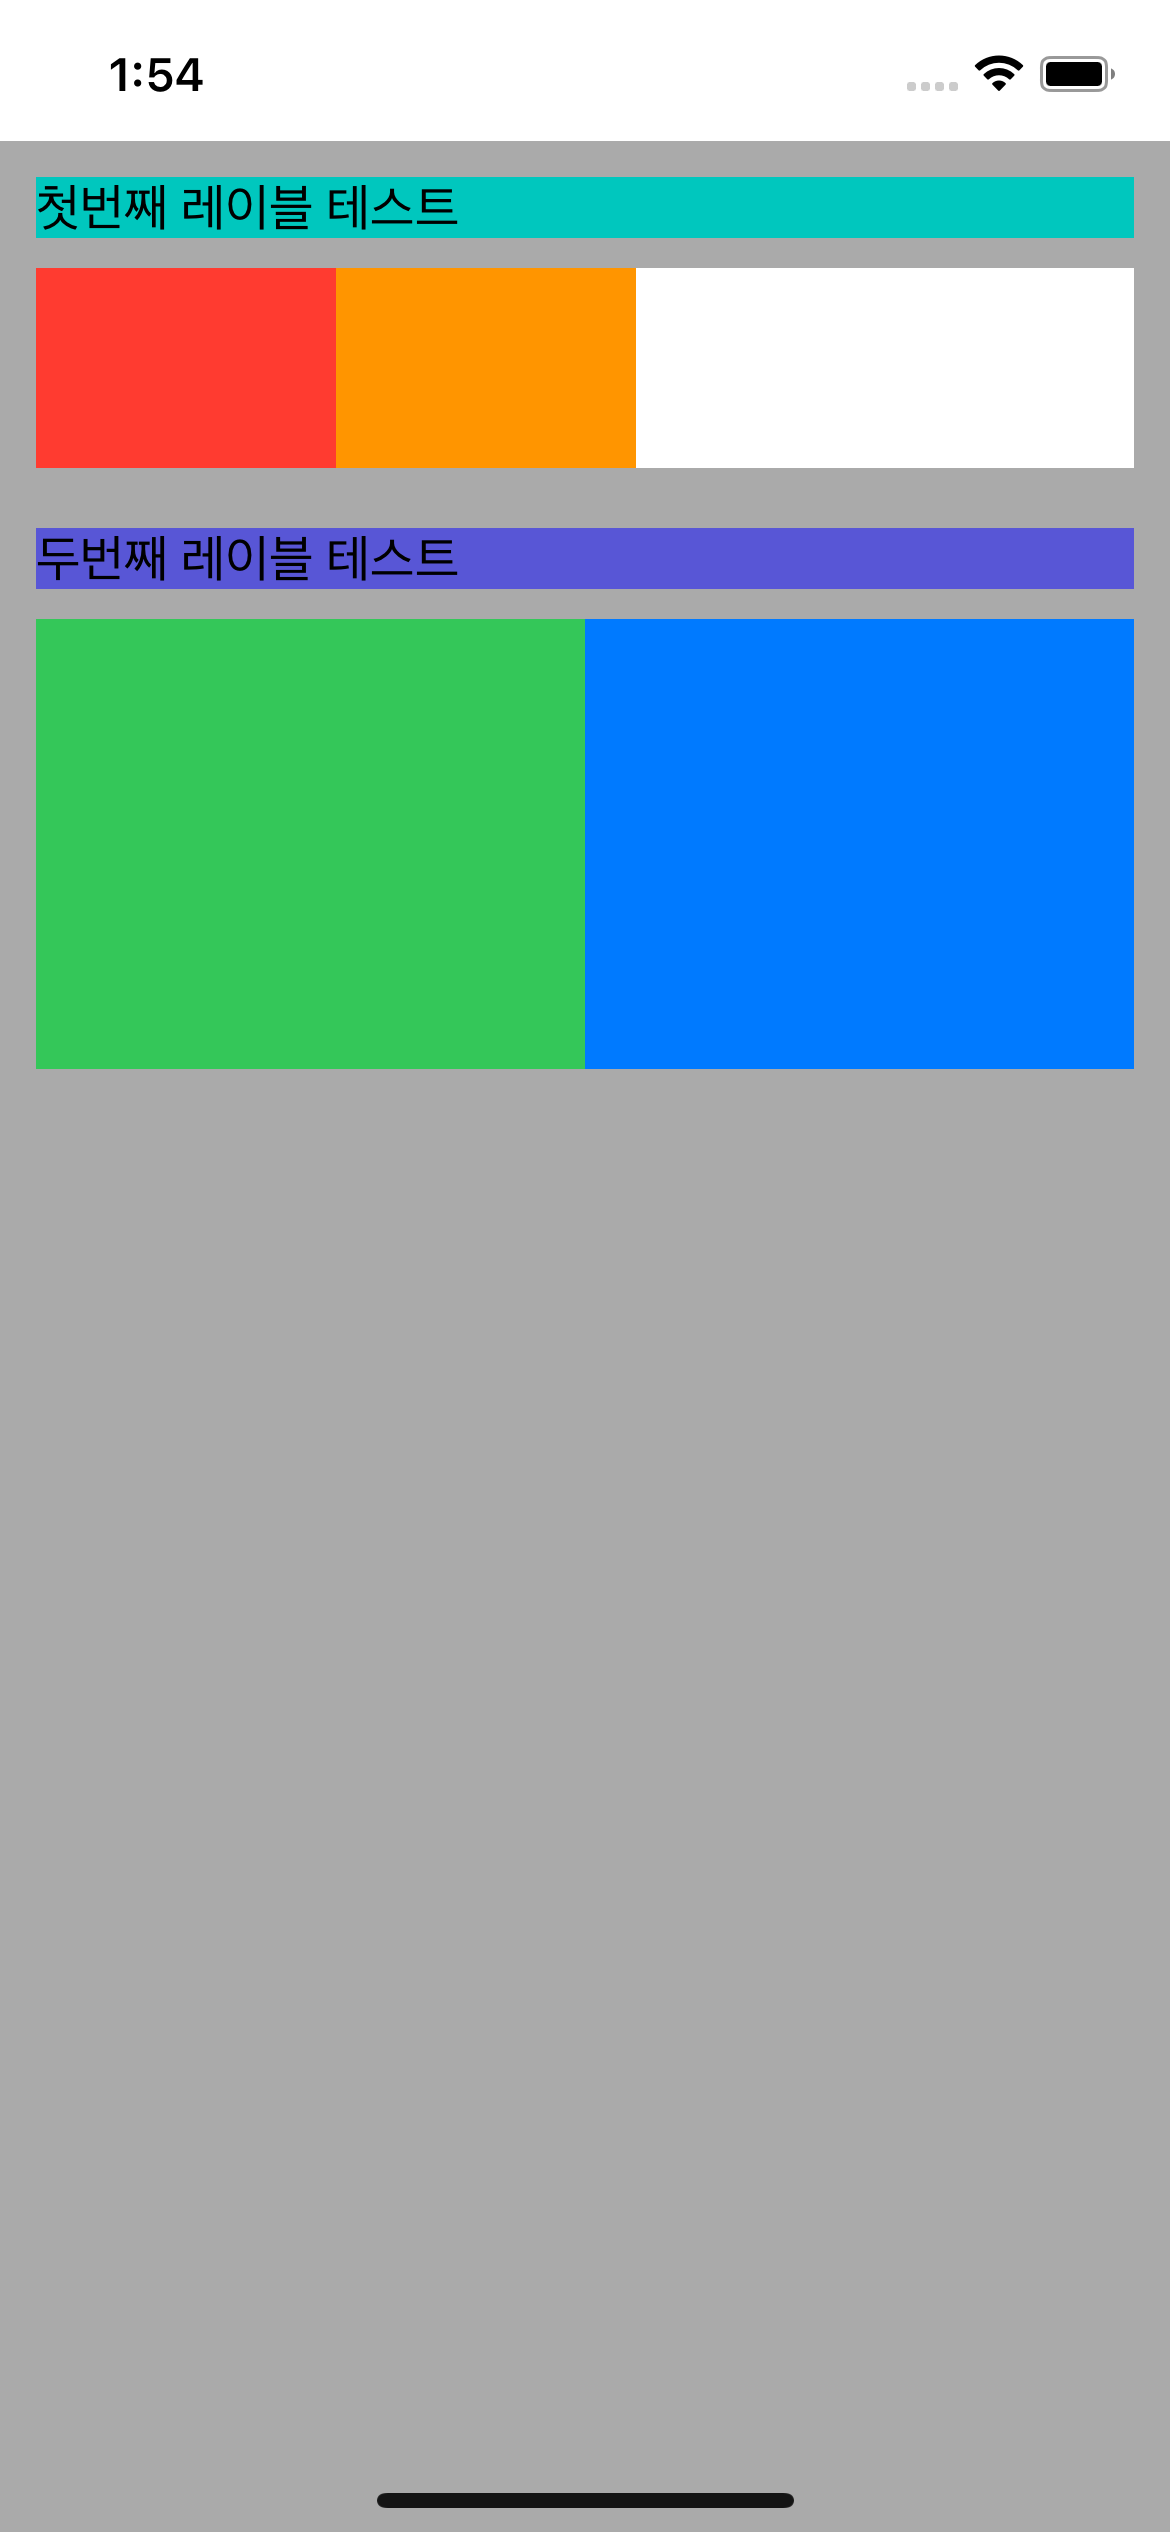
// CustomView.swift
    func setLayout() {
        rootFlexContainer.backgroundColor = .lightGray

        rootFlexContainer.flex.direction(.column).padding(12).define {
            $0.addItem(firstLabel) // 첫번째 레이블 추가

            $0.addItem().direction(.row).marginTop(10).define { // 10 마진 주기
                $0.addItem(redView).width(100).aspectRatio(1.5)
                $0.addItem(orangeView).width(100).aspectRatio(1.5)

                $0.backgroundColor(.white)
            }

            $0.addItem(secondLabel).marginTop(20) // 두번째 레이블 추가 + 20 마진 주기

            $0.addItem().direction(.row).marginTop(10).define {  // 10 마진 주기
                $0.addItem(greenView).height(150).grow(1)
                $0.addItem(blueView).height(150).grow(1)

                $0.backgroundColor(.white)
            }
        }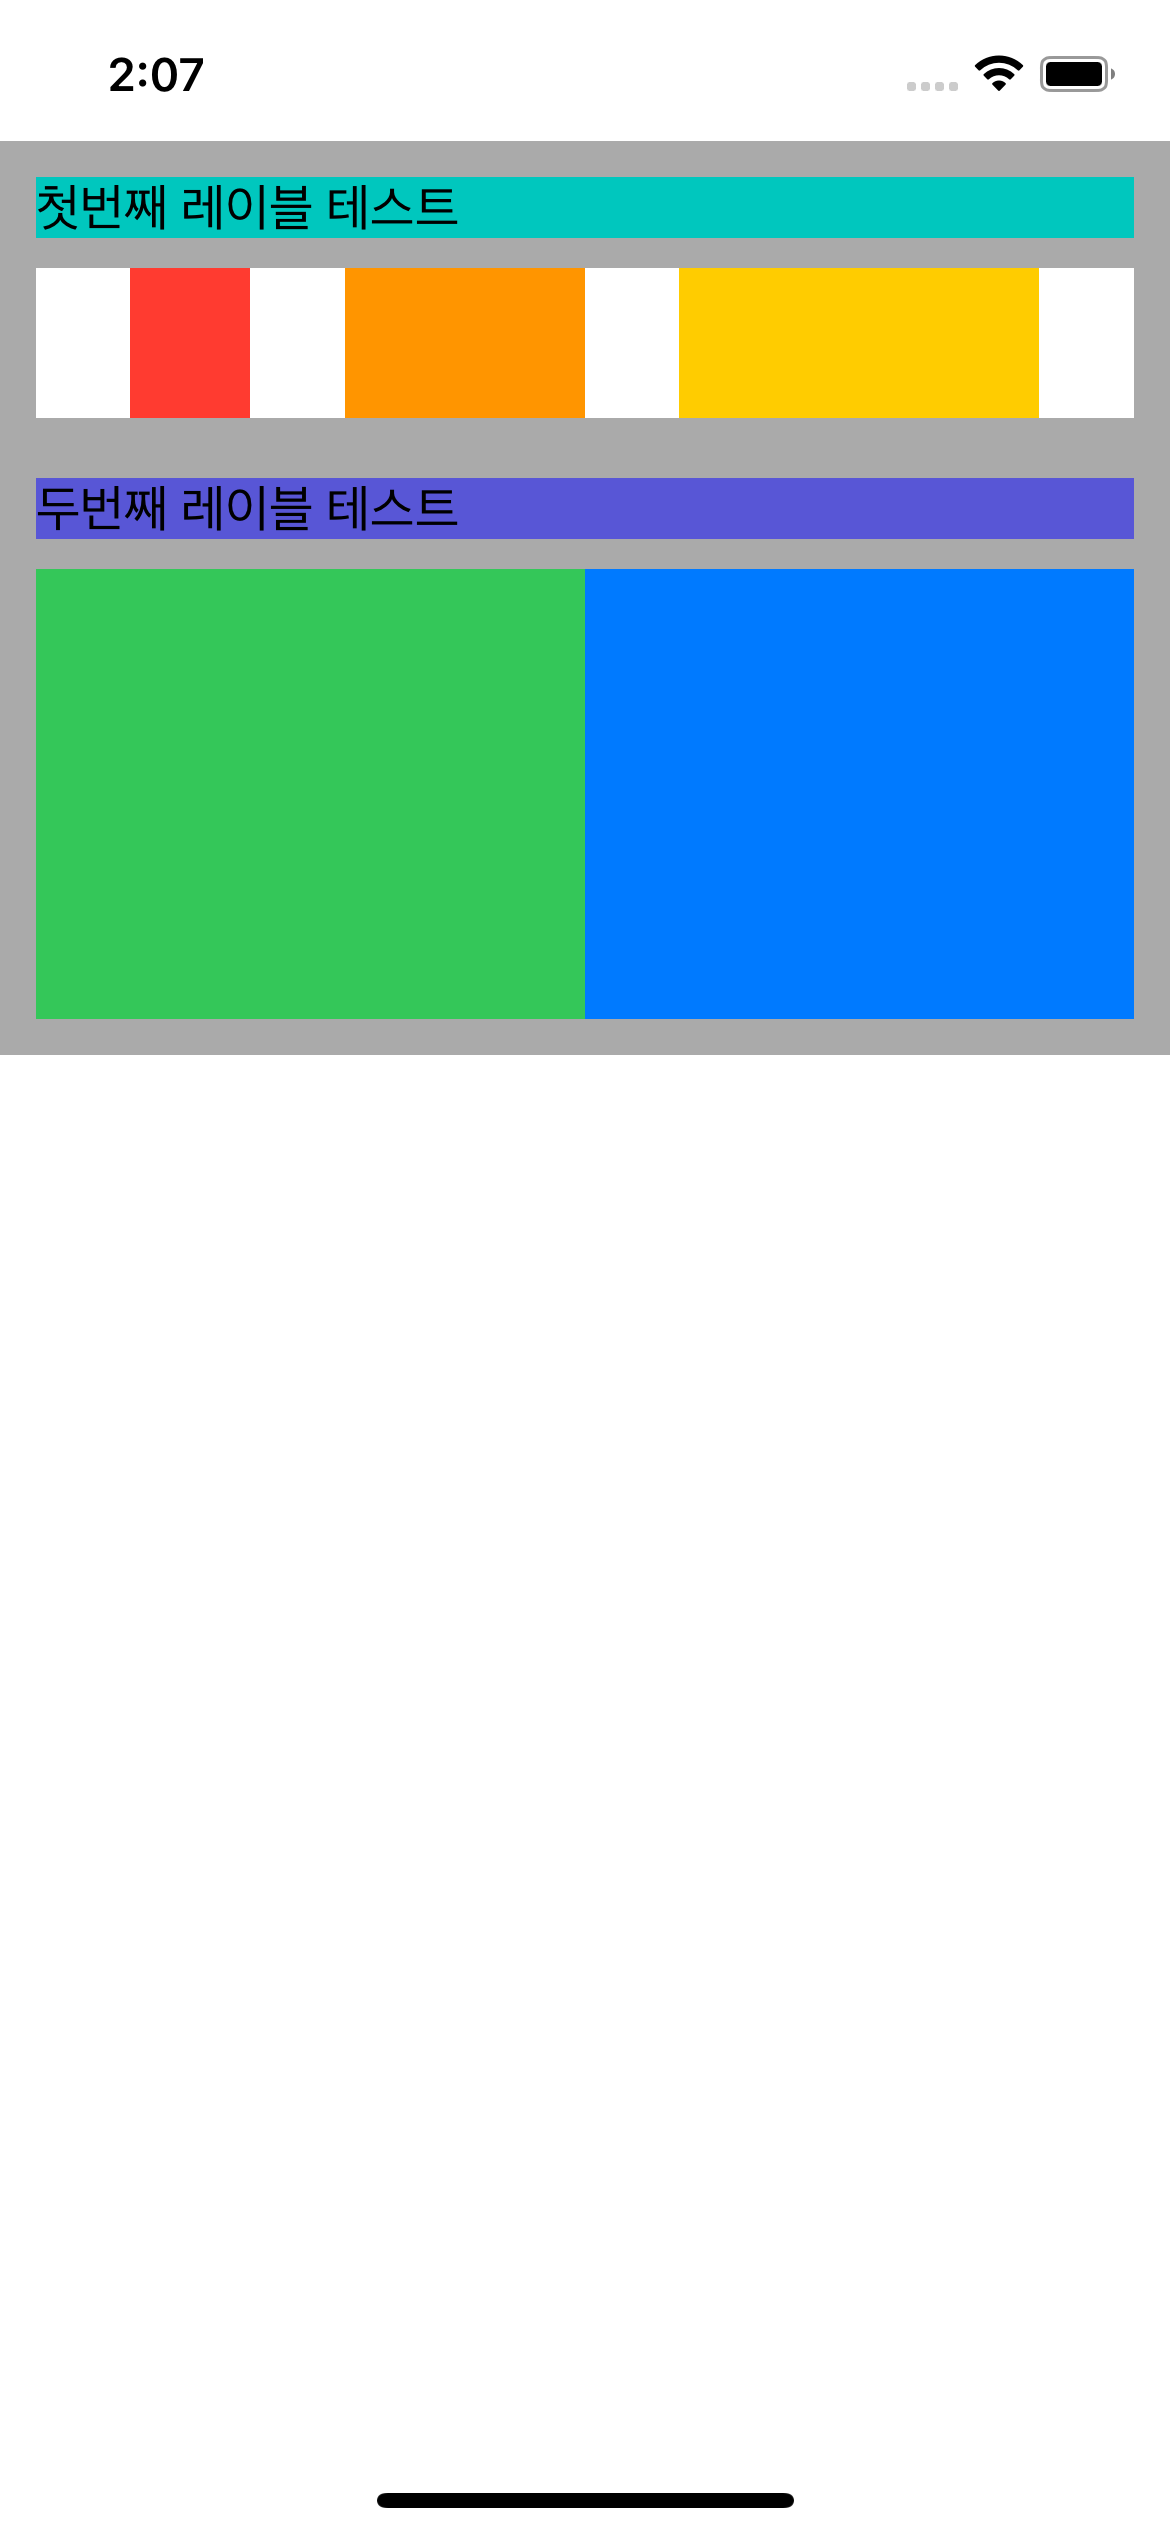
}첫번째 스택뷰를 equal spacing 으로 분배하기
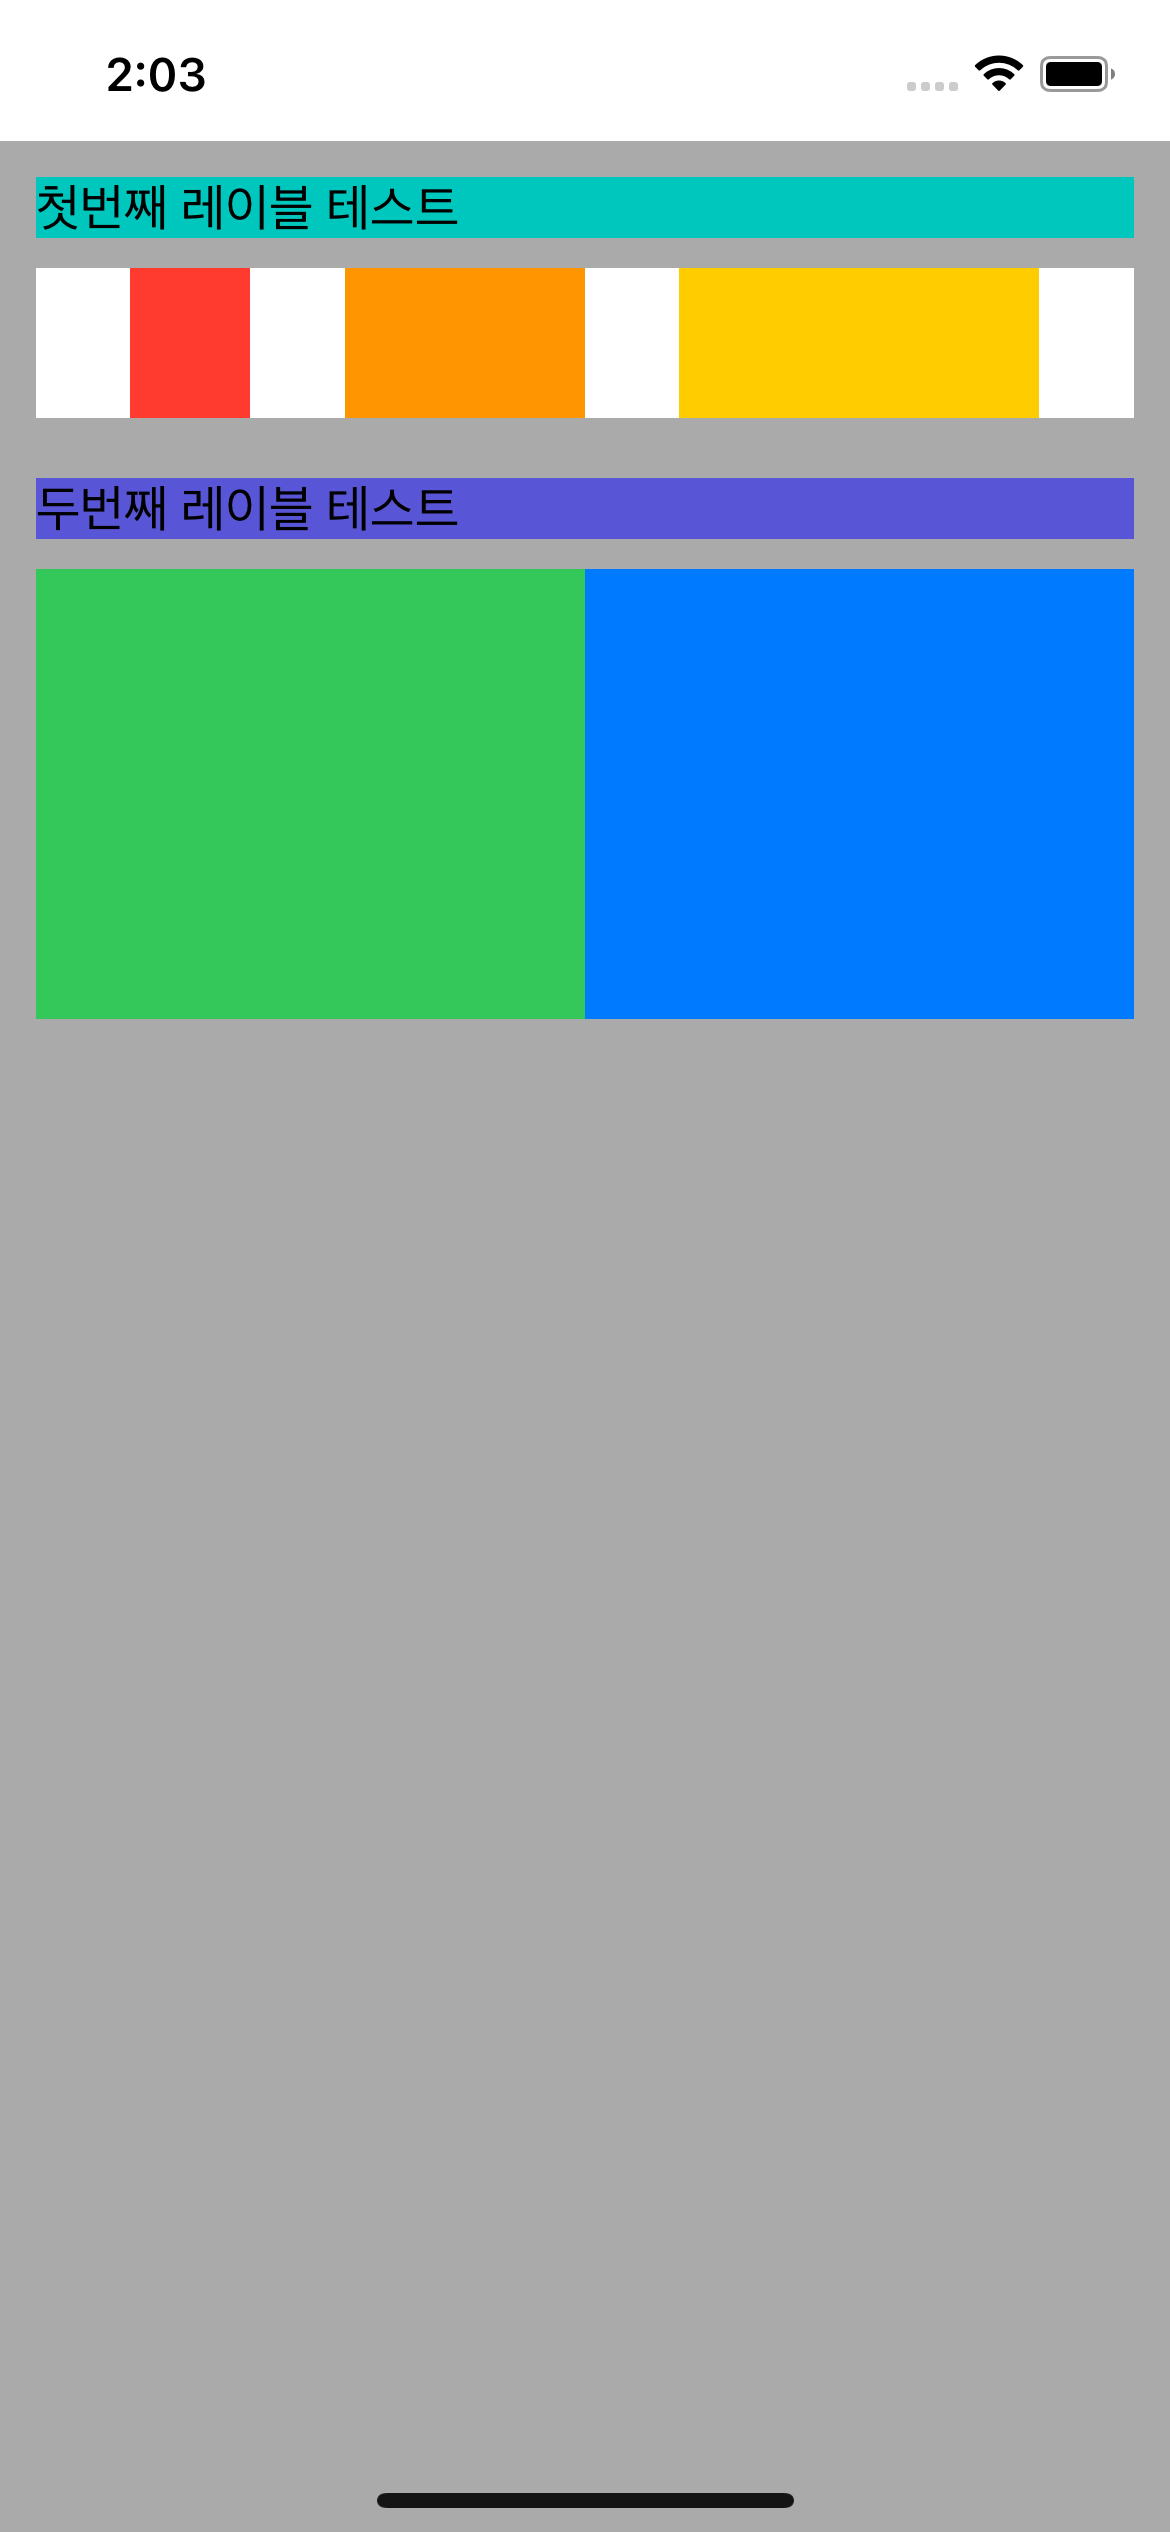
// CustomView.swift
    func setLayout() {
        rootFlexContainer.backgroundColor = .lightGray

        rootFlexContainer.flex.direction(.column).padding(12).define {
            $0.addItem(firstLabel)

            $0.addItem().direction(.row).marginTop(10).justifyContent(.spaceEvenly).define { // justifyContent(.spaceEvenly) 사용
                $0.addItem(redView).height(50).width(40)
                $0.addItem(orangeView).height(50).width(80)
                $0.addItem(yellowView).height(50).width(120)

                $0.backgroundColor(.white)
            }

            $0.addItem(secondLabel).marginTop(20)

            $0.addItem().direction(.row).marginTop(10).define {
                $0.addItem(greenView).height(150).grow(1)
                $0.addItem(blueView).height(150).grow(1)

                $0.backgroundColor(.white)
            }
        }
}스택뷰들을 감싸고 있는 container를 stackView들의 묶음에 딱 맞게 높이 조절하기
// ViewController.swift
    override func viewDidLayoutSubviews() {
        super.viewDidLayoutSubviews()

        let safeArea = customView.rootFlexContainer.pin.safeArea

        customView.rootFlexContainer.pin.all(safeArea)
        customView.rootFlexContainer.flex.layout(mode: .adjustHeight) // mode 추가
}첫번째 스택뷰 안의 뷰들의 너비 같게 하기
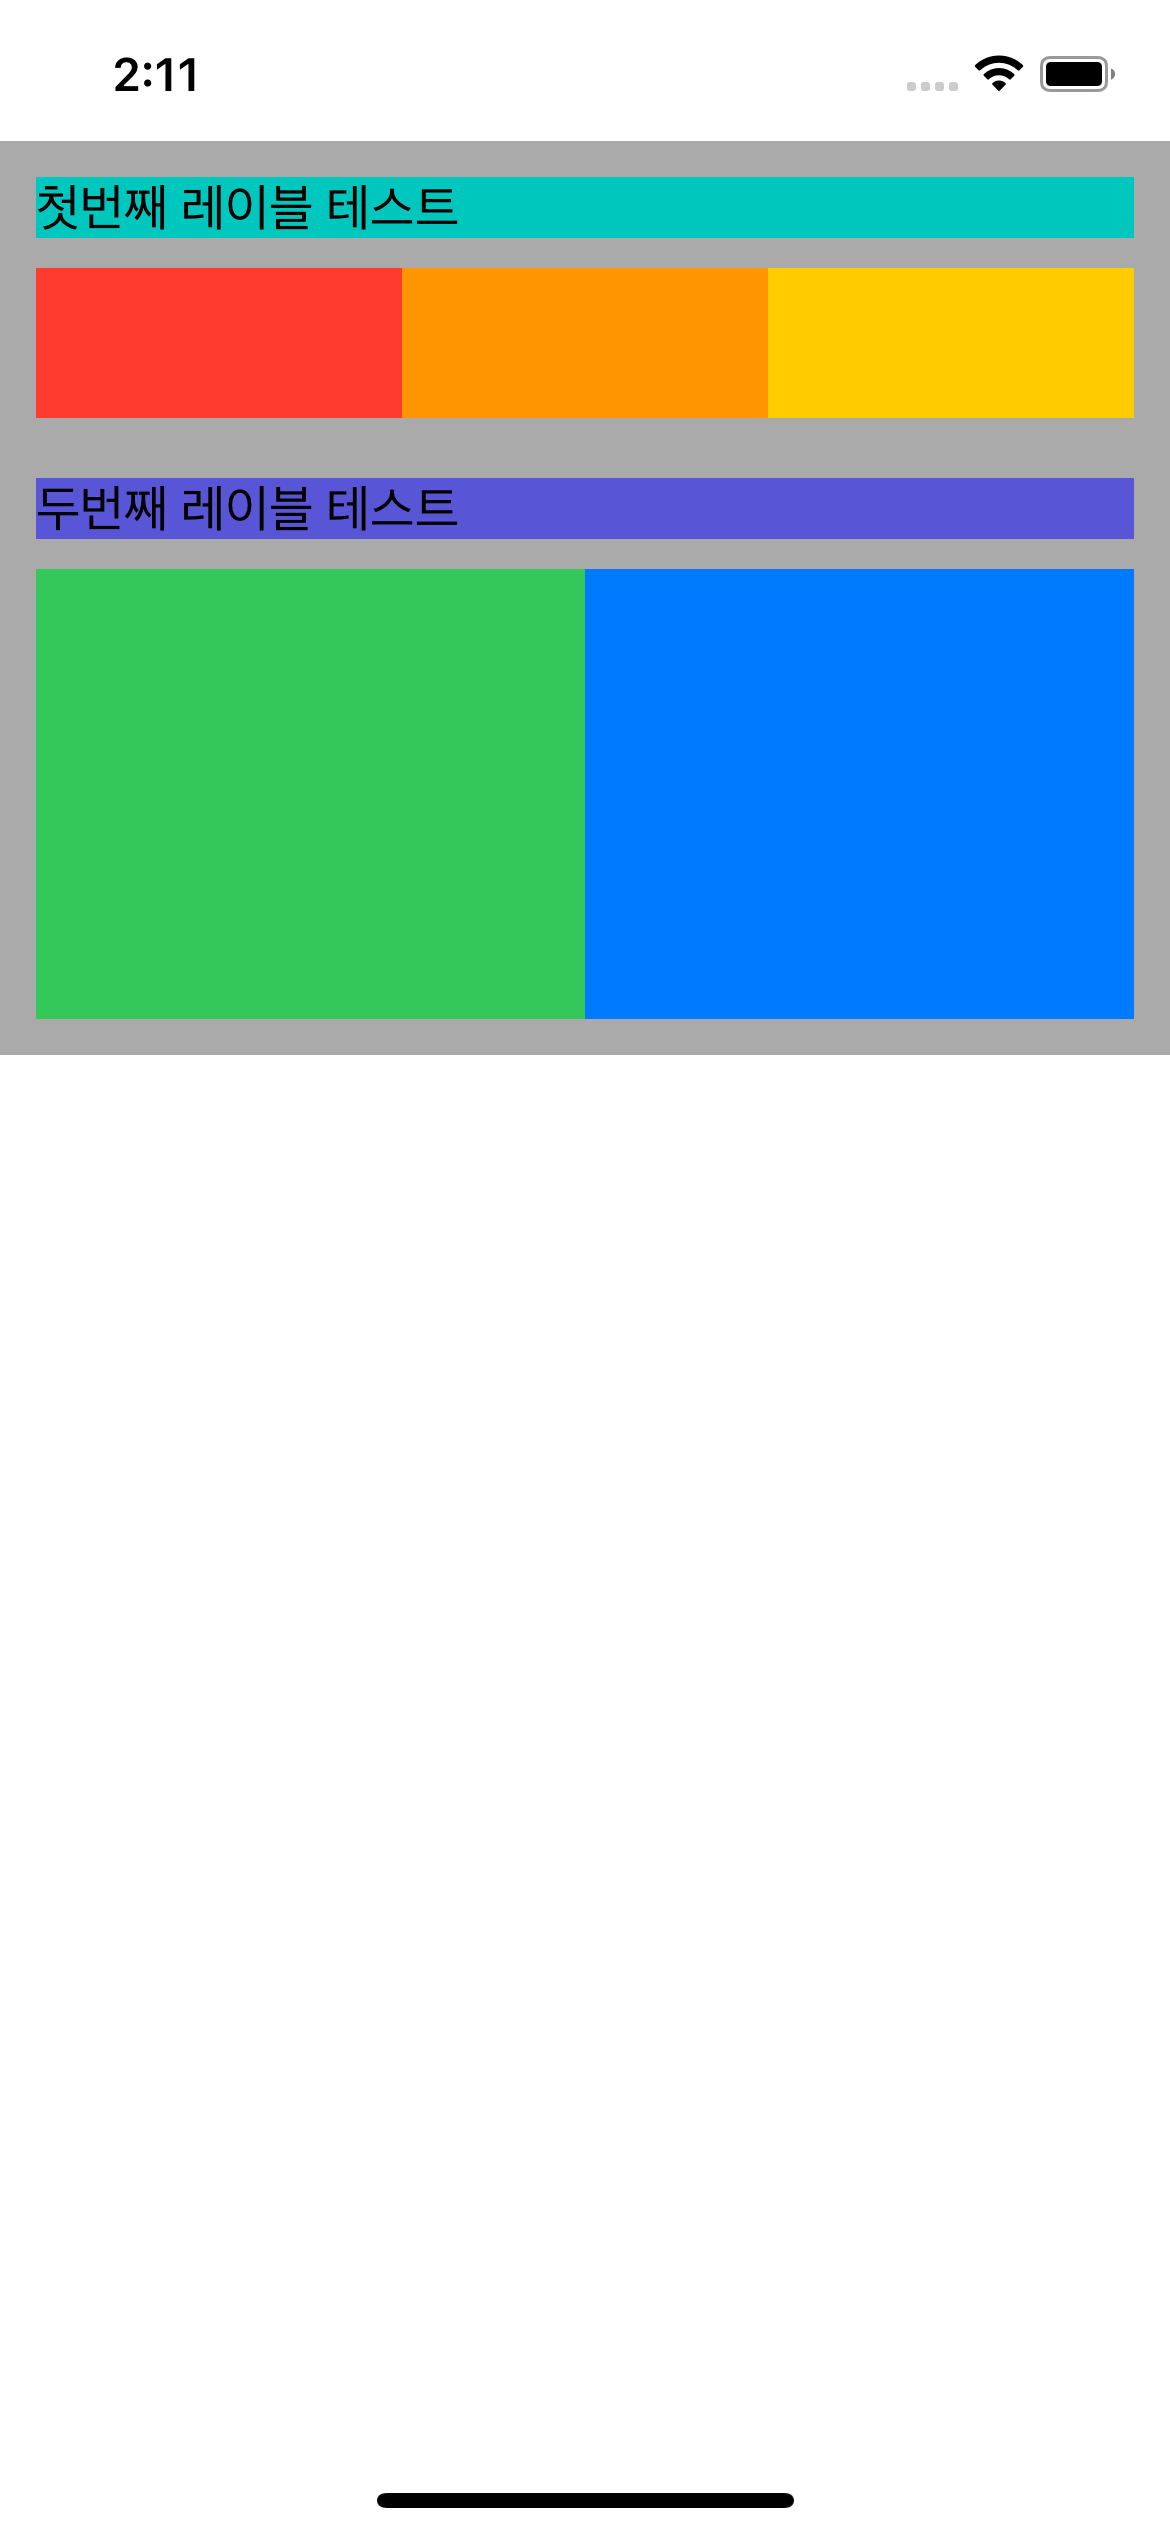
    func setLayout() {
        rootFlexContainer.backgroundColor = .lightGray

        rootFlexContainer.flex.direction(.column).padding(12).define {
            $0.addItem(firstLabel)

            $0.addItem().direction(.row).marginTop(10).define {
                $0.addItem(redView).height(50).grow(1) // grow를 통해 내부 비율 조정. red : orange : yellow = 1 : 1 : 1
                $0.addItem(orangeView).height(50).grow(1)
                $0.addItem(yellowView).height(50).grow(1)

                $0.backgroundColor(.white)
            }

            $0.addItem(secondLabel).marginTop(20)

            $0.addItem().direction(.row).marginTop(10).define {
                $0.addItem(greenView).height(150).grow(1)
                $0.addItem(blueView).height(150).grow(1)

                $0.backgroundColor(.white)
            }
        }
}첫번째 스택뷰 내부의 원소를 원하는 비율로 변경하기

    func setLayout() {
        rootFlexContainer.backgroundColor = .lightGray

        rootFlexContainer.flex.direction(.column).padding(12).define {
            $0.addItem(firstLabel)

            $0.addItem().direction(.row).marginTop(10).define {
                $0.addItem(redView).height(50).grow(1) // grow를 통해 내부 비율 조정. red : orange : yellow = 1 : 2 : 3
                $0.addItem(orangeView).height(50).grow(2)
                $0.addItem(yellowView).height(50).grow(3)

                $0.backgroundColor(.white)
            }

            $0.addItem(secondLabel).marginTop(20)

            $0.addItem().direction(.row).marginTop(10).define {
                $0.addItem(greenView).height(150).grow(1)
                $0.addItem(blueView).height(150).grow(1)

                $0.backgroundColor(.white)
            }
        }
}첫번째 스택뷰와 내부뷰 사이의 padding 주기
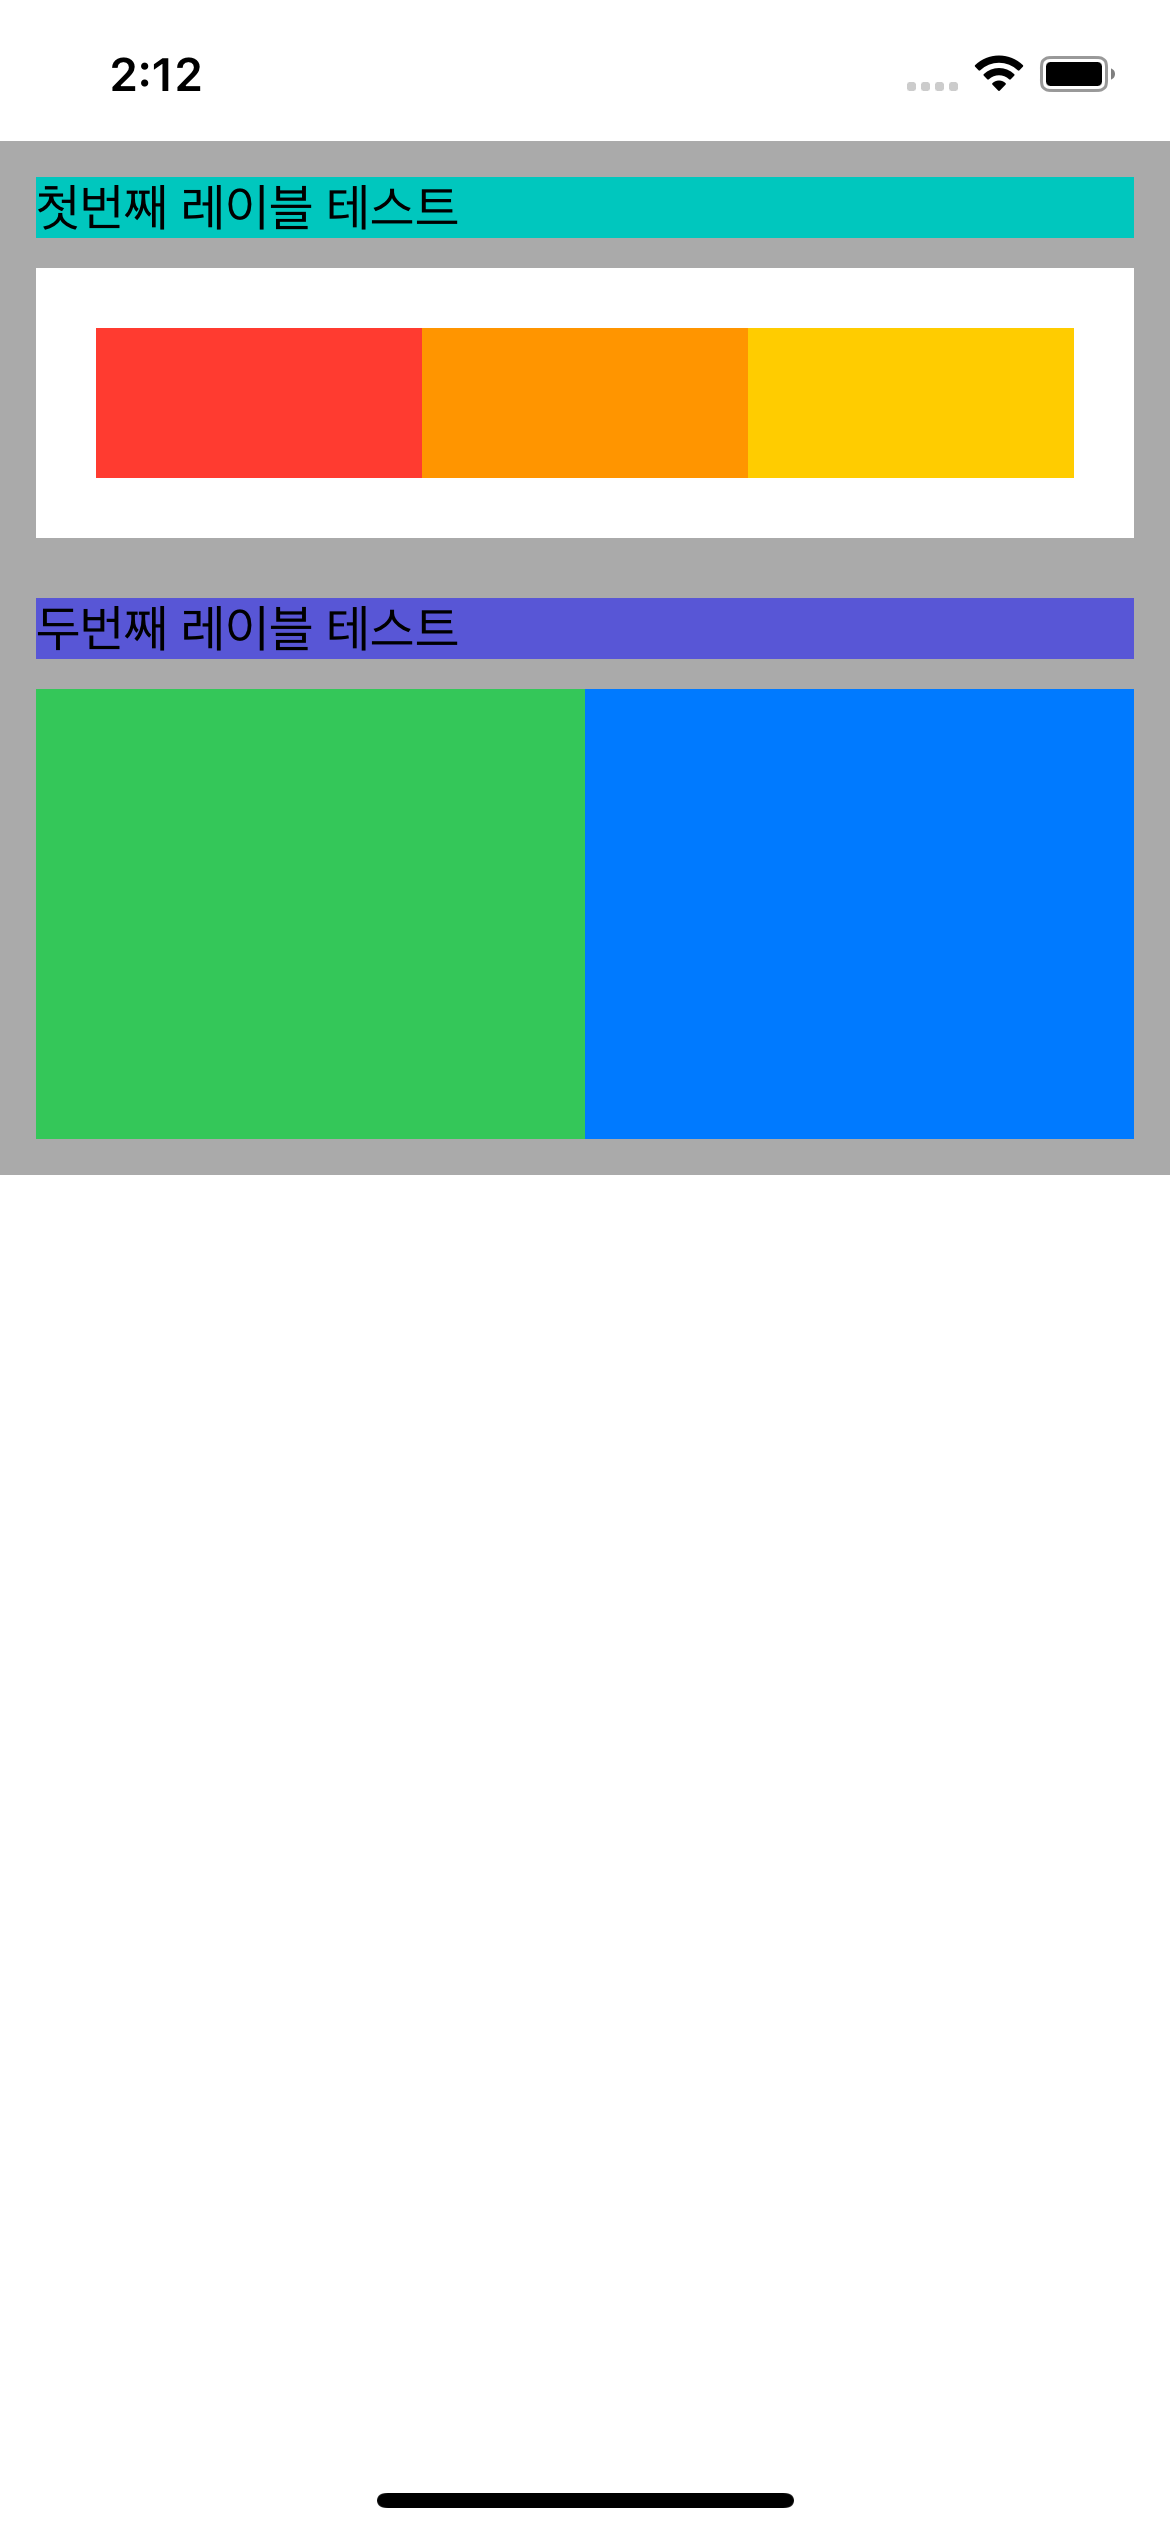
    func setLayout() {
        rootFlexContainer.backgroundColor = .lightGray

        rootFlexContainer.flex.direction(.column).padding(12).define {
            // firstLabel
            $0.addItem(firstLabel)

            // redView, orangeView, yellowView
            $0.addItem().direction(.row).marginTop(10).padding(20).define { // 20의 padding 값 추기
                $0.addItem(redView).height(50).grow(1)
                $0.addItem(orangeView).height(50).grow(1)
                $0.addItem(yellowView).height(50).grow(1)

                $0.backgroundColor(.white)
            }

            // secondLabel
            $0.addItem(secondLabel).marginTop(20)

            // greenView, blueView
            $0.addItem().direction(.row).marginTop(10).define {
                $0.addItem(greenView).height(150).grow(1)
                $0.addItem(blueView).height(150).grow(1)

                $0.backgroundColor(.white)
            }
        }
}public class Flex- 요약
- FlexLayout interface.
- 이 인터페이스는 어떠한 UIView 클래스 인스턴스로부터도 접근이 가능하다.
public func define(_ closure: (_ flex: Flex) -> Void) -> Flex- 요약
- flexbox 구조를 잡는데 쓰인다.(쉽게 이야기하면 뷰를 베치할 틀 잡기?)
- 어떤 아이템들을 어떤 방식으로 나열/배치할지 define의 클로저 안에 정의한다.
- 파라미터
closure: 다른 flex item이나 container들을 추가하는데 쓰인다.
- 리턴값
- flex interface
public func addItem(_ view: UIView) -> Flex- 요약
- flex item(UIView)를 flex container에 추가하는 메서드
- 내부적으로 이 메서드는 flexbox를 사용 가능하고 하위뷰(subviews)를 가진 UIView를 추가하는 작업을 한다.
- 파라미터
view: 해당 flex container에 view를 추가한다.
- 리턴값
- 추가된 뷰의 flex interface.
public func direction(_ value: Direction) -> Flex- 요약
- main-axis를 설정한다.
- flex item들의 방향(direction)을 정의함으로써 flex container 안에서의 위치가 정해진다.
- text방향이 LTR(left to right) 이면, row는 LTR, rowReverse는 RTL 이 된다.
- 파라미터
- value : enum타입의 Direction. stackView의 axis라고 보면 된다.
.column: 기본값. flexible item들이 column과 같이 수직(vertically)으로 보여진다..row: flexible item들이 row와 같이 수평(horizontally)으로 보여진다..columnReverse: column과 같지만, 역순.rowReverse: row와 같지만, 역순
- value : enum타입의 Direction. stackView의 axis라고 보면 된다.

