This generic bootloader (which is primarily intended for use with Rufus but can also be used independently), is meant to allow seamless boot from an UEFI bootloader, that happens to resides on an NTFS partition.
In other words, UEFI:NTFS is designed to remove the restriction, which most UEFI firmwares have, of only having enabled boot from FAT32 partitions, and bring the ability to also boot from NTFS partitions.
This can be used, for instance, for EFI-booting a Windows NTFS installation media, that happens to have files that are larger than 4 GB (something FAT32 cannot support), or allow dual BIOS + UEFI boot of Windows To Go drives.
Note that, because there is a lot of innacurate information about this on the internet, it must be pointed out that there is absolutely nothing in the UEFI specifications that mandates the use of FAT32 for EFI boot. Instead, it is the choice of PC manufacturers, to who tend to only include a FAT32 driver in their UEFI firmwares, that leads people to believe that only FAT32 works with UEFI. Yet, as demonstrated with this project, it is still very much possible to get any UEFI firmware to boot from a non FAT32 filesystem.
The way UEFI:NTFS works, in conjunction with Rufus, is as follows:
- Rufus creates 2 partitions on the target USB disk (these can be MBR or GPT partitions). The first one is an NTFS partition occupying almost all the drive, that contains the Windows files (for Windows To Go, or for regular installation), and the second is a very small FAT partition, located at the very end, that contains an NTFS UEFI driver (see http://efi.akeo.ie) as well as the UEFI:NTFS bootloader.
- When the USB drive boots in UEFI mode, the first NTFS partition gets ignored by the UEFI firmware (unless that firmware already includes an NTFS driver, in which case 2 boot options will be available, that perform the same thing) and the UEFI:NTFS bootloader from the bootable FAT partition is executed.
- UEFI:NTFS then loads the relevant NTFS UEFI driver, locates the existing NTFS
partition on the same media, and executes the
/efi/boot/bootia32.efi,/efi/boot/bootx64.efior/efi/boot/bootarm.efithat resides there. This achieves the exact same outcome as if the UEFI firmware had native support for NTFS and could boot straight from it.
- Visual Studio 2017 or or MinGW/MinGW64 (preferably installed using msys2) or gcc
- QEMU v2.7 or later (NB: You can find QEMU Windows binaries here)
- git
- wget, unzip, if not using Visual Studio
For convenience, the project relies on the gnu-efi library (but not on the gnu-efi compiler itself), so you need to initialize the git submodules:
git submodule init
git submodule update
If using Visual Studio, just press F5 to have the application compiled and
launched in the QEMU emulator.
If using gcc, you should be able to simply issue make. If needed you can also
issue something like make ARCH=<arch> CROSS_COMPILE=<tuple> where <arch> is
one of ia32, x64 or arm and tuple is the one for your cross-compiler (e.g.
arm-linux-gnueabihf-).
You can also debug through QEMU by specifying qemu to your make invocation.
Be mindful however that this turns the special _DEBUG mode on, and you should
run make without invoking qemu to produce proper release binaries.
You can find a ready-to-use FAT partition image, containing the x86 (both 32 and 64 bit) and ARM (32 bit) versions of the UEFI:NTFS loader and driver in the Rufus project, under /res/uefi.
If you create a partition of the same size at the end of your drive and copy
uefi-ntfs.img
there (in DD mode of course), then you should have everything you need to make
the first NTFS partition on that drive UEFI bootable.
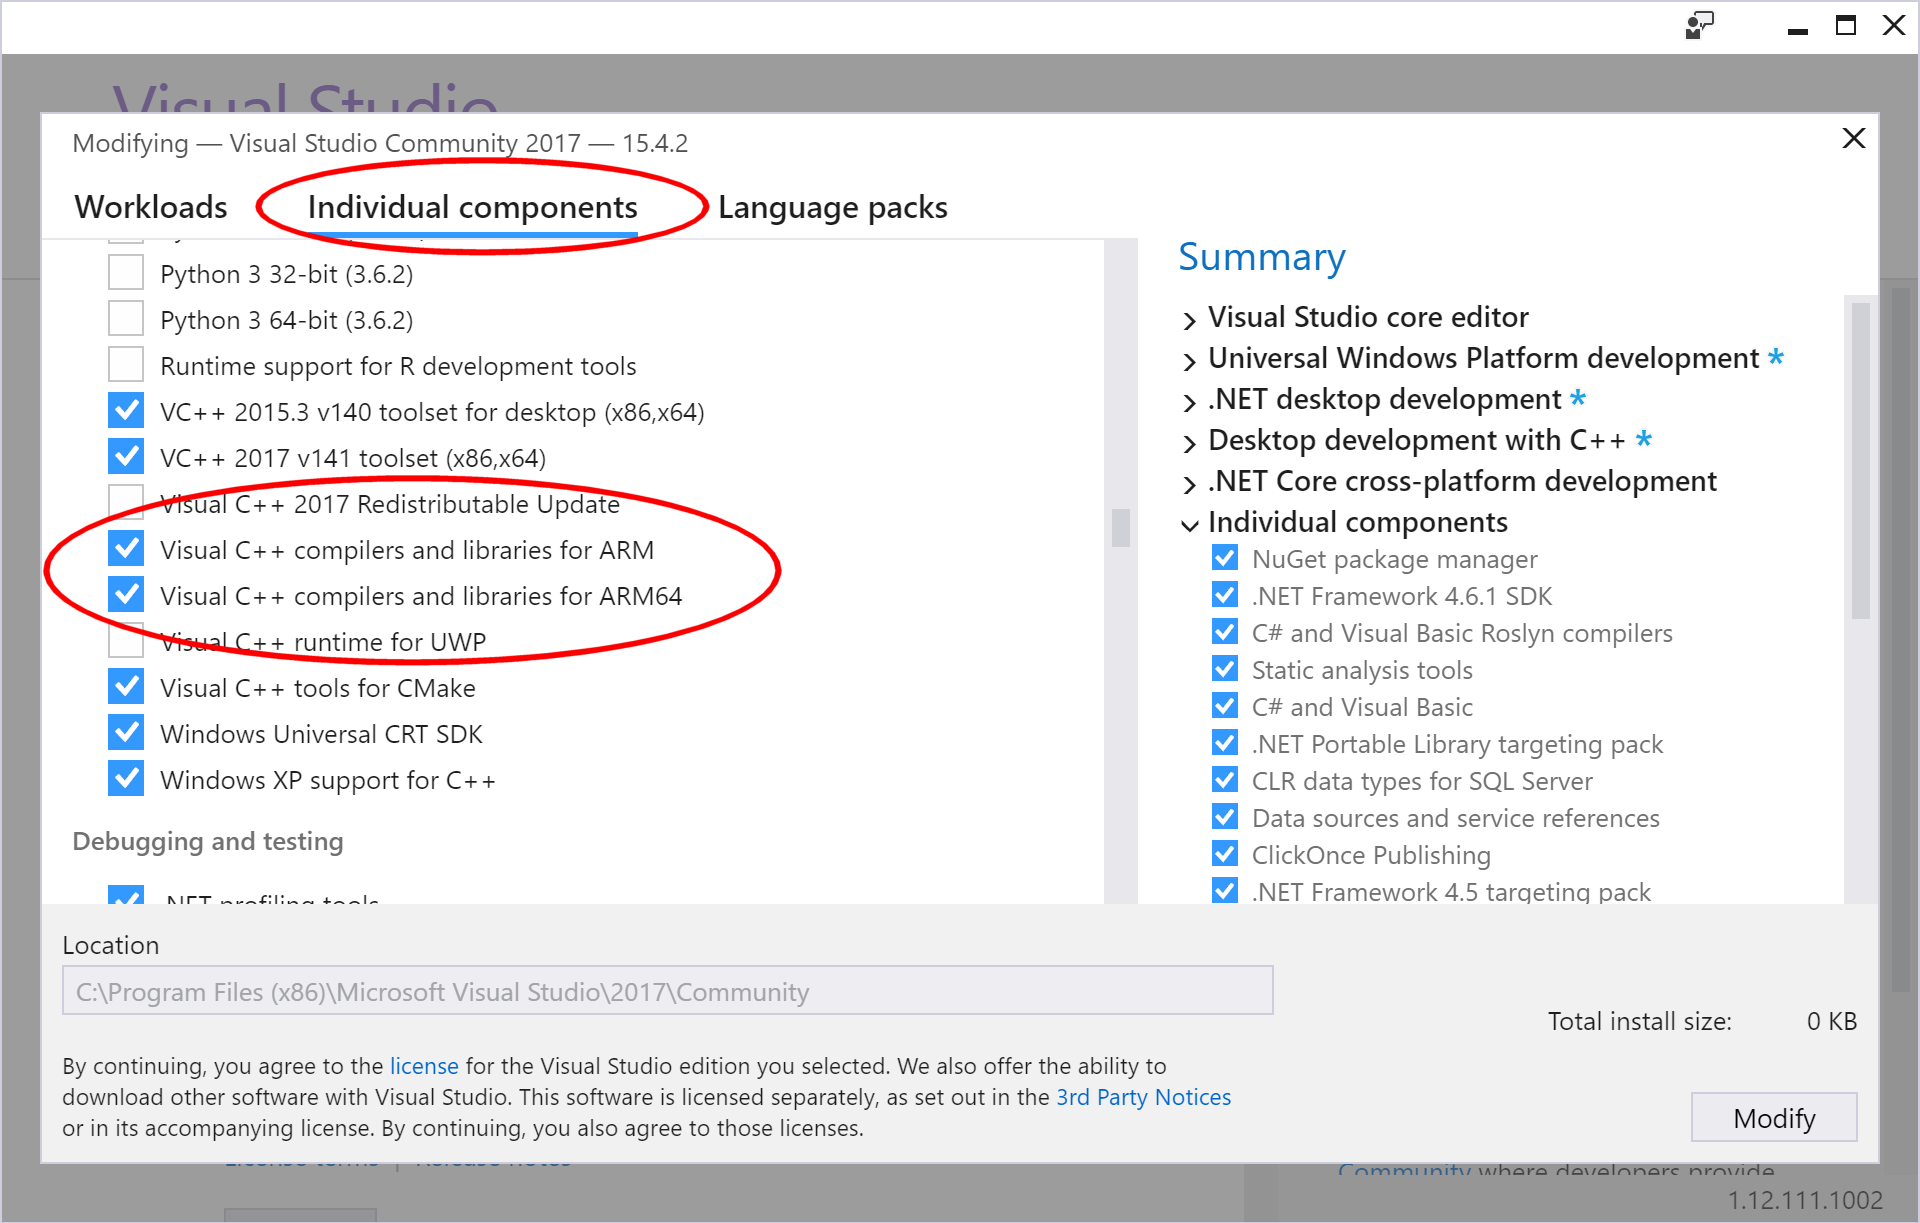
Please be mindful that, to enable ARM compilation support in Visual Studio 2017, you MUST go to the Individual components screen in the setup application and select the ARM compilers and libraries there, as they do NOT appear in the default Workloads screen:
While in this section, you may also want to select the installation of Clang/C2 (experimental), so that you can open and compile the Clang solution...


