As per Webauthn specification, the host's domain name (i.e. the address you visit to open the website) cannot be an IP address (see issue).
This means that when testing locally, you cannot connect to the web server through the IP of the host machine, otherwise Webauthn will fail to verify the client.
Instead you'll have to connect through the host network name, which usually modems automatically set to the connected machine hostname.
Print hostname and verify that the host machine is reachable:
# Linux:
$ hostname
$ ping `hostname`

# Windows (cmd):
> echo %COMPUTERNAME%
> ping %COMPUTERNAME%
If ping fails, you'll have to go to your modem page and add a DNS entry to redirect an hostname of your choice to the host machine IP address.
- Download the Dockerfile
$ wget https://raw.githubusercontent.com/marcodiri/webauthn_biometric_authentication/master/Dockerfile
- Open a terminal in the Dockerfile directory and run:
The above commands will make the server reachable via the hostname. If you made a custom DNS entry you should set the HOSTNAME accordingly.
# N.B. If your hostname contains uppercase letters, manually type it lowercase.

# Linux:
$ docker build -t sekm:webauthn --build-arg HOSTNAME=`hostname` .
$ docker run --rm -it -p 8000:8000 sekm:webauthn

# Windows (cmd):
> docker build -t sekm:webauthn --build-arg HOSTNAME=%COMPUTERNAME% .
> docker run --rm -it -p 8000:8000 sekm:webauthn
- Connect to
https://hostname:8000, hostname is the one found on step 2 or the one you set in the DNS entry. As per Webauthn specification, only https is allowed, but since no certificates are available when local testing, the browser will display a warning, tell it to proceed anyway.
Your desktop and mobile devices have to be on the same network.
- Connect to the webserver from desktop

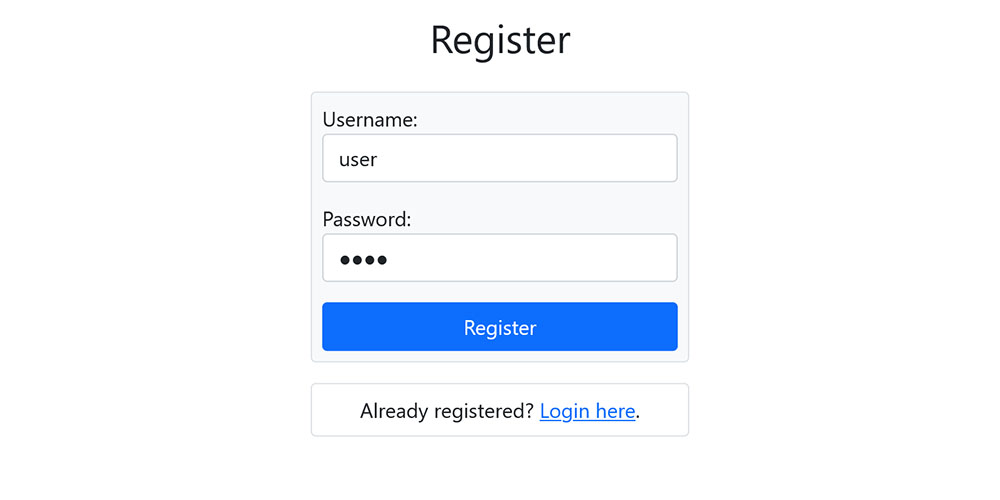
- Click Register
- Choose Username and Password and click the Register button
- A QR code containing a link will be generated, leave this page open
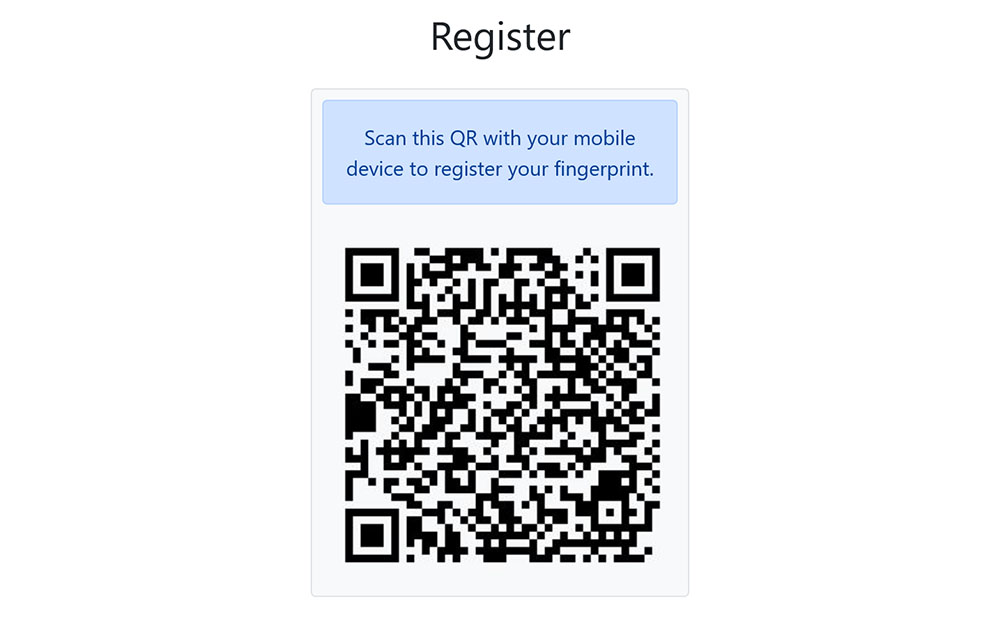
- Scan the QR on a mobile device with biometric sensor available
- A webpage will open asking you to repeat the password chosen at step 2 and click Proceed
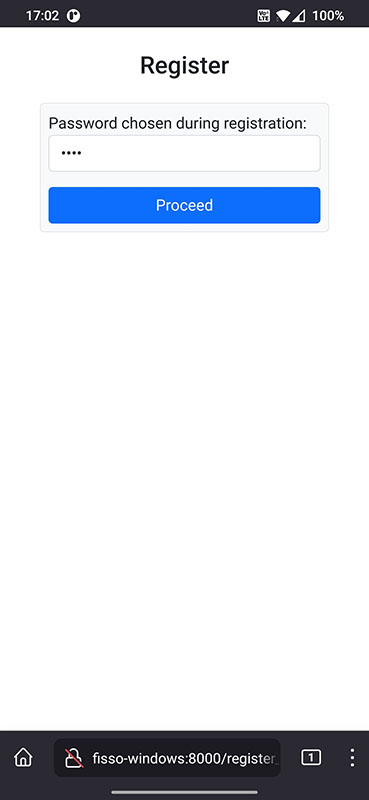
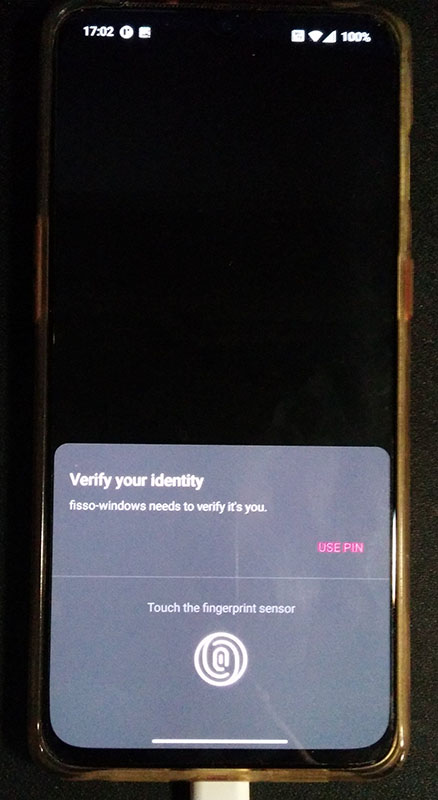
- The device will ask you to scan your fingerprint
- After that the account will be created
- After a short while, the desktop will be redirected to a success page.

- Connect to the webserver from desktop
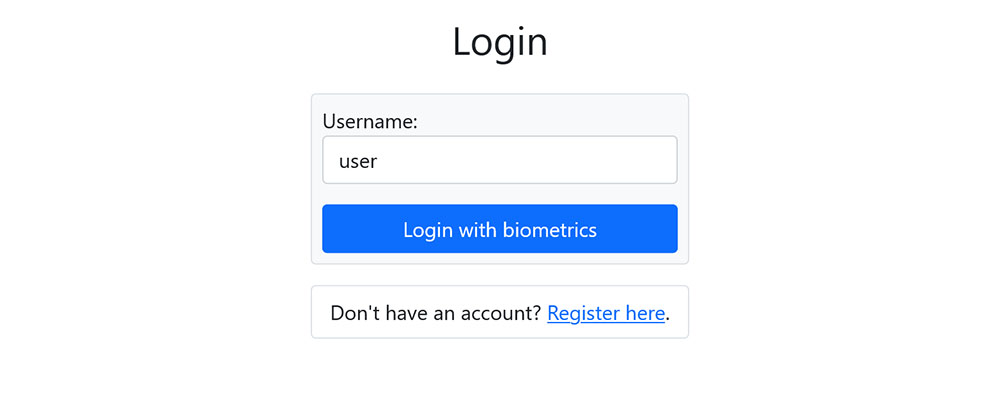
- Click Login
- Insert a registered Username and click the Login with biometrics button
- A QR code containing a link will be generated, leave this page open

- Scan the QR on a mobile device with biometric sensor available
- A webpage will open and check if the biometric sensor is the one associated with the User
- If positive, the device will ask you to scan your fingerprint
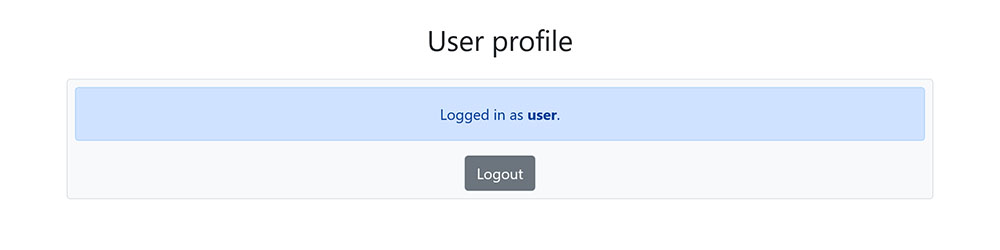
- After a short while, the desktop will be redirected to the User Profile page.