 |
 |
 |
 |
 |
 |
 |
 |
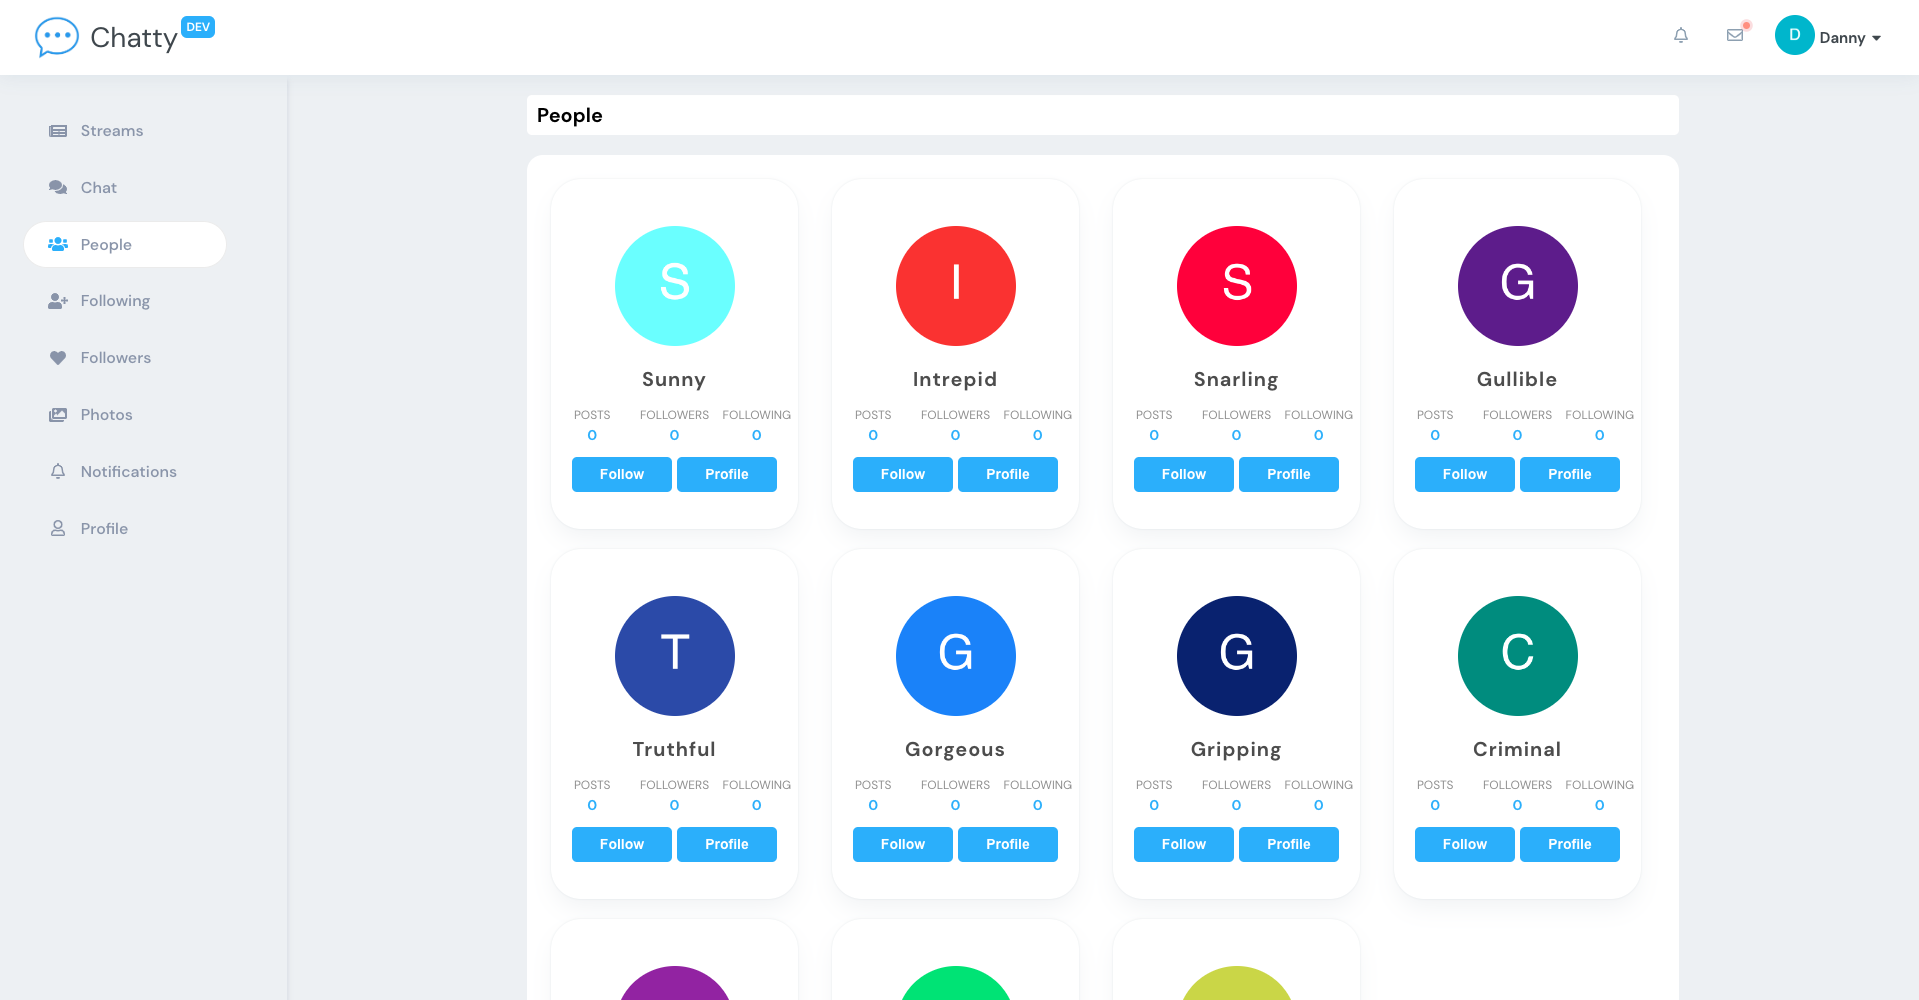
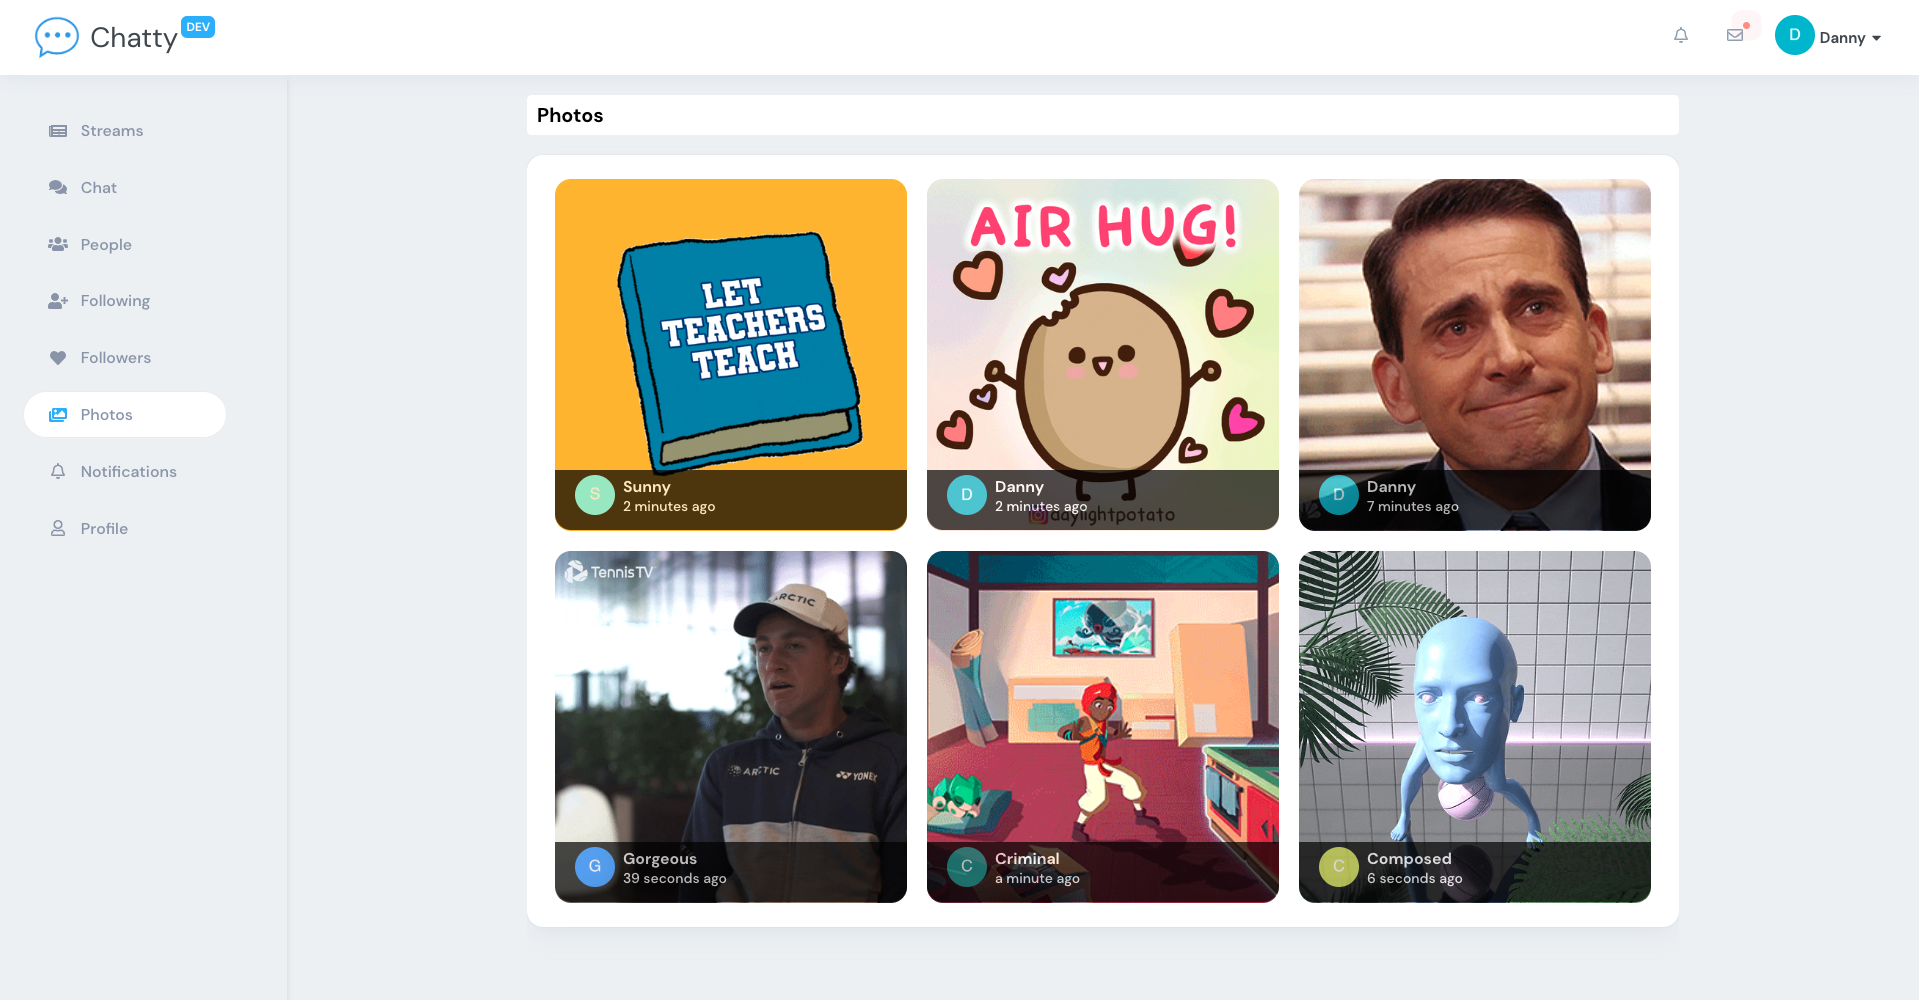
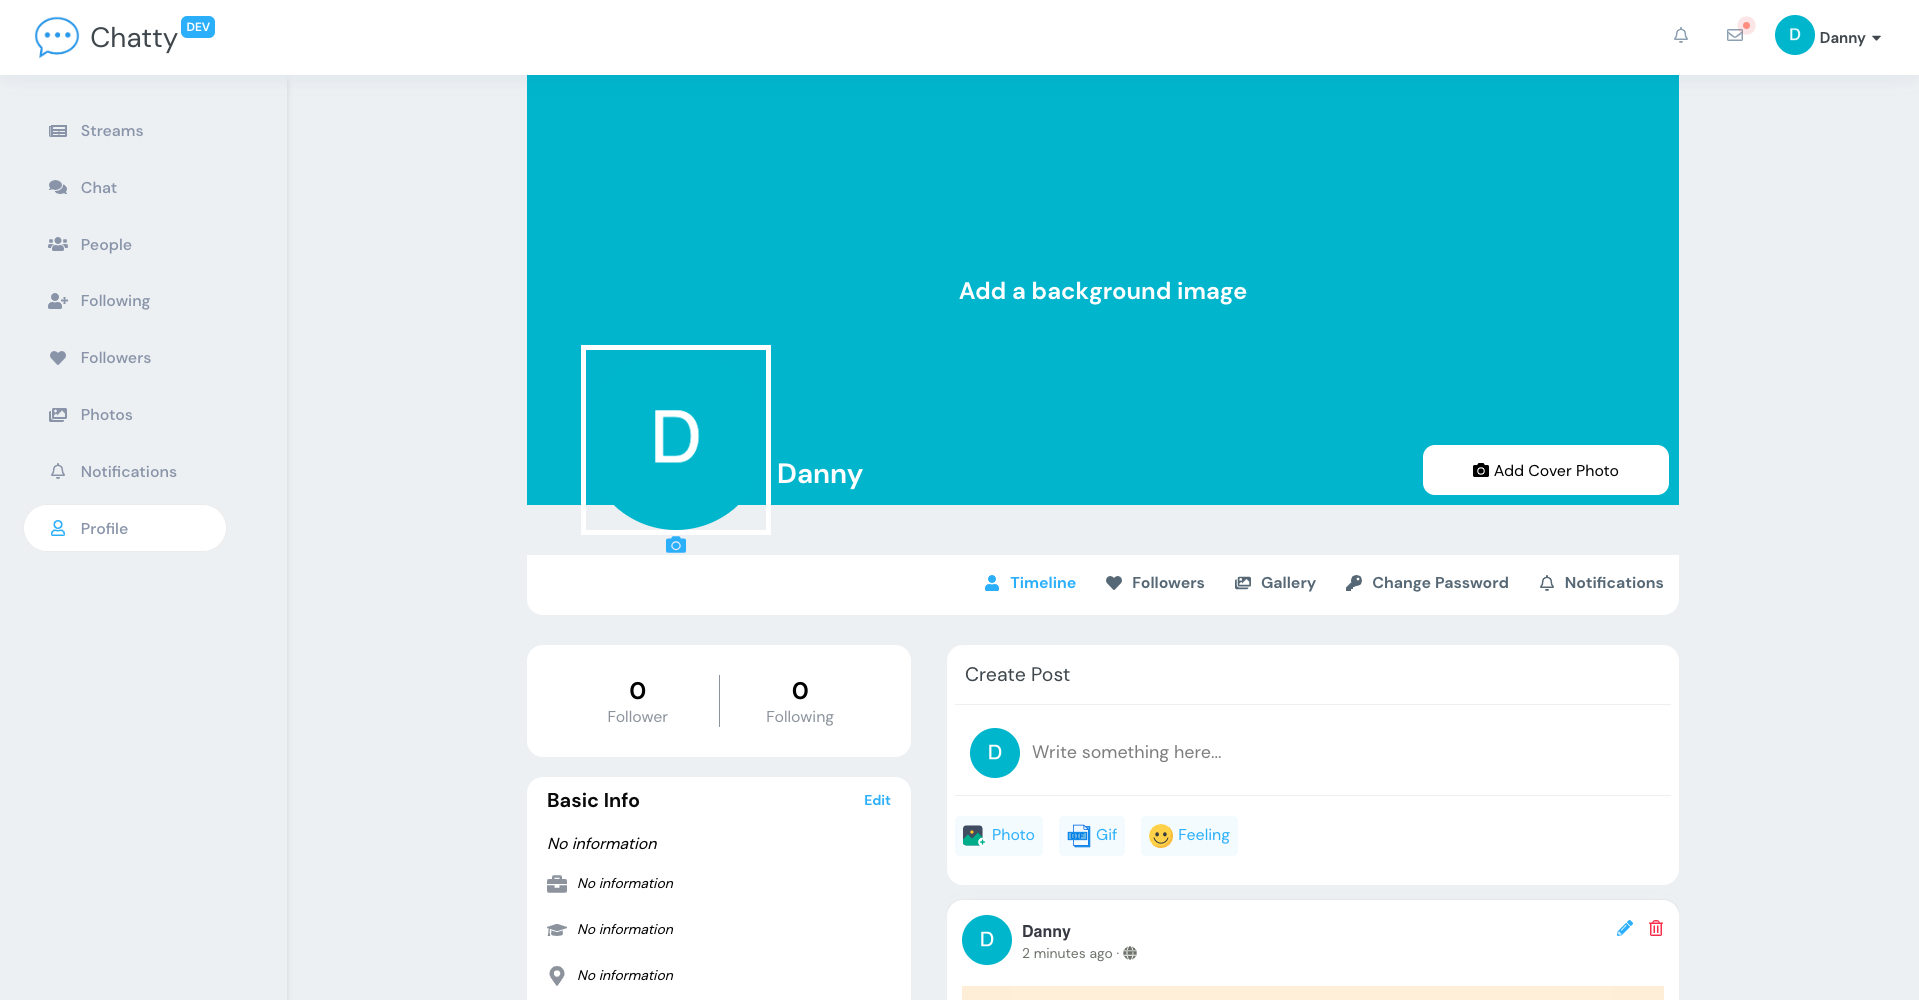
Chatty App is a real-time socialnetwork application built with react.
You can find the repo for the backend here.
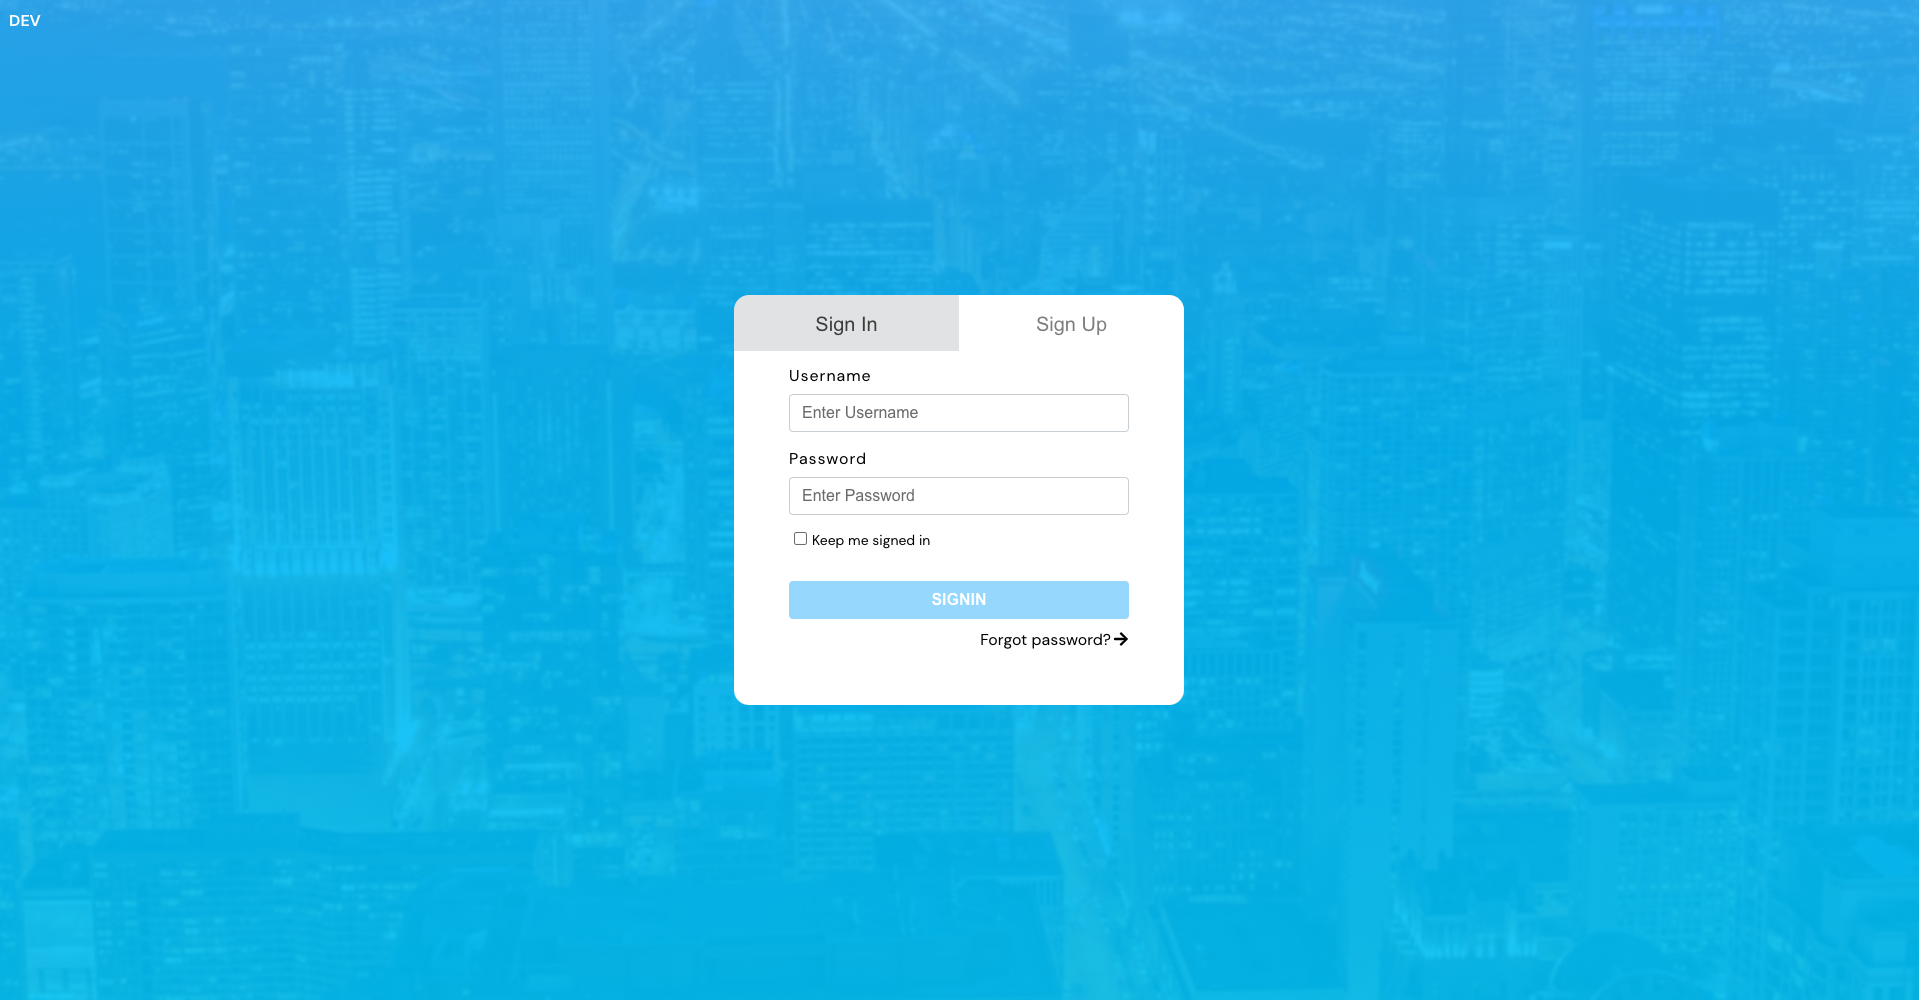
- Signup and signin authentication
- Forgot password and reset password
- Change password when logged in
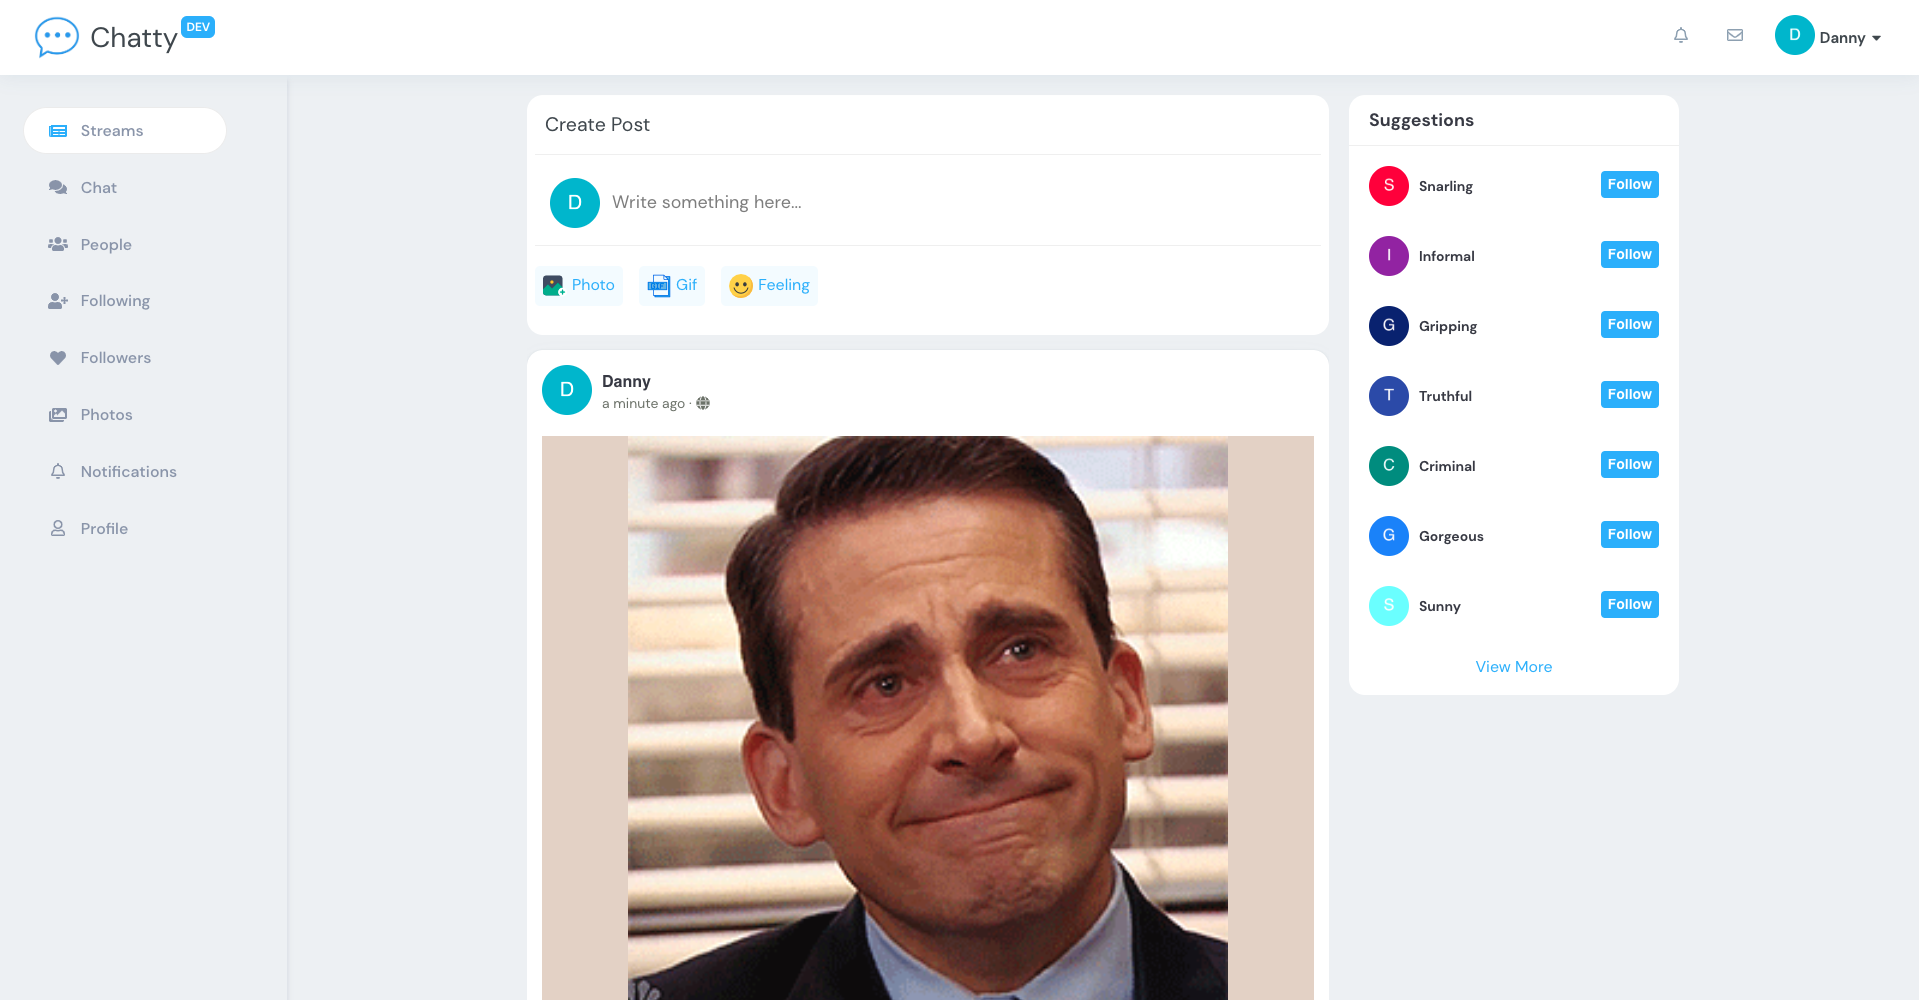
- Create, read, update and delete posts with images and gifs
- Post reactions
- Comments
- Followers, following, block and unblock
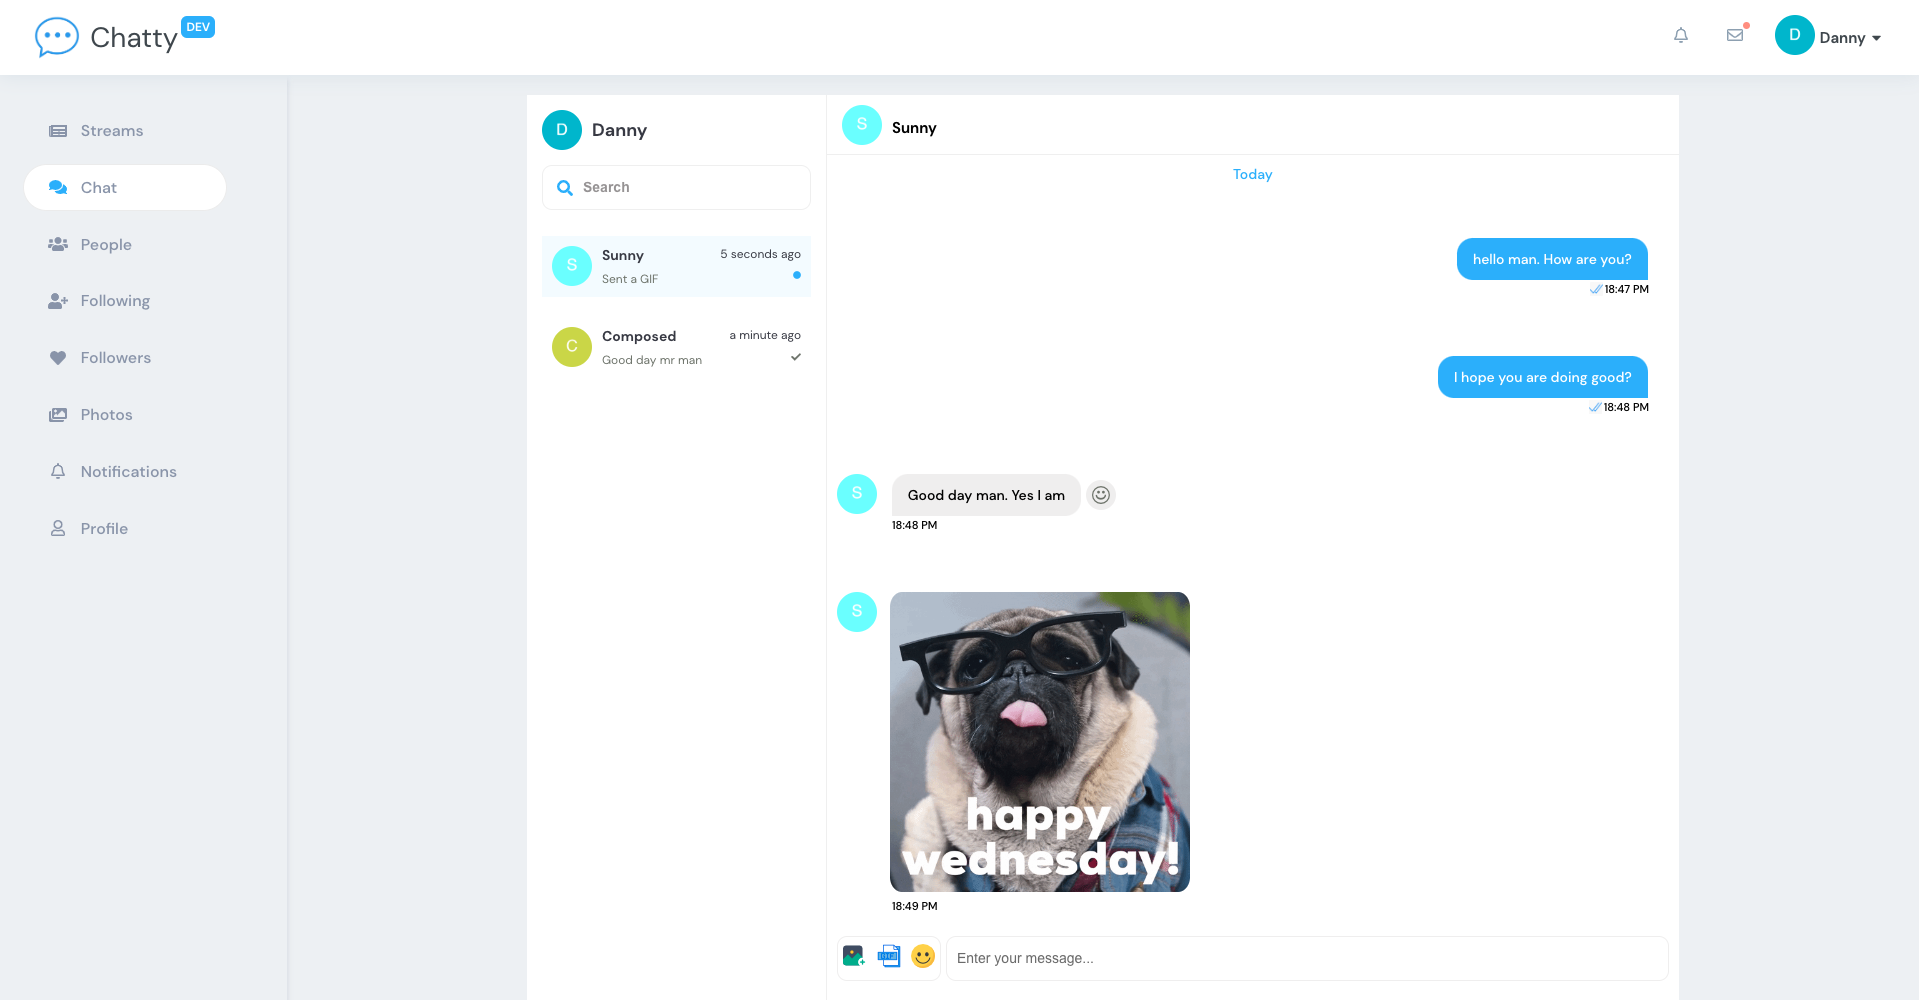
- Private chat messaging with text, images, gifs, and reactions
- Image upload
- In-app notification and email notification
- Custom components
- Custom React hooks
- Unit tests
- Redux implementation using redux-toolkit
- Create react app
- React
- Redux-toolkit
- Axios
- Date-fns
- React redux
- React router DOM
- SocketIO
- React icons
- SASS
- Lodash
- Jest
- React testing library
- ESLint and Prettier
- React app rewired
- React loading skeleton
- Mock service worker
-
Node 16.x or higher
-
Giphy API key. You can create an account and obtain a key here
-
You'll need to copy the contents of
.env.develop, add to.envfile and update with the necessary information.
- There are three different branches develop, staging and main. The develop branch is the default branch.
git clone -b develop https://github.com/uzochukwueddie/chatty
cd chatty
npm install- To start the server after installation, run
npm start- You can run the command
npm run testto execute the unit tests added to the components.
- Inside the
axios.jsfile found via this pathsrc/services, there is a variable calledAPP_ENVIRONMENT. - If you are setting up the application locally, the variable name needs to be
local. - If you are deploying based on the branch, for example develop branch, the variable value needs to be
development.
- You can create an account on AWS if you don't have one already.
- Download and install aws cli.
- On AWS, create an IAM user if you don't already have one. You'll get a key and secret.
- Use aws configure command to add your iam secret and key to your local machine.
- To deploy the application on AWS, it is required you have a domain to use.
- With that domain, manually create a route53 hosted zone on AWS.
- Copy the hosted zone NS properties and add to the nameservers section of your domain on the dashboard of your domain name provider. e.g: godaddy, namecheap etc.
- For example, on namecheap.com


- S3
- Route53
- AWS Certificate Manager
- Cloudfront
- Install terraform
- Update the
variables.tffile with the correct data. Update the properties with comments. - To store your terraform remote state on AWS, first create a unique S3 bucket with a sub-folder name called
develop. - Add that S3 bucket name to
main.tffile. Also add your region to the file. - Inside your backend project, make sure to change the
CLIENT_URLproperty inside your.env.developfile and go through the process of zipping and uploading to s3. After uploading the zip file, you can create the resources. - Once your backend resources have been created and running, you need to run the terraform apply command to create your frontend resources. But first,
- if you already followed the instructions for the backend setup, you can reuse the same S3 bucket
- inside the bucket, create a sub-folder called frontend and inside the folder, create another folder called develop. Bucket path should be something like
<your-s3-bucket>/frontend/develop - if you intend to use a new bucket
- create a new s3 bucket to store env files
- inside the created s3 bucket, add a sub-folder called frontend and inside the frontend folder another sub-folder called develop. Bucket path should be something like
<your-s3-bucket>/frontend/develop
- you need to upload your
.envfile to the s3 bucket you created for storing env files (No need for zipping). Upload using aws cliaws --region <your-region> s3 cp .env s3://<your-s3-bucket>/frontend/develop/
- Make sure to update the
APP_ENVIRONMENTfoind in src/services before deploying. - Once the upload is complete, you can execute inside the
infrastructurefolder, the commands:terraform initterraform validateterraform fmtterraform planterraform apply -auto-approve
- It will take sometime to create the resources. If everything works well, you should be able to access your application.
- To destroy all created resources, run
terraform destroy
- Create an account on circleci.
- Signup or login with the github or bitbucket account where you stored your code.
- Setup your project.
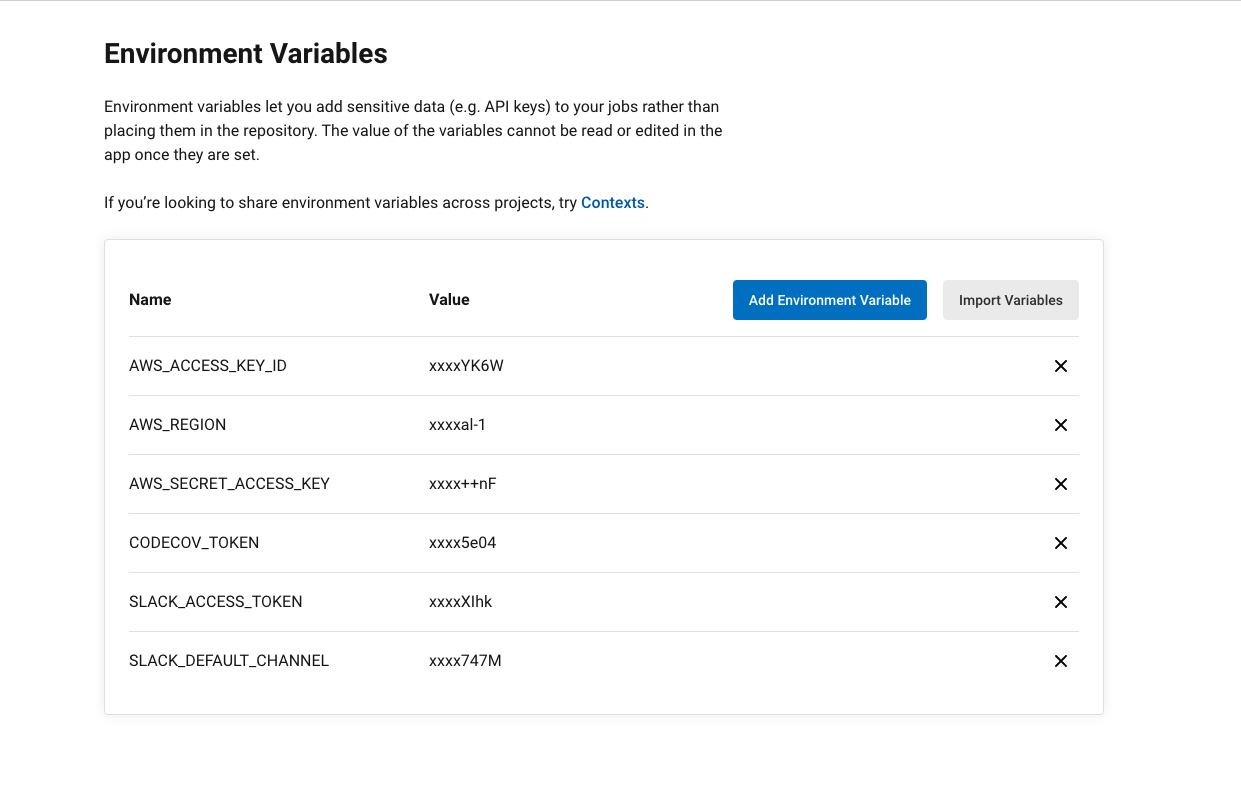
- Add the environment variables you see on the screenshot to circleci.
- For
CODECOV_TOKEN, visit CodeCov and signup or login with the same account where you have your project stored.- Once you login and setup your project, you will receive a token. Add that token to circleci..
SLACK_ACCESS_TOKENandSLACK_DEFAULT_CHANNELcan be obtained by following this documentation.
- Inside the
circleci.ymlfile, you need to make some updates. - There are some properties named
<variable-prefix>that you need to replace with theprefixvalue from your terraformvariables.tf. Search the config.yml file and replace<variable-prefix>. - Also, there are some other properties named
<your-s3-bucket>. Replace it with your s3 bucket name that you created for storing your.envfile.
