This basic starter for django I have gone through the steps of creating a project and app for future reference. This is a django application for saving employee information and rendering it to the webpage.
- Python
- Django
python3 manage.py runserver
➜ django-admin startproject employee_site
➜ django-admin startapp employees
-
❗️ In the whole doc I will be referring employee_site as site and employees as app
-
❗️ In the shell commands I have used python3 since I have a linux OS. If you are using windows use python instead of python3
- Add new view in views.py of app
- Create urls.py file in "app" directory
- Copy paste the following code in view.py
from django.shortcuts import render
from django.http import HttpResponse

# Create your views here.
def employees_page(request):
return HttpResponse('Hello World')- Add the url for view in urls.py
from django.urls import path
from .import  views
urlpatterns = [
	path('',views.employees_page, name="employees")
]- Go to urls.py in "site" and add new path to the app using include method.
from django.contrib import admin
from django.urls import path,include

urlpatterns = [
    path('admin/', admin.site.urls),
    path('employees/', include("employees.urls")),
]- Now we can go the url mentioned in the app we can see the response added in views.py
http://localhost:8000/employees/- Go to models.py in "app" and create new model:
from django.db import models

# Create your models here.
class employees_db(models.Model):
	emp_id = models.AutoField
	firstName = models.CharField(max_length=30)
	lastName = models.CharField(max_length=30)
	dept = models.CharField(max_length=30)
	salary = models.IntegerField()

	def __str__(self):
return self.firstName- For adding the model inside to the site we have to add the appConfig inside the site's settings.py
- For copying the config first go to apps.py in "app" copy the "AppNameConfig" in our example it is EmployeesConfig. It wil be created automatically.
from django.apps import AppConfig


class EmployeesConfig(AppConfig):
name = 'employees'- Now go to settings.py in site and go to installed apps list and add "appName.apps.AppNameConfig" in our example it is EmployeesConfig.
INSTALLED_APPS = [
    'employees.apps.EmployeesConfig',
    'django.contrib.admin',
    ...
]- Go to terminal and update the migrations and migrate. Make sure you are in the same directory as manage.py
➜ python3 manage.py makemigrations
➜ python3 manage.py migrate
Now our models are added to the database.
- First we have to create a new super user
➜ python3 manage.py createsuperuser
- Add the appropriate info and password
- Run server and
➜ python3 manage.py runserver
- Go to /admin page and add the admin name and password
http://localhost:8000/admin
- In order to use the models we have to register it
- For doing that go to admin.py in app
- Import our newly created model
- Register the model
- Code :
from django.contrib import admin
from .models import employees_db

# Register your models here.
admin.site.register(employees_db)- Restart the server We can check the models filed in our admin panel now
- Create new folder named "templates" in app directory and add new html file
➜ mkdir templates
➜ touch index.html
- Now go to views.py in our app and add return statement which renders our html page in templates
return render(request, 'index.html',dbData)
- First go to admin page:
http://localhost:8000/admin
- Now you can see that employees_db has been created we can click on it and add new employees
- Once it is done go to view.py in app
- Now first we will import our model which is employees_db and then store the db data to one variable and pass that data to the template as a third parameter.
- Code:
from django.shortcuts import render
from django.http import HttpResponse
from employees.models import employees_db

# Create your views here.
def employees_page(request):

	# fetching data from models
	dbData = {"data" : employees_db.objects.all()}

return render(request, 'index.html',dbData)- Now we can access data from Database through dbData variable.
- Go to templates/ and open index.html
- We can use the data key passed in the dbData object/dictionary.
- We loop over it and render the values of attributes for eg. emp.firstName will give us firstName value.
<div class="container-style">
	{% for emp in data %}
	<div class="emp-card">
		<p class="id"><b>ID:</b> {{emp.id}}</p>
		<p class="name"><b>Name:</b> {{emp.firstName}} {{emp.lastName}}</p>
		<p class="dept"><b>Dept:</b> {{emp.dept}}</p>
		<p class="salary"><b>Salary:</b> $ {{emp.salary}}</p>
	</div>
	{% endfor %}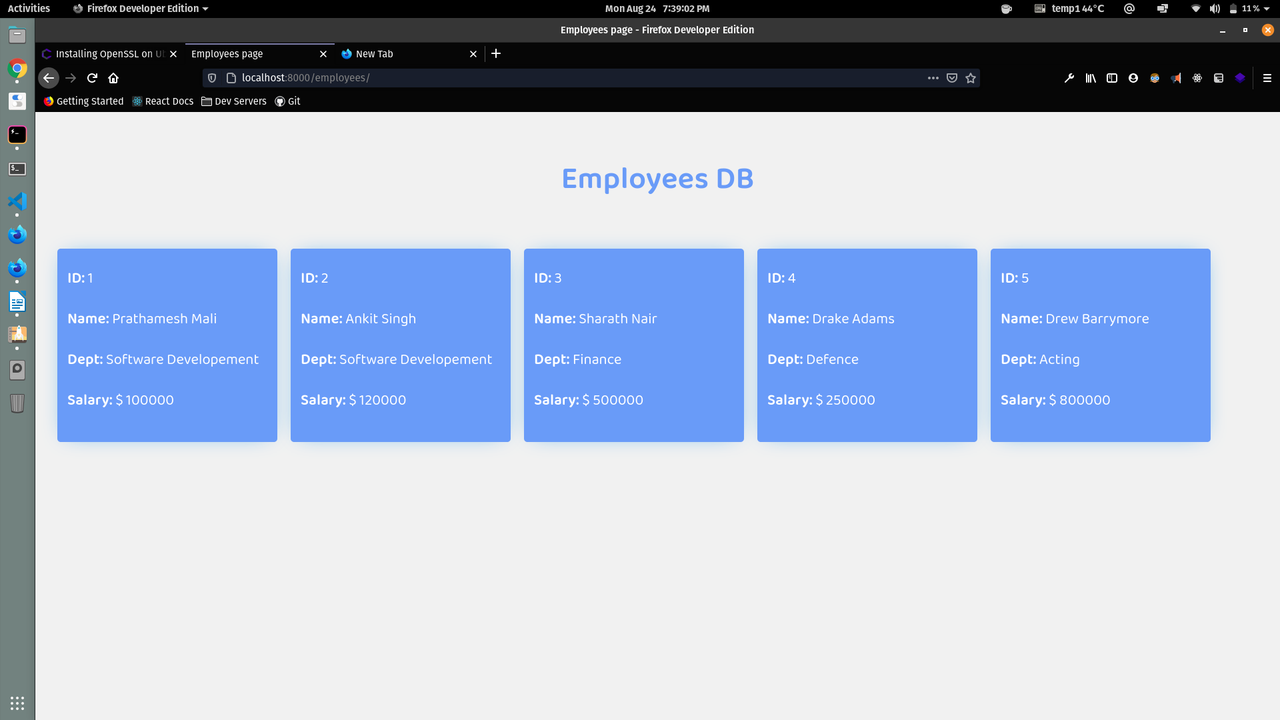
</div>- You can add the optional styling which is included in my index.html page.
http://localhost:8000/employees/